Build a Small Retaining Wall in One Day!
We had a cement apron poured and driveway grading done for our exterior makeover last fall that left a large drop-off on the side of the drive. This was the right opportunity to build a small retaining wall! I went to my local hardware store to pick up the supplies and got the advice from the folks in the building materials section. The block they sent me home with is the kind that has a ridge on the back. I first measure this ridge’s width and multiply it by the number of rows to stack on top each other. This tells me how far away from the cement apron I need to start my first row so that the top row ends up fairly flush to the existing cement.
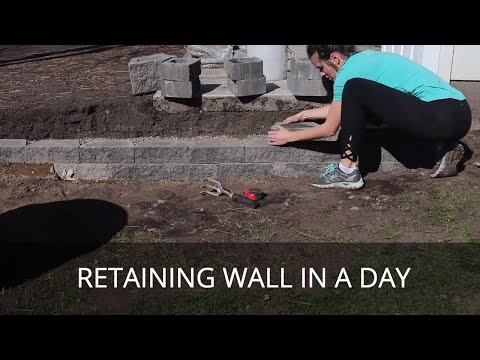
Table of Contents
Digging out a Trench for the Small Retaining Wall
Next it is time to dig out a trench! Use this equation:
(height of each block) x (the number of rows I was planning to set) + (the height of the finishing cap) + (the depth of the paver base) = depth of the trench
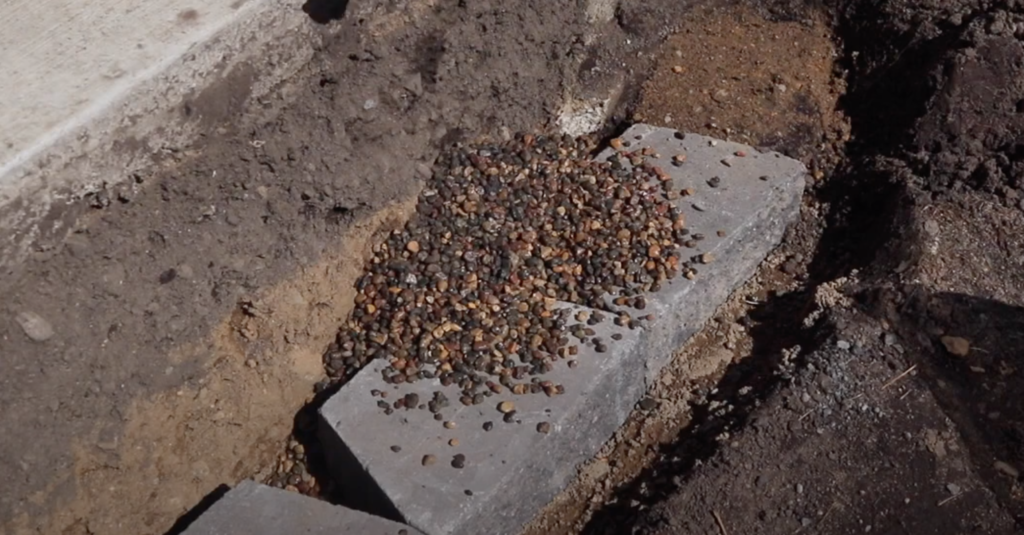
In the trench, you need to tamp down often to ensure you’re placing your blocks on solid ground. After tamping, you must put a layer of paver base down. The height of your retaining wall dictates how many inches the depth of paver base you need. Mine needs 2, but you could need as many as 6 inches of paver base. Check with the building materials specialists who sell you your materials!
I tamp with a spare 2 x 6 I had laying in my garage. Be sure to get that paver base tamped down well! If your paver base doesn’t come wet like mine did, spray it down with a hose to compact it.

Build A Retaining Wall
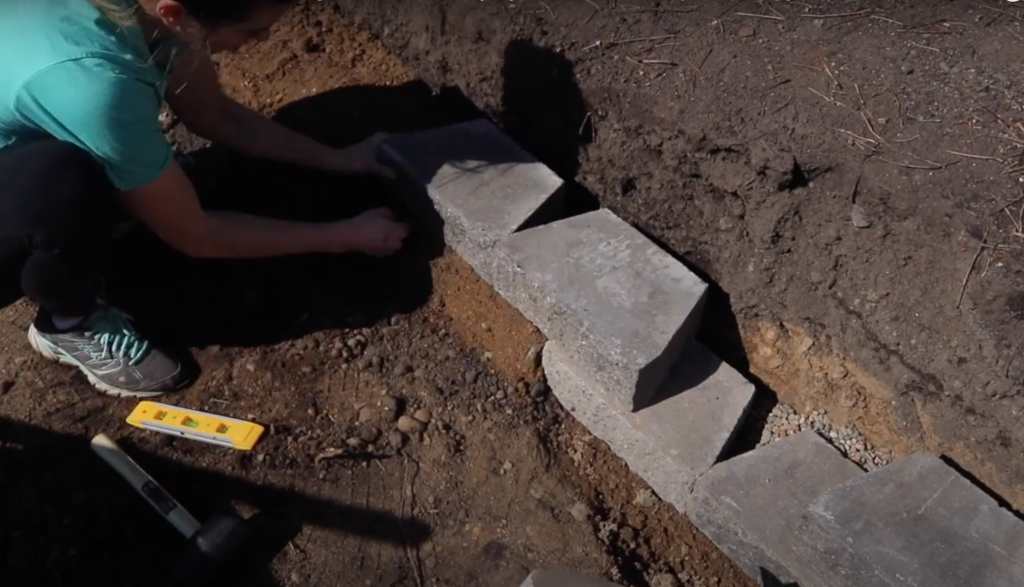
Now it’s time to start laying your blocks! Be patient with yourself and work thoroughly on this first layer. Just like when you’re building a fire pit, the first row of blocks must be level! I use a torpedo level to check each block both directions – level from side to side and level from front to back. When I lay another block next to it, I also place the level across both blocks to check they are level with each other. To adjust the levelness of each block I usually just use a rubber mallet. Sometimes I build up and move around the paver base, too. The good news is the paver base is very easy to manipulate and pack down.
You’ll notice I left space behind the retaining block in my trench. You want to have at least 2 inches thick of river rock behind your blocks and in between them. This is for drainage so water doesn’t eventually compromise the integrity of your wall. The idea is that water flowing behind your wall can get through the river rock all the way down to the ground level underneath your wall. The amount of river rock should be increased if you live in an area that gets lots of rain. Also if your retaining wall is holding back land this is sloped down towards the wall. If you have a retaining wall block that is hollow inside, fill that center hole of each block with river rock, too.
Obstacles + Step-Ups
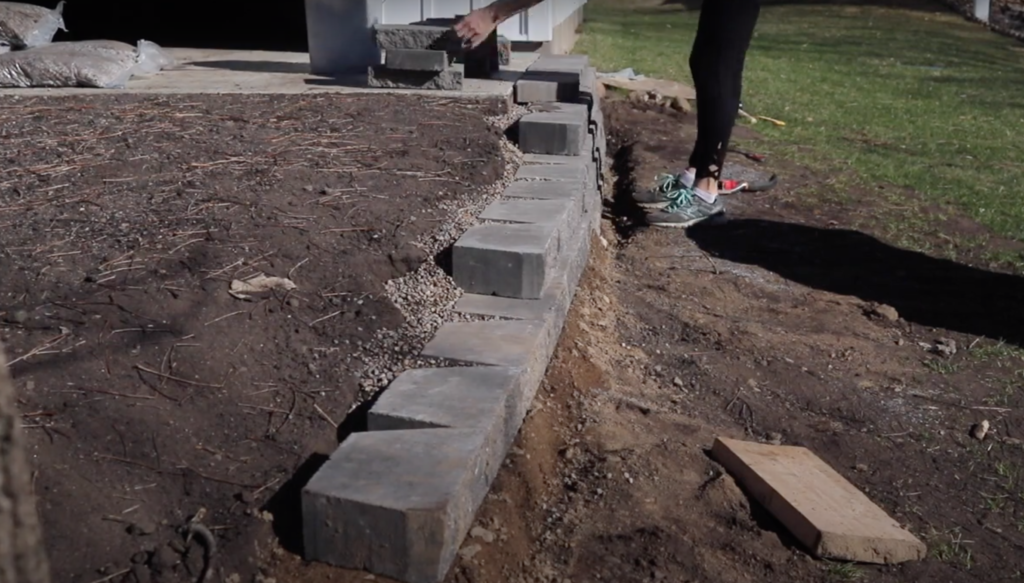
Ideally you dig the trench the same depth all the way across the area you’re going to build your wall. However, I have huge tree roots to deal with along my wall so I do a step up. Gather soil next to the first layer of block two inches shy of flush with the top of the block. I tamp that down, then add my two inches of paver base. With the two inches of paver base, my first row here will be level with the second row there.
So the first layer and it’s weird step-up took me about three hours. All the rest of the wall took another three more. Once you get that first layer done, it’s pretty straightforward! Stagger your blocks, make sure the ridge is pressed up against the back of the block below it, and don’t forget the river rock between rows! You can use construction block adhesive between each and every block if you feel it’s necessary. I didn’t, but I will use that for the top caps.
Finishing Touches + Further Info
If you’re interested to know more about building a retaining wall, I suggest you watch this youtube video that taught me a lot!
When it was time to add the top caps, I stagger them backwards and forwards to get them to go straight across without spaces between. The adhesive I apply will prevent the top caps from moving if kiddos walk on the wall. When the wall is built, backfill your trench and ensure the ground covers half the height of the first row of blocks.
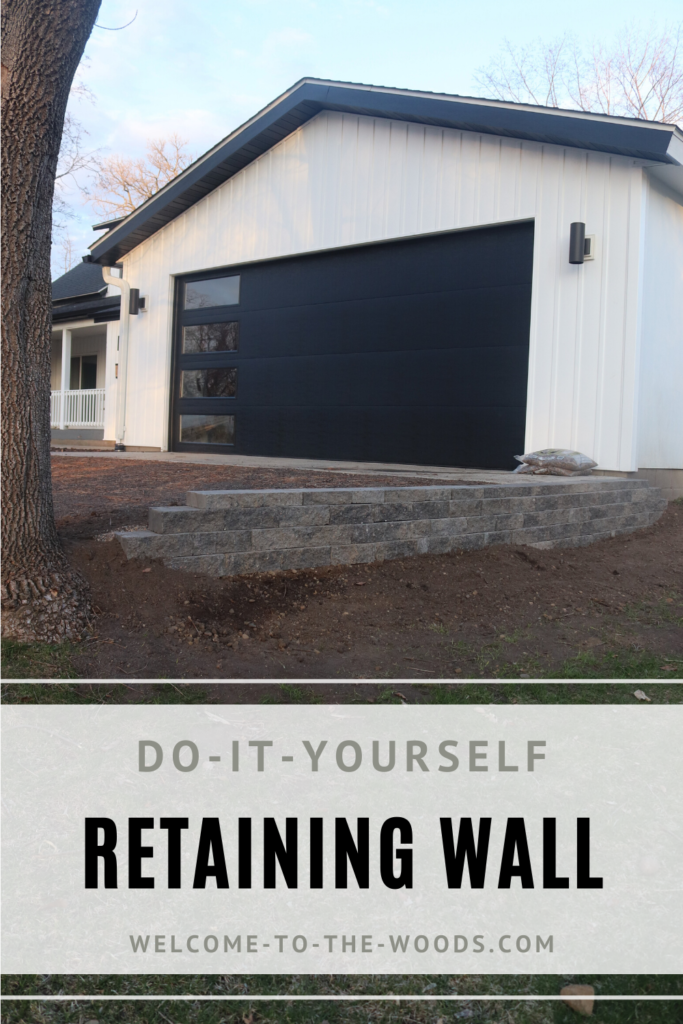
All in all, it took me 6 hours to build a small retaining wall. It is a great way to add function and landscaping to my yard. I have never done this before and I thought it was going to be hard. But it was doable by myself in one afternoon for only about $150!
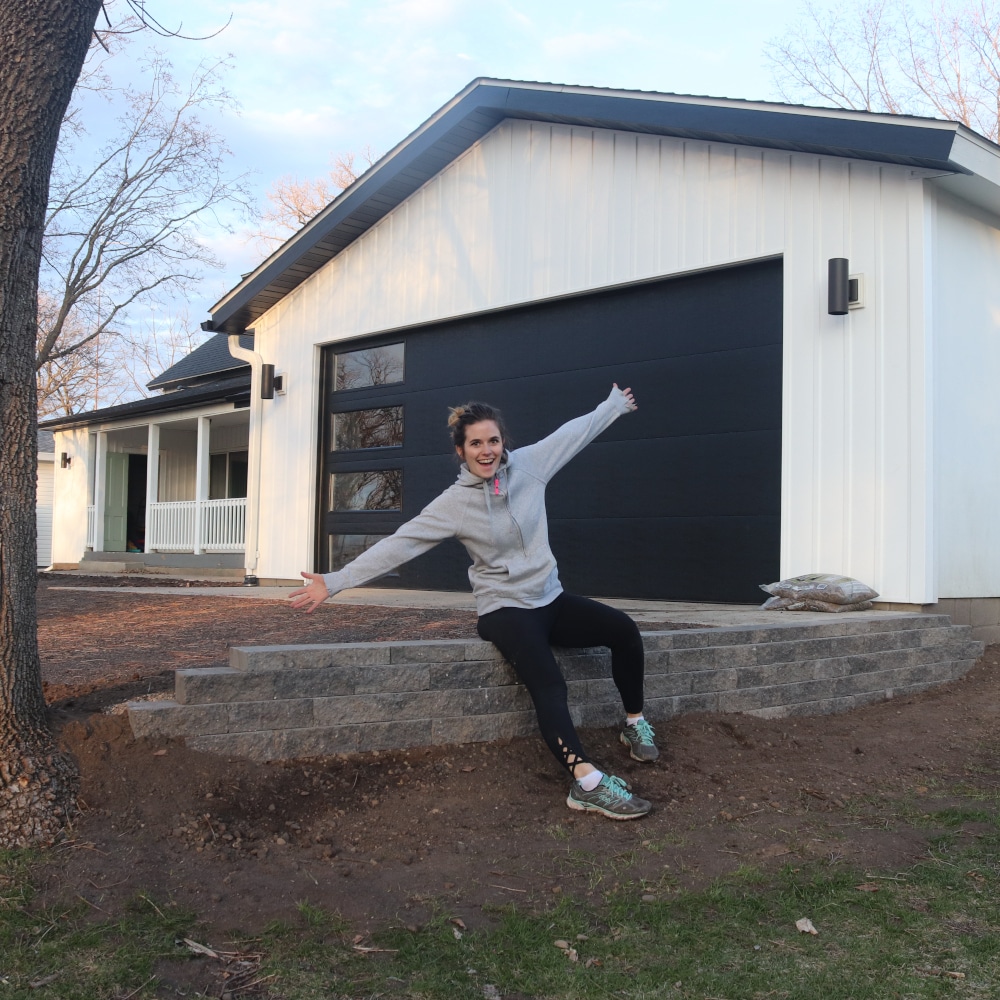
Thanks for reading! I hope you were inspired!