DIY Luxury Vinyl Plank Installation
We got a NEW KITCHEN FLOOR! I cannot contain my excitement! My husband and I hardly ever spend money to update our home, but I convinced him the new floor would be worth the investment. Our old laminate was buckling and dented in multiple places. Since I was willing to do the installation myself, the whole floor cost us less than $400! Today I am going to share with you the knowledge I gained from my DIY luxury vinyl plank installation.
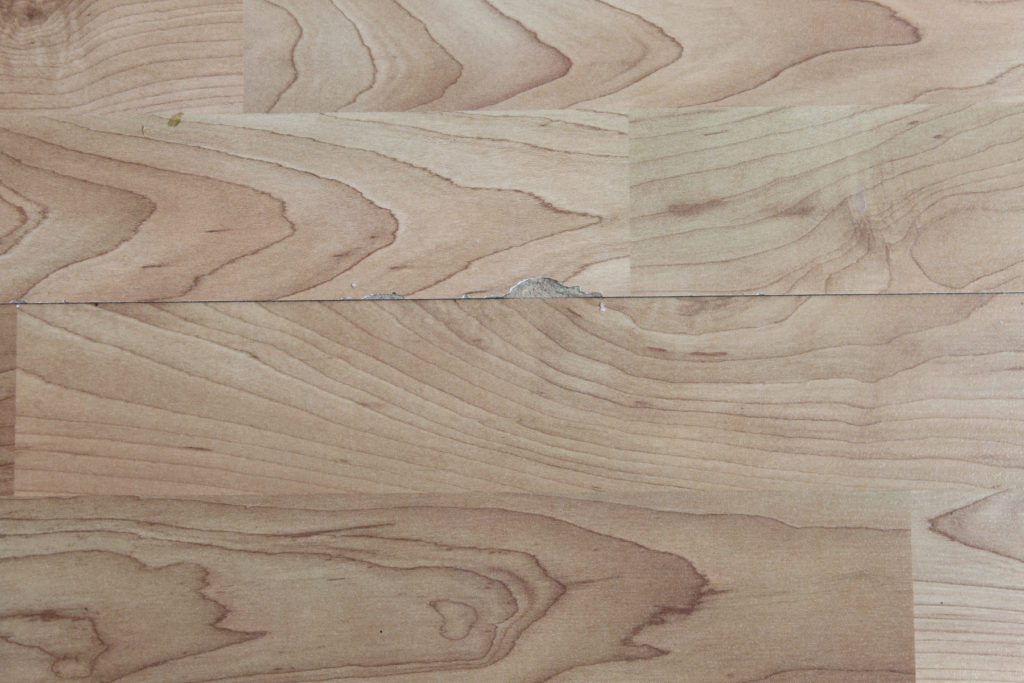
 The old floor…
[the_ad_placement id=”middle-of-post”]
Why I Chose LVP Flooring
I did a lot of research when it came to flooring. My number one criteria was that the floor was 100% waterproof. There are so many spills with my three little kids! I found the luxury vinyl plank was one of the only types of flooring that was completely waterproof, not just “water resistant.” The other criteria that LVP met for me were as follows:
- Click together, floating floor installation so I could do it myself
- Textured, realistic feel to prevent slips and falls
- Inexpensive (I got ours on sale for only $1.59/sq foot)
- No harsh chemical smell (it didn’t smell at all actually!)
- Durable/scratch resistant
- 100% waterproof (as I already said)
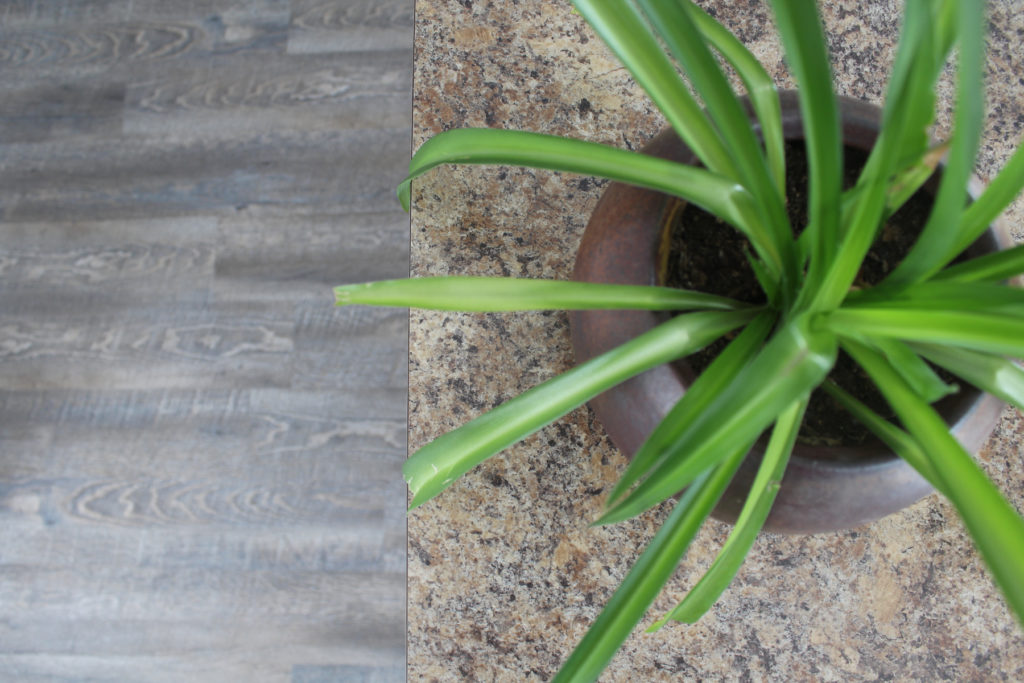
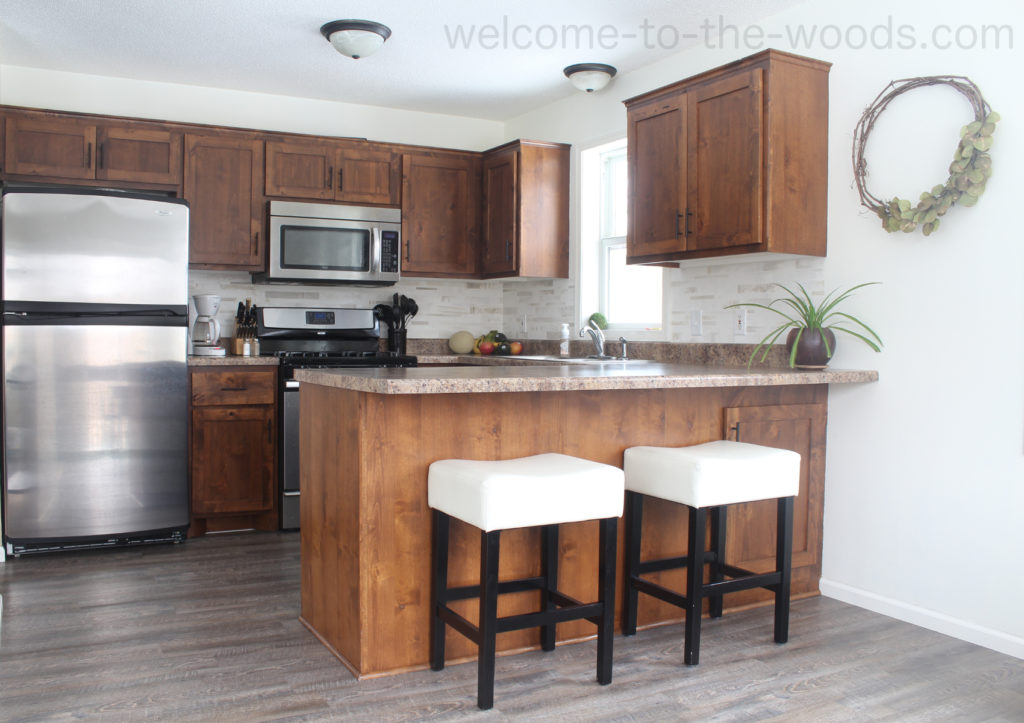
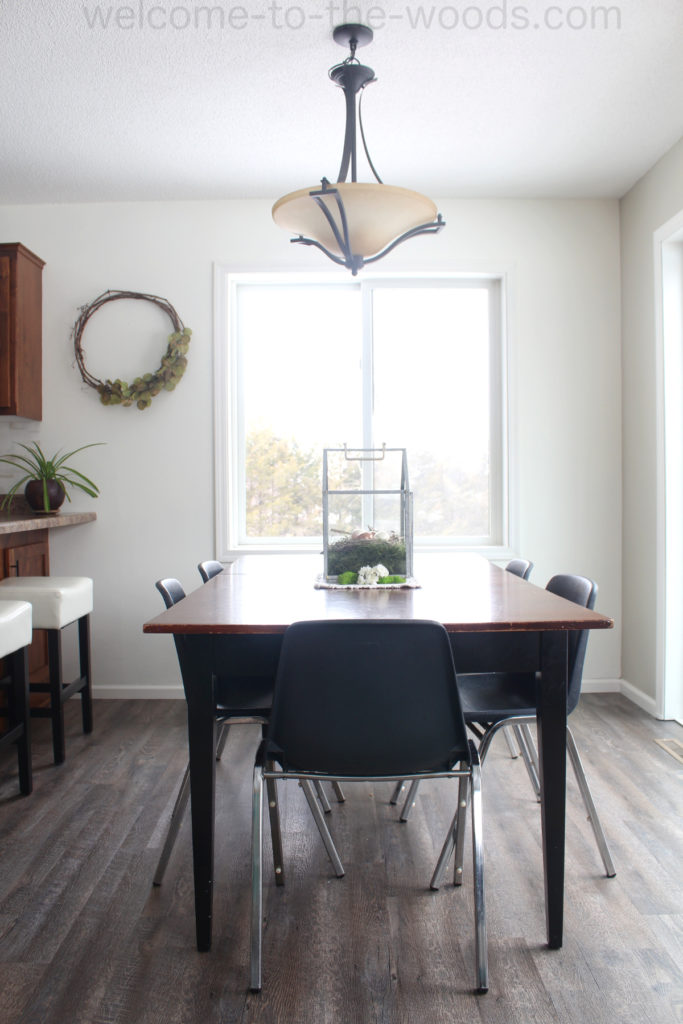
These reasons made LVP the clear choice over other flooring options. The hardest part was picking out a color. I eventually decided on a gray because my wonderful followers on Facebook overwhelmingly voted that as the color of choice. I picked out Tarkett Ingenuity brand “Weathered Gray” at Menards. I love how the flooring matches my countertops!
[the_ad_placement id=”middle-of-post”]
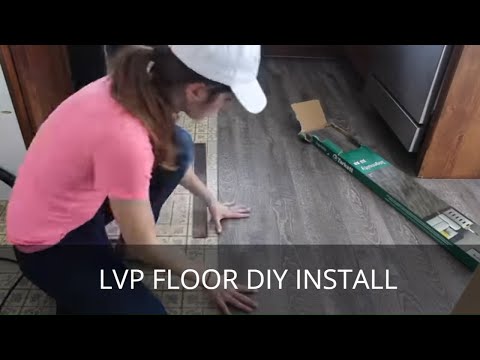
DIY Luxury Vinyl Plank Installation
I definitely learned a lot during this process. I watched several Youtube videos on how to install a floating floor like a pro and compiled the best practices I came up with. Hopefully I can save you the time watching through several Youtube videos the way I did by offering the most comprehensive guide I can think of. Watch my video tutorial for the whole story.
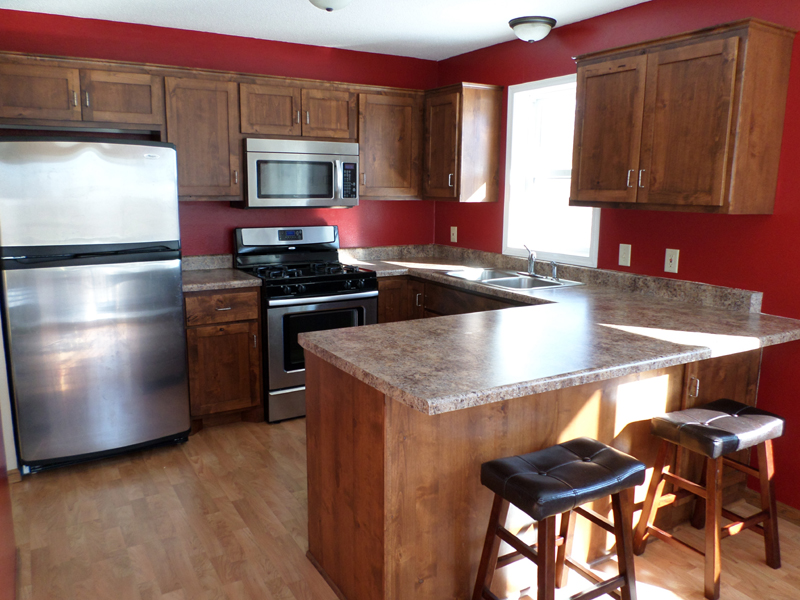
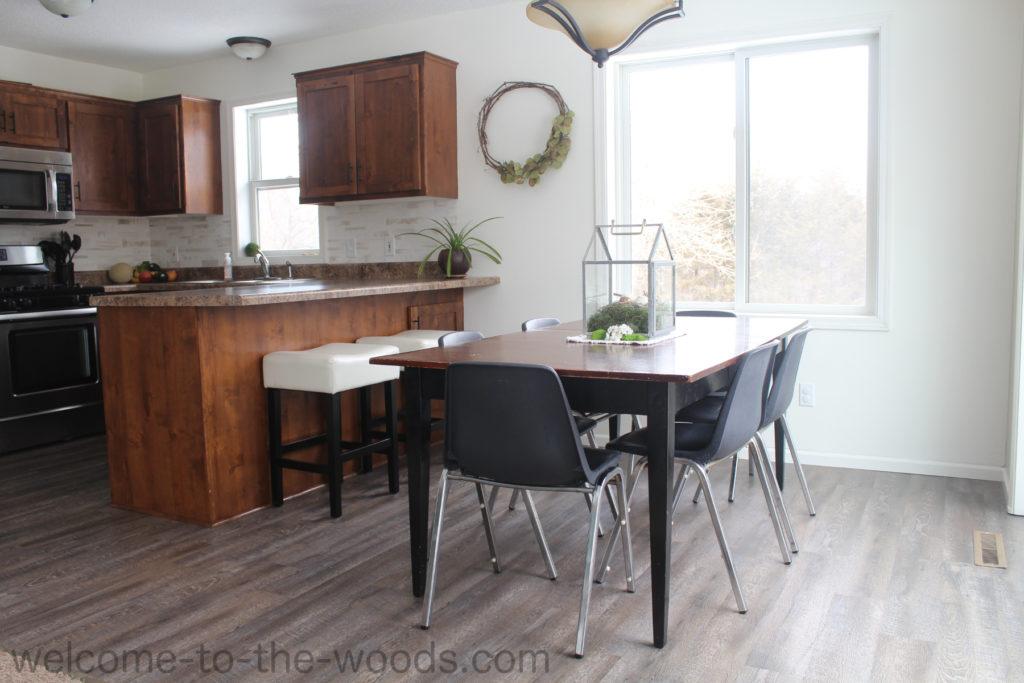
It is crazy to think of where my kitchen was at when we bought the house and where it is today.
[the_ad_placement id=”middle-of-post”]
I’ve made very minor changes over time, but to me, they make a big impact! Switching out the floors and cabinet hardware this season has made me like the space more than ever.
Thanks for reading, don’t forget to share and pin!


Just curious, if I’ll be trying this on a slab subfloor, can I also drill into it to reinstall the pieces where new floor butts up to carpet?
I’m assuming you mean slab like concrete? I don’t know the answer to your question unfortunately, but I would suggest simply calling a transition molding company like Framerica (1-800-372-6422) and asking them! 🙂 Best of luck in your flooring project!
Melissa
Are you still happy with this floor? Im looking at this exact floor for our house. Thanks! Looks great by the way!
Yes! Very very happy, especially with how waterproof it is! 🙂
Melissa
Hi Melissa, I watched your video on your install of vinyl flooring – impressive! Enjoyed seeing your helper. My wife Cindy & I just spend 13k (really) having vinyl put through most the house (Coretec plus). It was installed by 2 men working for the flooring store we purchased it from, and they did it well, but our salesman never showed us pictures of what the projects finished look would be with quarter-round against our 3″ white/brown molding (the quarter-round is same sandy color of the floor). Worst of all is the crude, unfinished appearance of Q-round around doorways. We like the floor but kinda hate the “finished look” on the edges. They did not tell or offer to remove the existing moldings.. Cindy did some searching and found that’s what other consumers recommended, so that the expansion space would be under the edge of the walls. Any ideas or advice? Dale & Cindy
I would suggest keeping the quarter round because reinstalling either the floor or the trim in order to remove the quarter round would be expensive and time consuming. Instead of having the quarter round matching the floor, I think it would look better to have it matching the baseboard trim. If your baseboards are painted, you can even use caulking to fill in any seams of the quarter round to make it look less crude around doorways, then paint the color to match. Be sure to use a precision paint brush and painters tape (or removed the quarter round to paint and then reinstall) so that your lines are clean. Best of luck and congrats on your new floor!
Hi Melissa, I watched your video on your install of vinyl flooring – impressive! Enjoyed seeing your helper. My wife Cindy & I just spend 13k (really) having vinyl put through most the house (Coretec plus). It was installed by 2 men working for the flooring store we purchased it from, and they did it well, but our salesman never showed us pictures of what the projects finished look would be with quarter-round against our 3″ white/brown molding (the quarter-round is same sandy color of the floor). Worst of all is the crude, unfinished appearance of Q-round around doorways. We like the floor but kinda hate the “finished look” on the edges. They did not tell or offer to remove the existing moldings.. Cindy did some searching and found that’s what other consumers recommended, so that the expansion space would be under the edge of the walls. Any ideas or advice? Dale & Cindy (2/11 -Thanks Melissa.. Will consider this. And yes, sharp paint lines.. Dale)
Hello,
As a lifelong flooring guy who grew up an installer and now has a flooring ecommerce site…. I been looking for possible YouTube videos to maybe share on out blog for our DIY customers….
I quite enjoyed your video and have subscribed to your channel!
Very good content, thanks..
Thanks so much Shawn!
Hi Melissa, I’m in in the process of renovating my new (very old and original) house and have been searching the net for tutorials on flooring for the past few weeks and yours has so far stood out amongst all the others I’ve watched so far! It describes perfectly the complete process, as many seem to skip through the installation, without fully explaining what they’re doing! My laminate flooring should be arriving in the next week or so, so I’ve bookmarked your video for reference and extra confidence! (As this is my first attempt and any real DIY work to this extent!) Really appreciate the post! All the best!
Cheers!
Rich
Wow, that’s exactly what I was hoping to hear! I’m so glad you found value in my blog post. I hope you have great success installing your floor!
Melissa
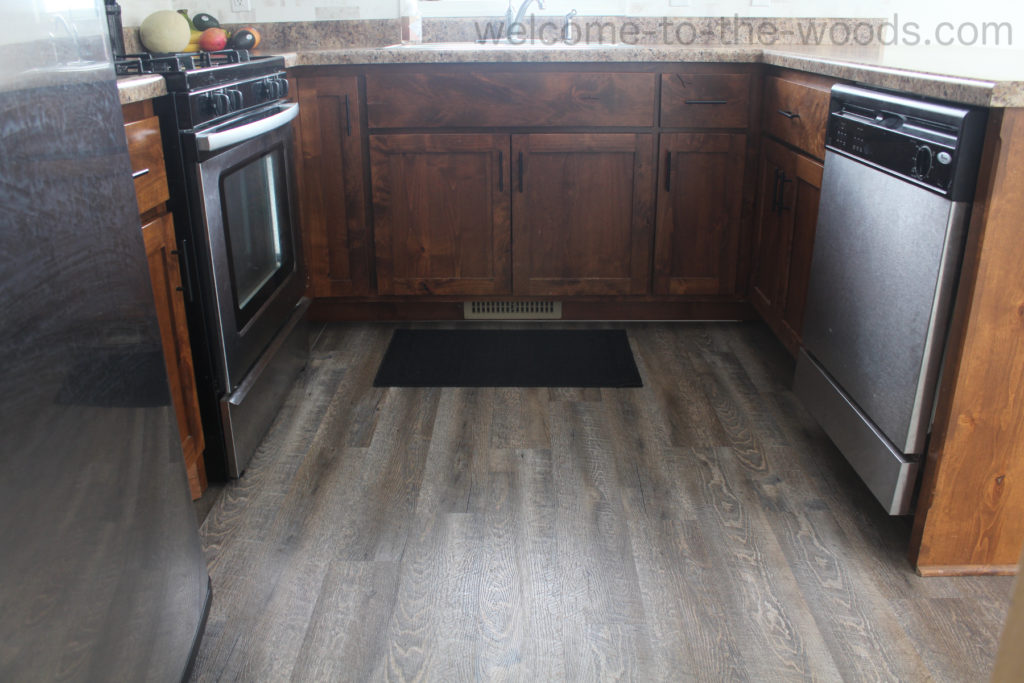
I enjoyed your video – very informative and your end result looks great – one quick question, did you install the flooring under the refrigerator and dishwasher? Thanks!
John
Hi John! Thanks for the comment. Yes, I installed the flooring under the stove, dishwasher, and refrigerator. I just shimmied them as best I could out of the way.
Melissa
Hi John! Thanks for the comment. Yes, I installed the flooring under the stove, dishwasher, and refrigerator. I just shimmied them as best I could out of the way without uninstalling them completely.
Melissa