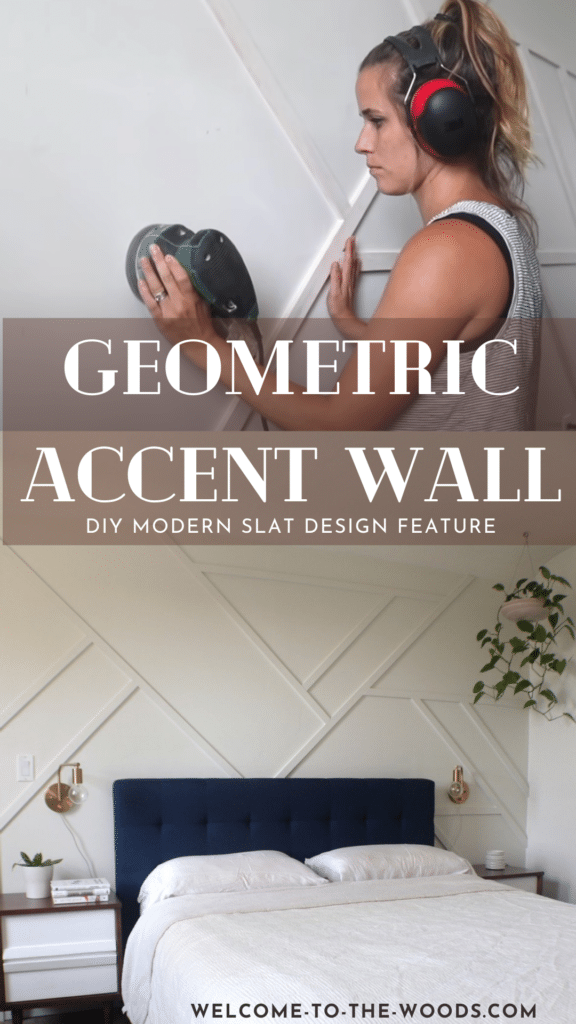
Geometric Accent Wall DIY Design
I recently refreshed my master bedroom with a simple geometric accent wall. What is so crazy is that I was nine months pregnant when I started this project and the majority of the installation was done the day I went into labor! This tells you anyone can do this easy DIY geometric accent wall. This project was so cheap to make! You can buy 1 x 2 pieces of mdf at about $5 a piece at the Home Depot. If you have a table saw, you can do what I did and cut slats from a 2×4 that cost me only $8! Read how below…

This post may contain affiliate links or sponsored content. For full disclosures and practices, please visit my policy page.
Table of Contents
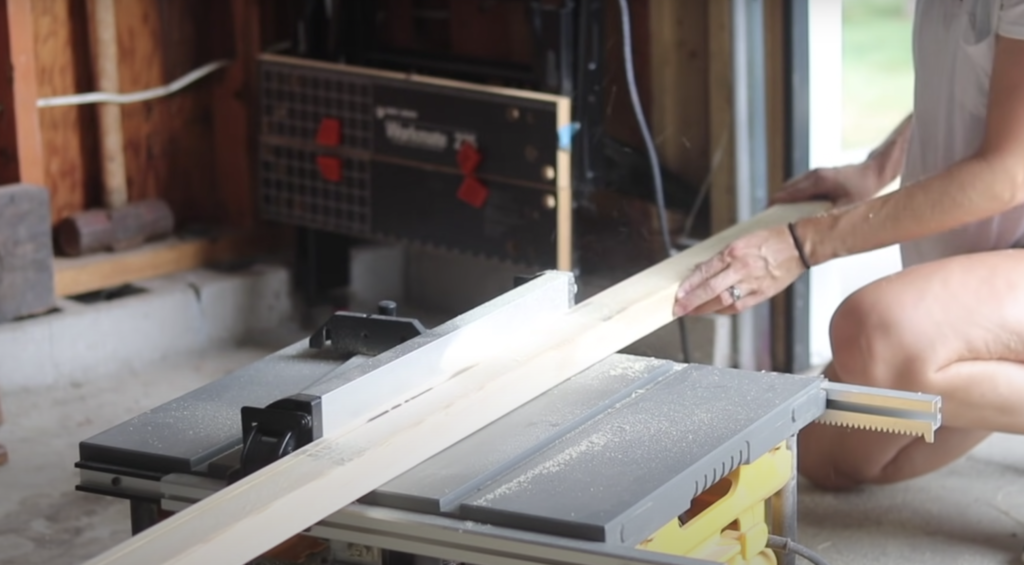
Cutting the Boards
To start, I cut the 2×4 board with my table saw into skinnier slats. I cut my pieces 1/2 inch thick and the board gave me six slats. I decided to get a 10 foot long 2×4 because my ceilings are eight feet tall and the angle of the design would be 45 degrees. I wanted the wood length to be long enough when I put them up on the wall. When picking out my 2×4 at the lumber yard, I took my time finding one with minimal blemishes.
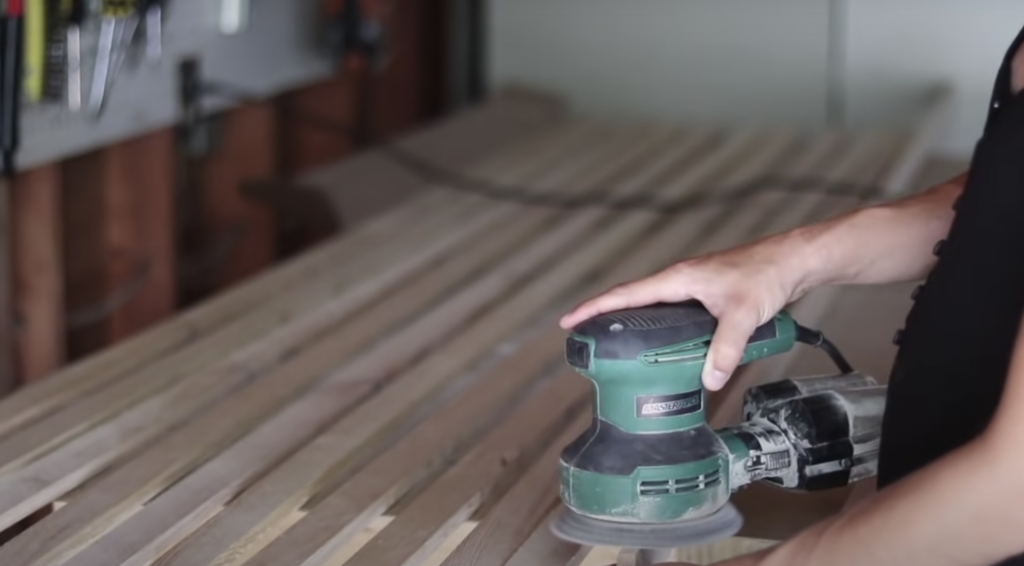
The next step after slicing all the pieces on my table saw was to sort them out and sand them. I made sure to lay the side with the least amount of blemishes on top and then sanded it with my Random Orbital Sander. Then I primed all of the slats and prepared my bedroom for the install.
Installation of the Geometric Accent Wall
I took down the wall decor and moved furniture out of the way so I could mark the studs on the wall. I use this magnetic stud finder and it works so well, I totally recommend it! I nailed the slats in with my Ridgid cordless brad nailer where the studs were so they would be tight against the wall.

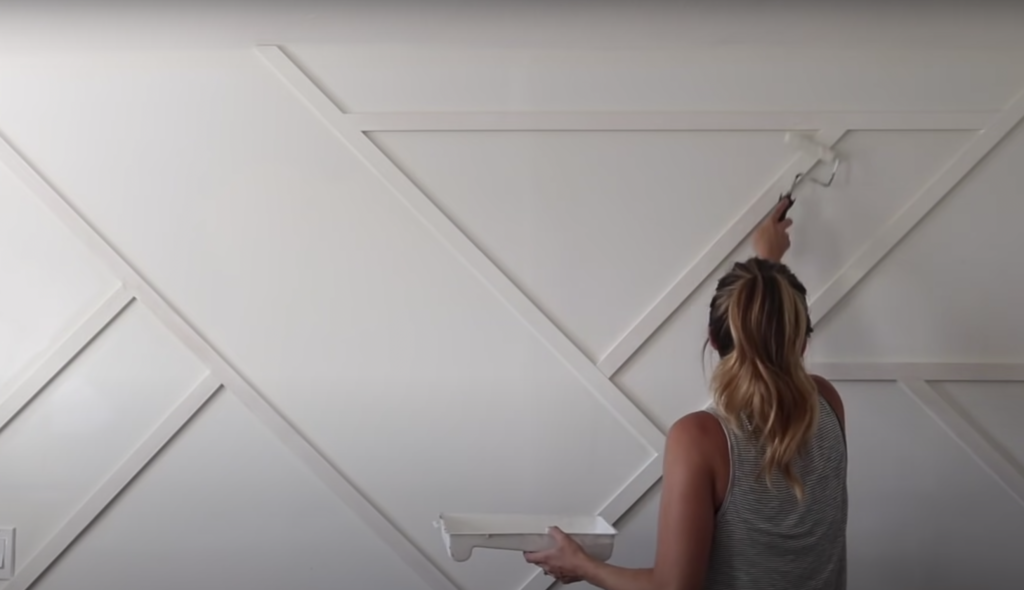
On all but one of the slats, I cut a 45 degree angle on one of the edges. For the remaining slat that went across the entire wall, I cut the angle on both sides. Some people like to plan out a design for their wall before they start, but I just winged it and I love how it turned out. After all of the slats were up, I caulked all of the edges so there wouldn’t be gaps showing. I then sanded down all of the slats and wall so everything would look great for me to paint over. The next step before painting the wall was to wipe everything down with a damp wash cloth. Then it was time to paint! I used a brush against all of the edges and rolled the flat parts with Dutchboy paint in the color Sandbar White.
For additional renovations to my room, I added some new blackout curtains. We also got a new Tuft and Needle hybrid mattress that is so comfortable and soft to lay on. It also does a great job of keeping your temperature regulated when you sleep. I definitely recommend this company if you are in the market for a new mattress! The last thing I did was install some lights over our bedside tables to finish the look.

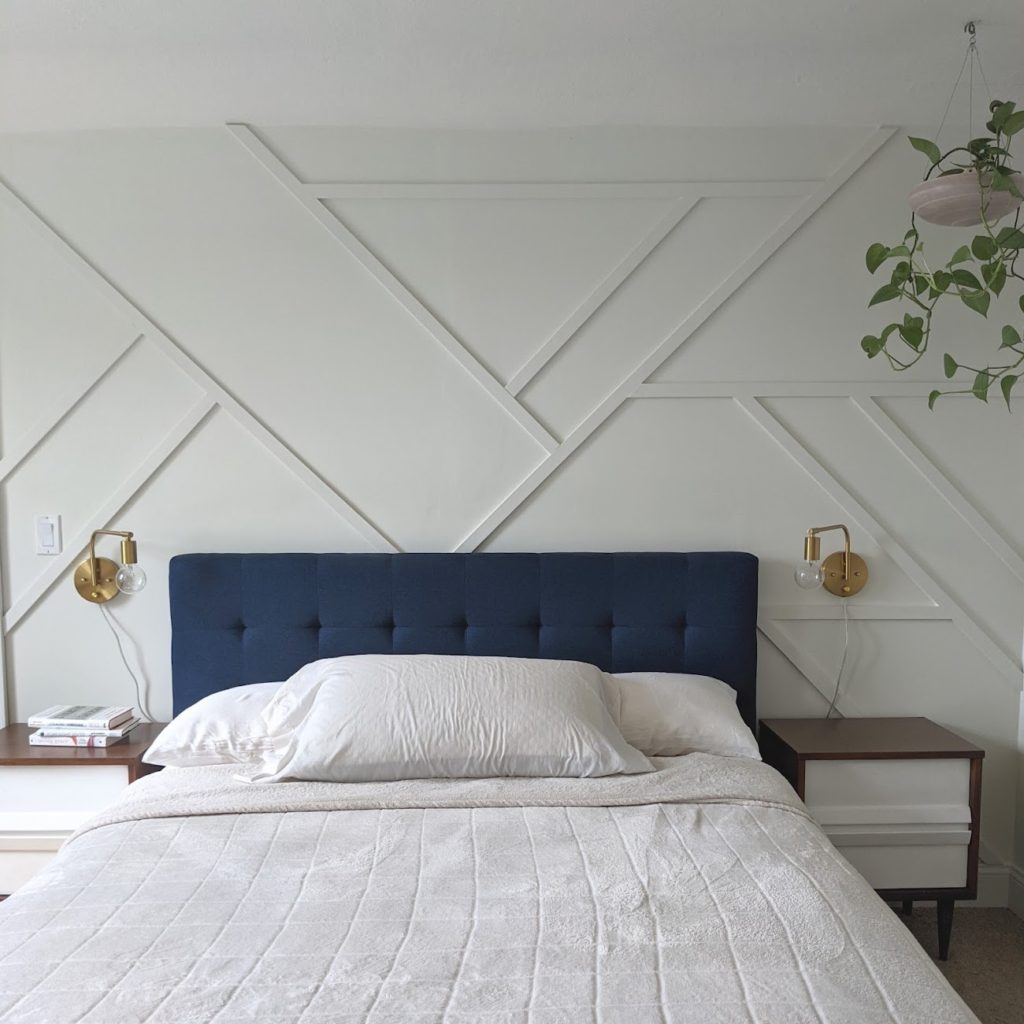
The Final Reveal
The final turnout of the geometric accent wall was better than what I could have imagined. Especially since I didn’t plan or measure anything out beforehand. I just cut and went! It’s a beautifully modern and minimalistic design that adds so much subtle interest to the room.
Don’t forget to pin this image to inspire you to make a geometric accent wall of your own!