Hollow Core Doors Upgrade DIY
The lake house I have been renovating had outdated hollow core doors from the late 50’s that had never been touched; it was time for a hollow core doors upgrade to make them pop! They are dented and plain and I want to give them a new style that fits with the modern cottage design I’ve done throughout the lake house.

This post may contain affiliate links or sponsored content. For full disclosures and practices, please visit my policy page.
Table of Contents
- Removing the Hollow Doors
- Cutting the Doors
- Filling Blemishes and Sanding
- Cutting Grooves
- Fixing Ugly Cuts
- Preparing the Doors to Paint
- Painting the Doors
- Upgrading the Hardware and a Look at the Final Product
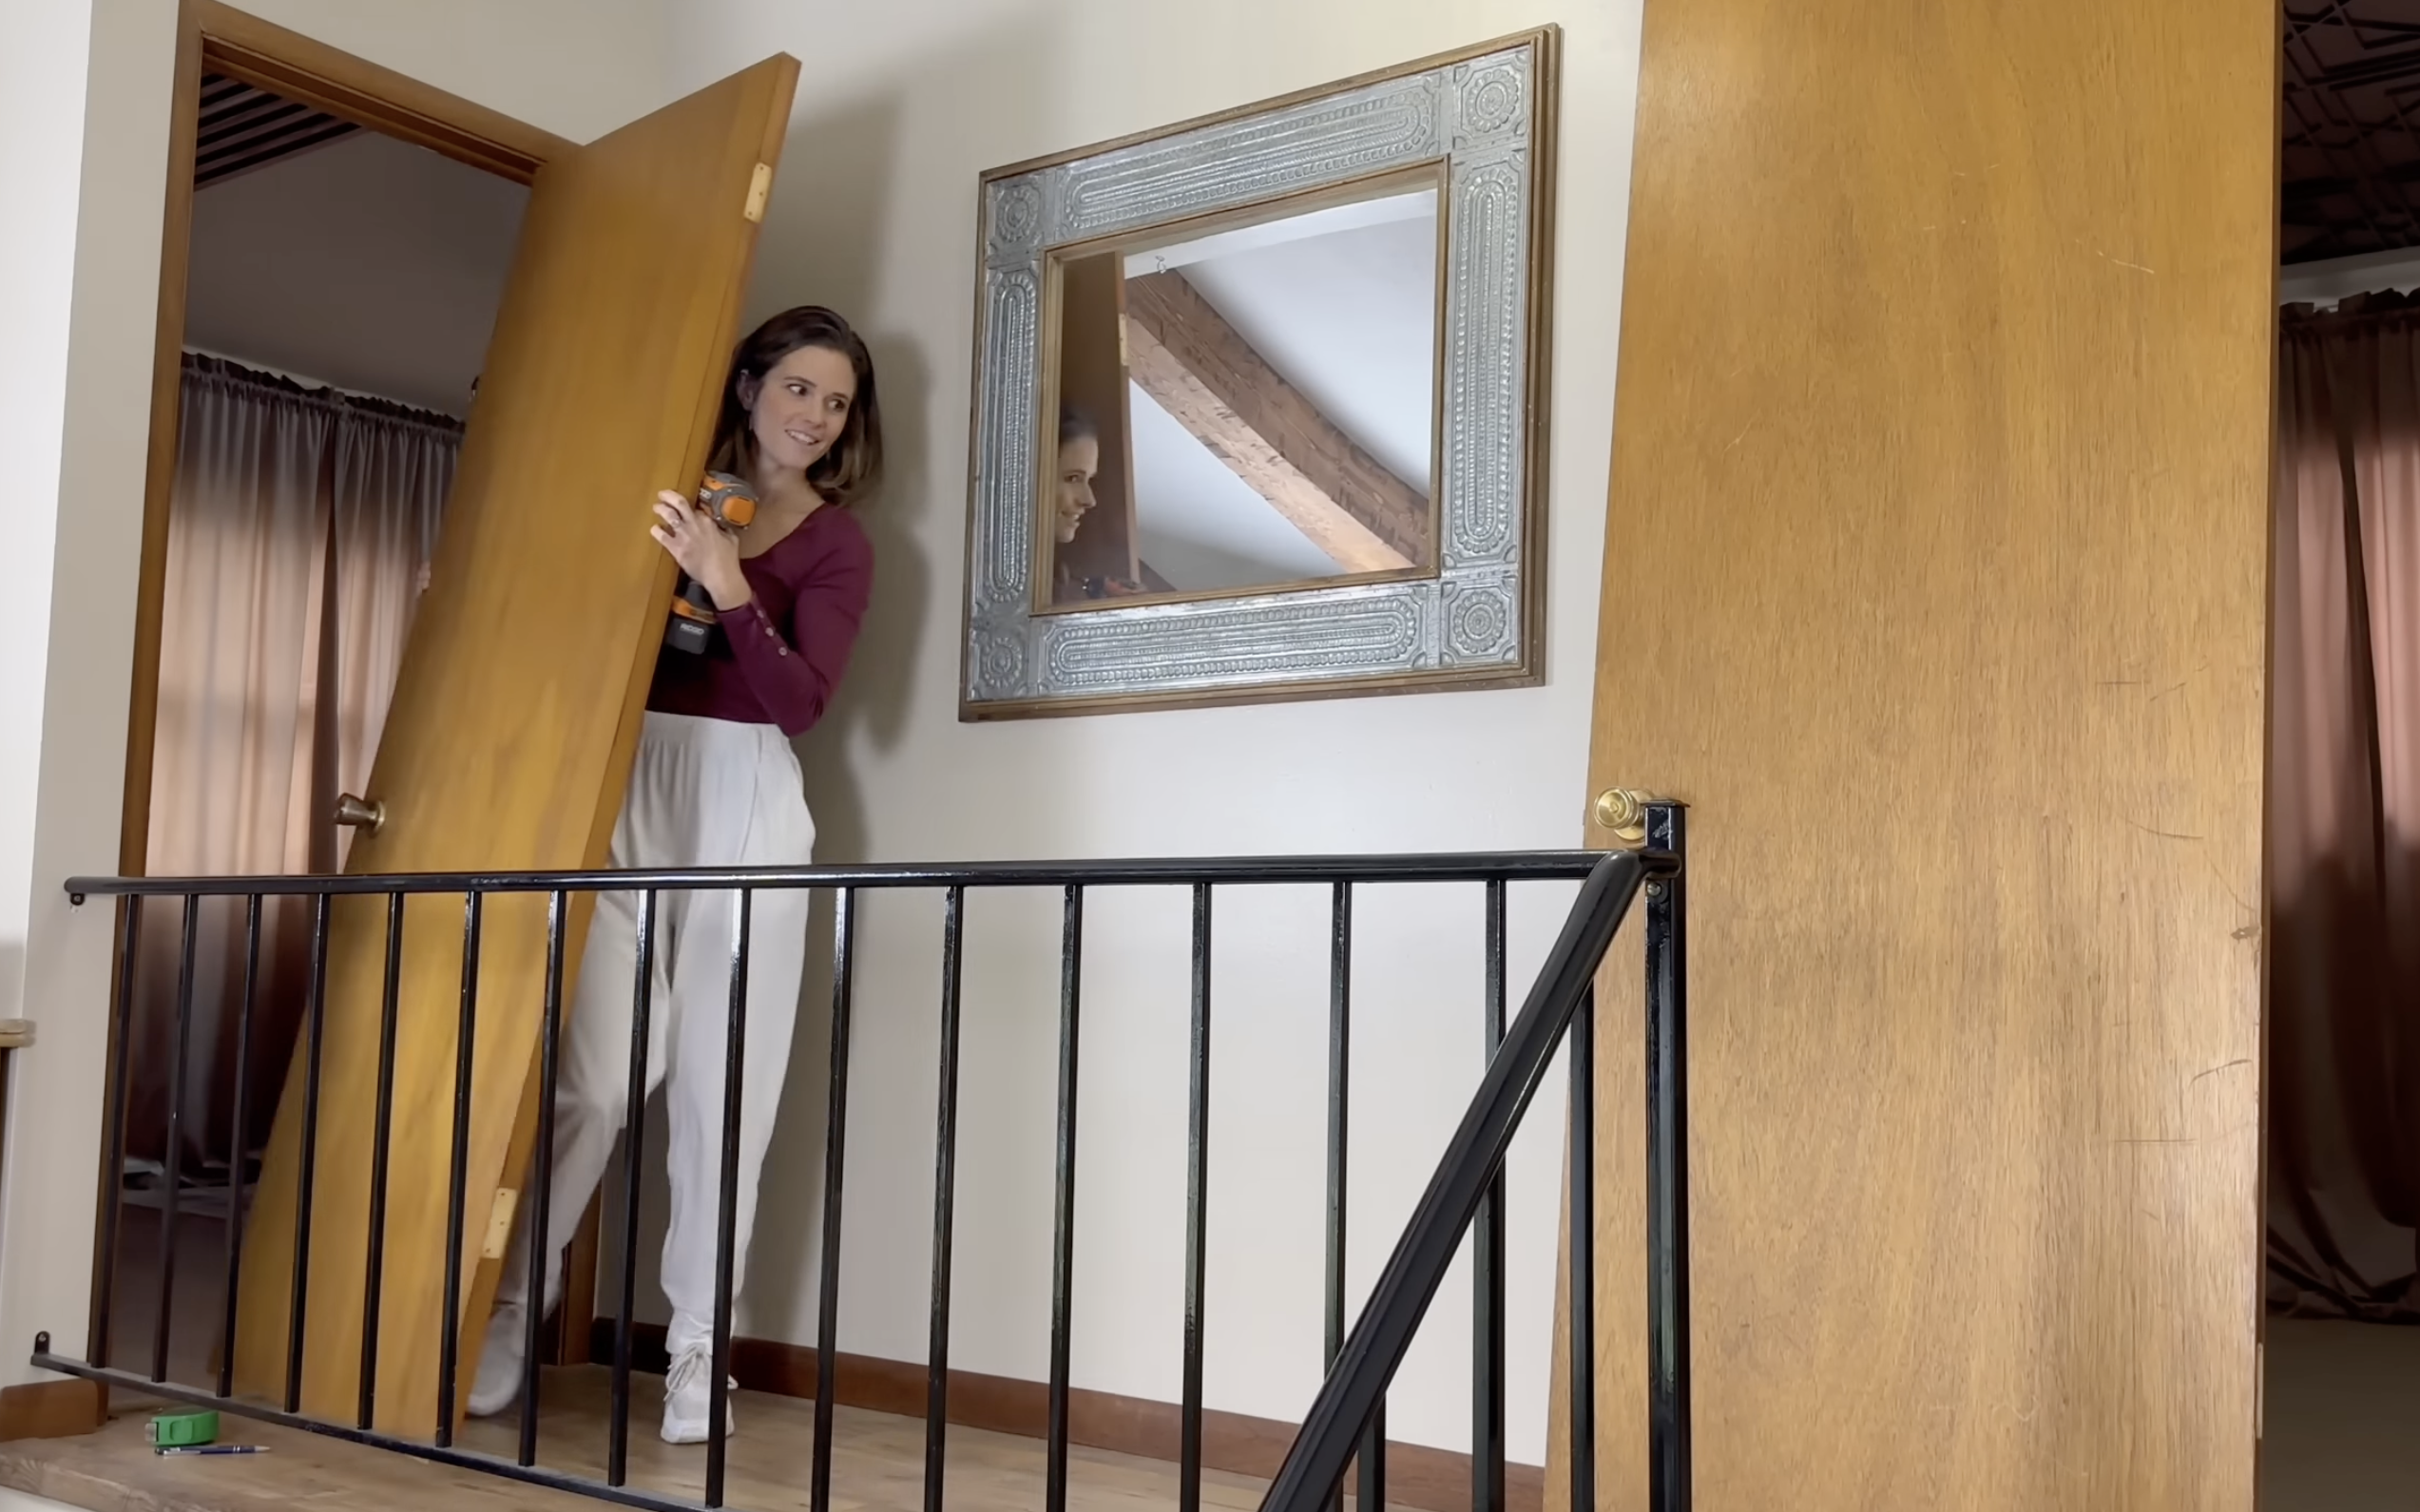
Hollow Door Removal
I start by removing the hollow core doors from their frames, I also remove the handles. I then mark the tops of each door. This allows me to know which doors go where because rectangular doors fit very specifically in their jambs.
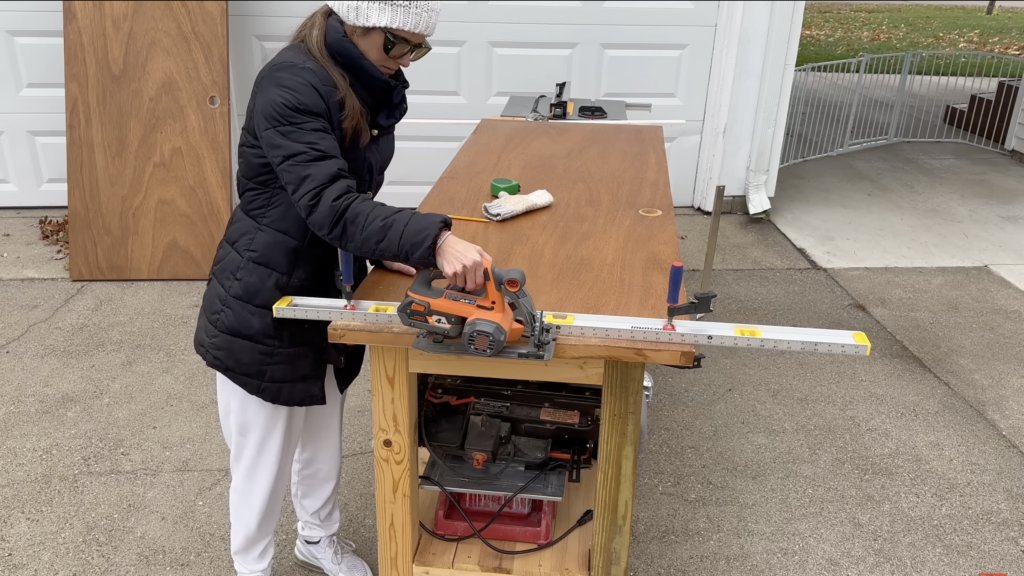
Cutting Hollow Core Doors
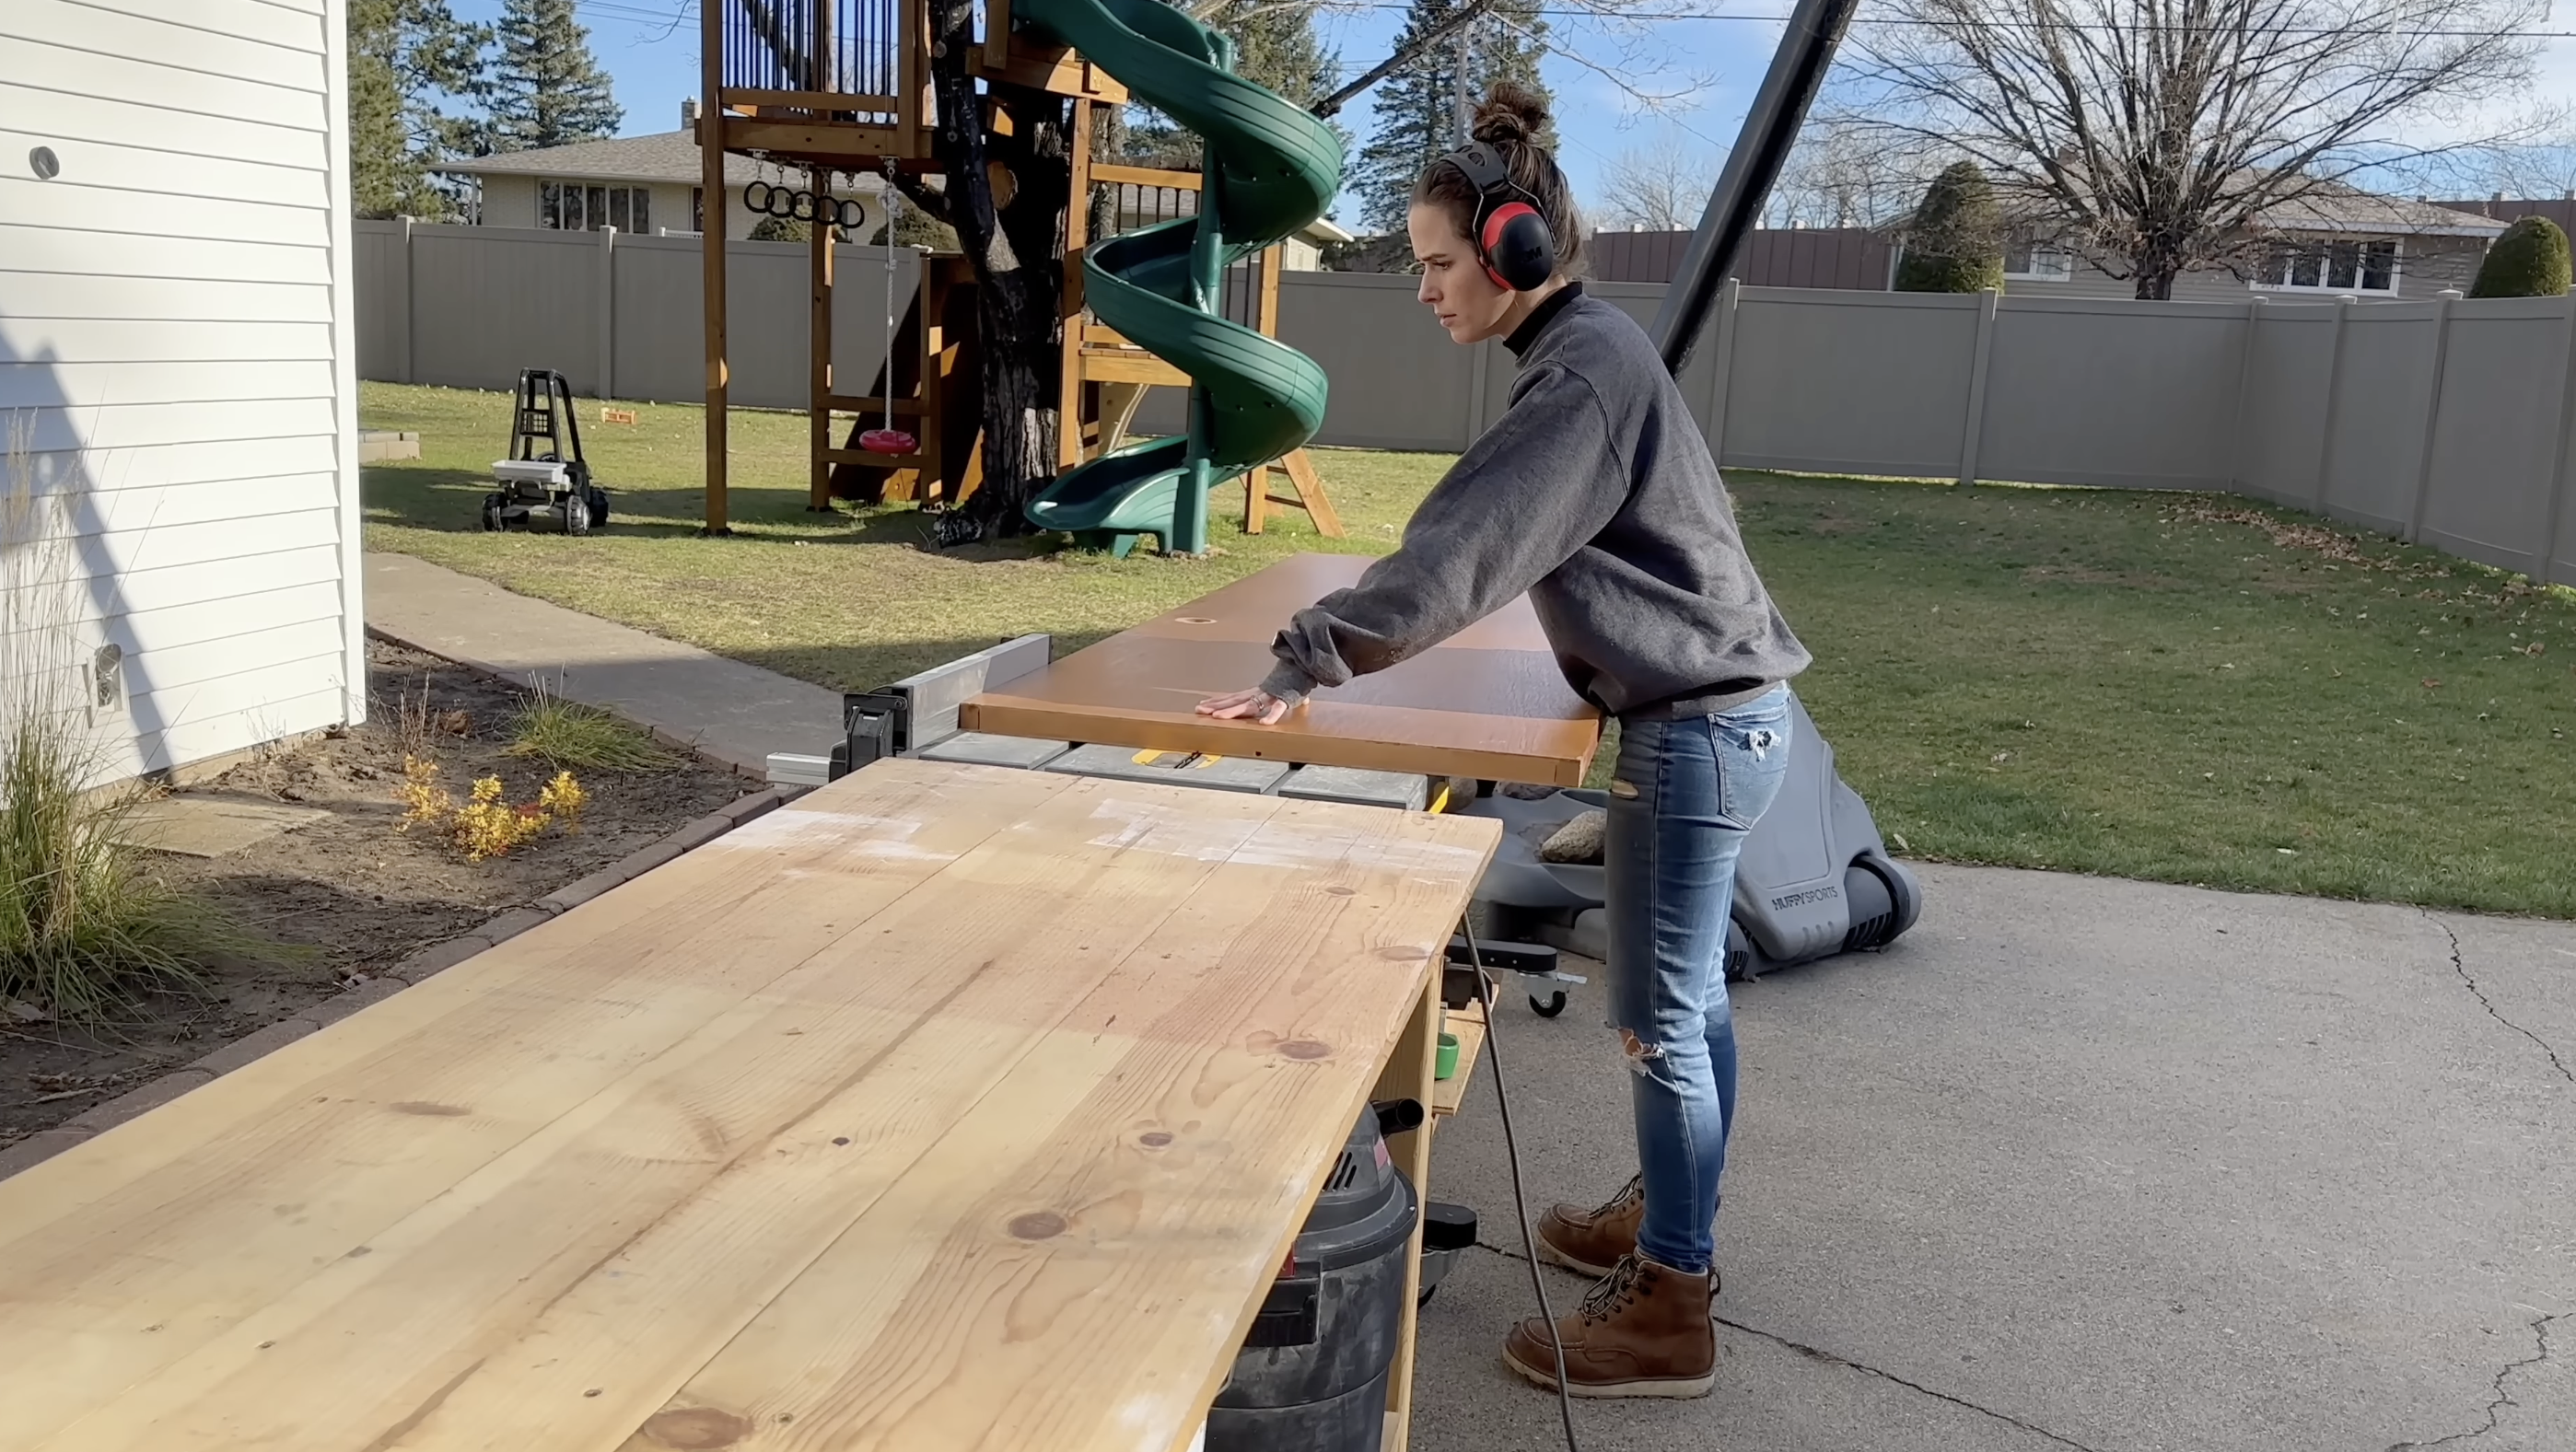
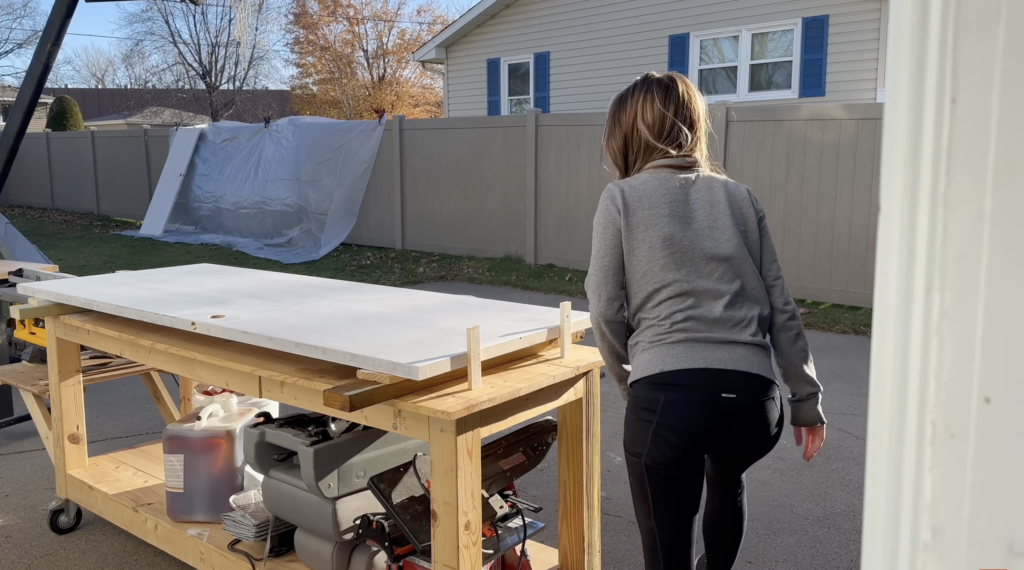
The bottom of these hollow core doors were cut very unevenly from when the carpeting was originally installed. Because of this the first thing to do is square off the bottom. I cross cut the bottom of the hollow doors. I do this by measuring from the top, clamping a straight edge, then running my circular saw against the straight edge to square up the base of the door.
Filling Blemishes and Sanding
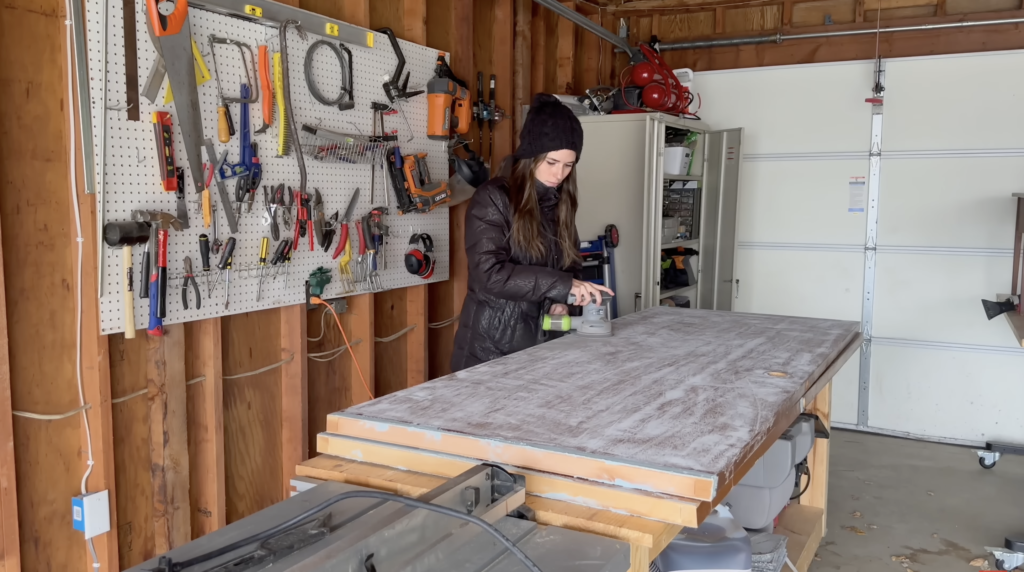
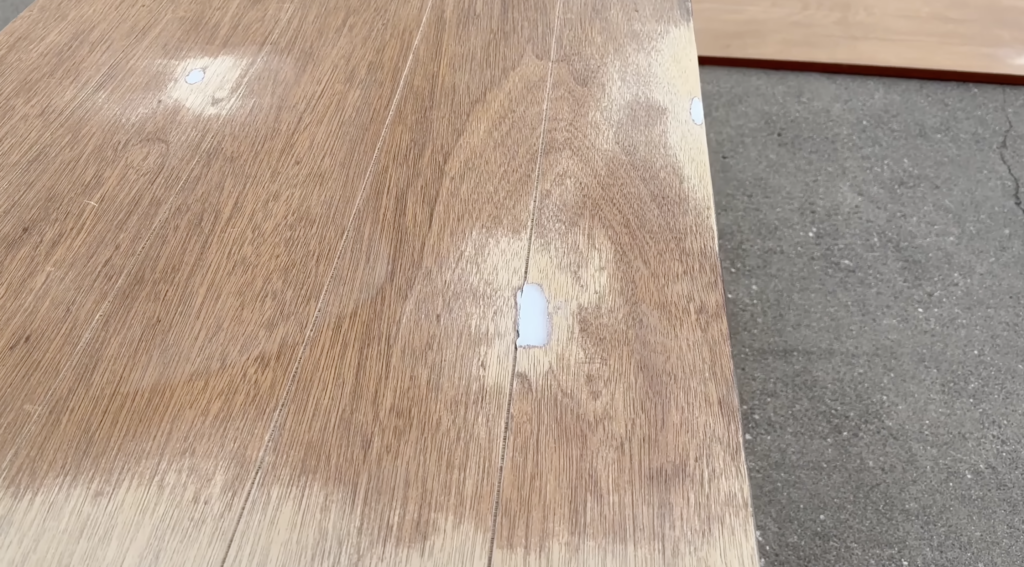
After I complete the cutting of the hollow core doors it is time to fill blemishes and sand. I begin by filling the blemishes with Two Part Putty Bondo. There are many dents and divots on these hollow doors that require filling. While the putty is drying I decide to try filling the grain on the hollow door panel with watered down Plaster of Paris. I actually didn’t do this on all of the doors because the extra work wasn’t worth it. I found that the grain was hardly visible after paint anyways. Once the putty is dry, I sand down the hollow core doors. I am using a 120 grit sandpaper and sand until it is smooth to the touch.

Hollow Core Doors Groove Cutting
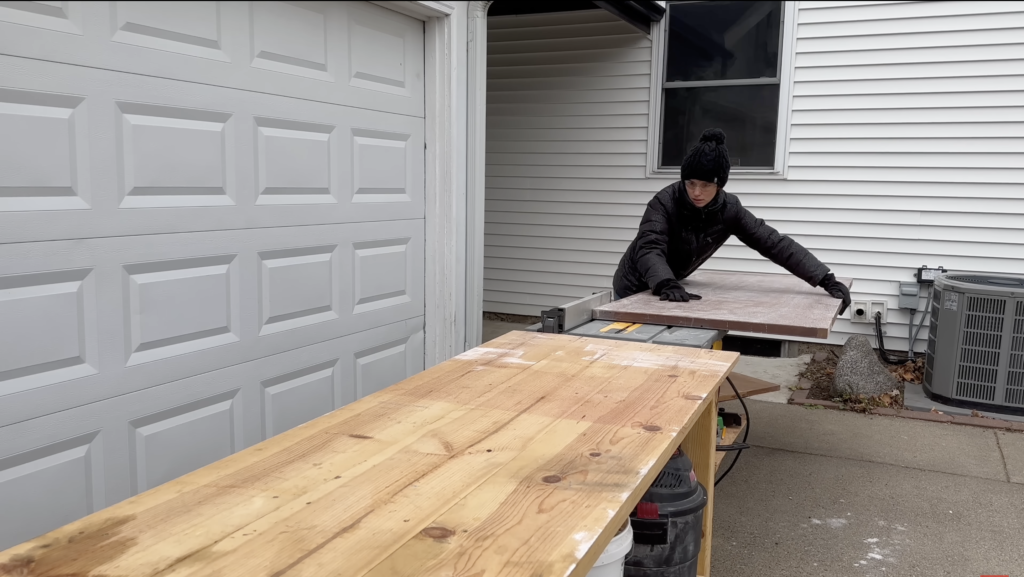
Now it is time to take the hollow doors over to my table saw. The blade is set extremely shallow, only 1/16th of an inch. I am creating grooves in the hollow door. The panel on the door is very thin, so I have to be careful not to cut through. I try to balance the bulky door through my table saw and this does not work well. My cut has some areas where the blade jarred side to side making a very ugly cut. I try again, this time I set up my Workpro adjustable workbench completely level with my table saw. This creates an infeed that can support the door all the way in through the table saw blade. My outfeed then supports the hollow door on the way out. This allows me to get the straight, smooth cut I was looking for.
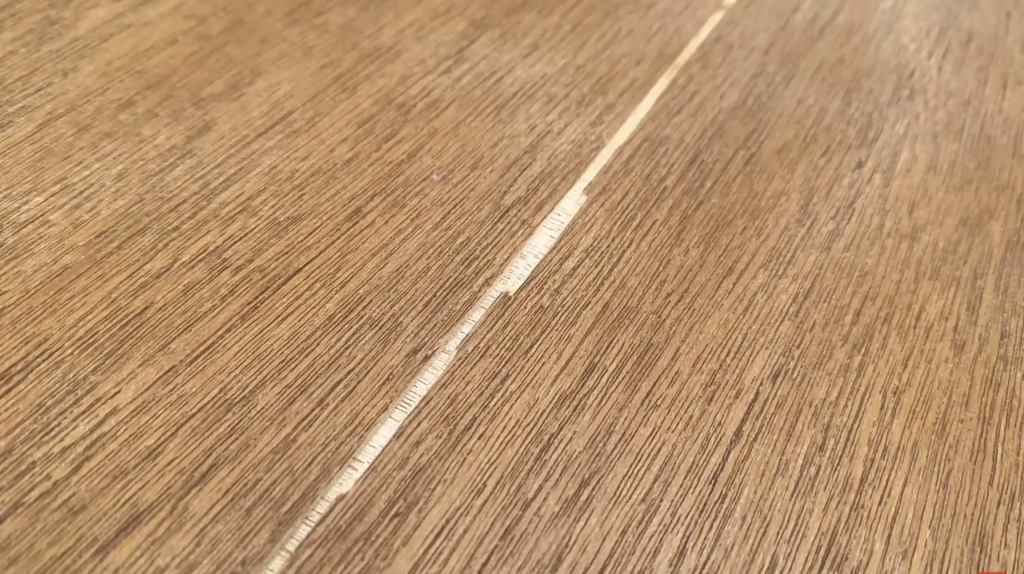
Fixing Ugly Cuts in the Door
The way I am fixing the cuts that are messed up is by filling them with Bondo. When the cut is filled I sand it smooth and run it through my table saw again. Because I cut the hollow door panel vertically there are some splintery pieces, so it’s important to run sandpaper through the grooves. After doing this I am also doing a quick sand across the top.
Prepping to Paint Hollow Core Doors
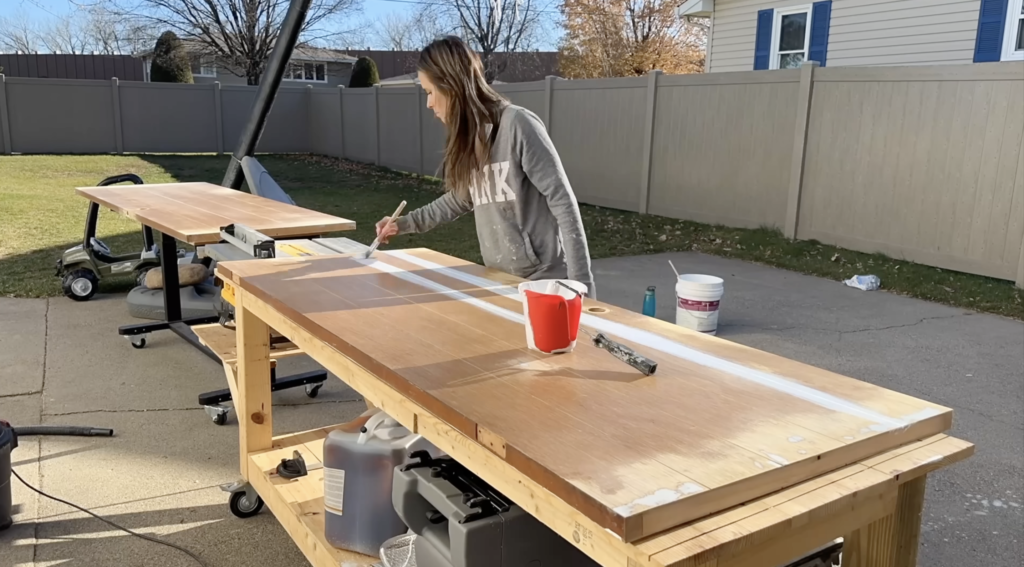
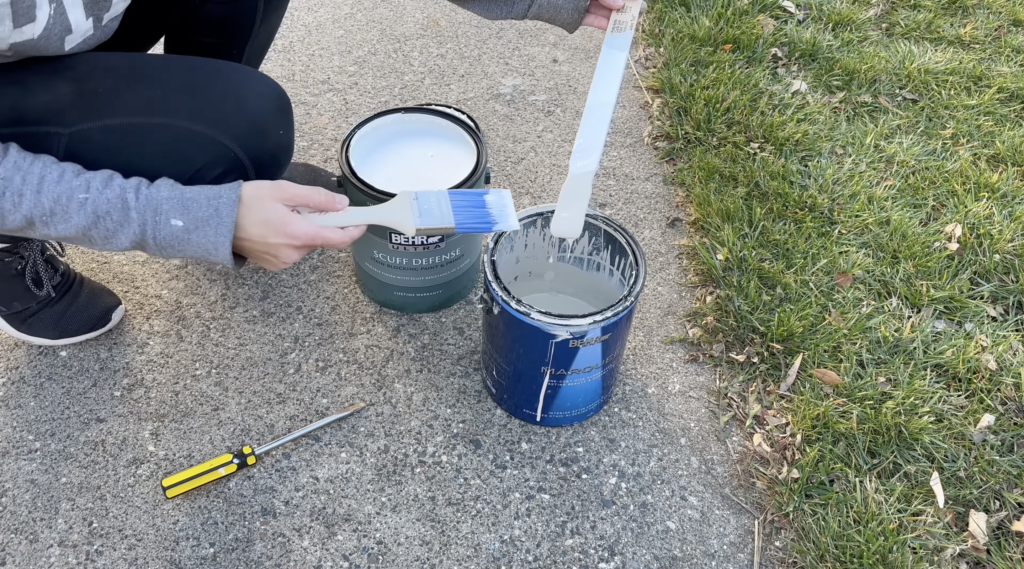
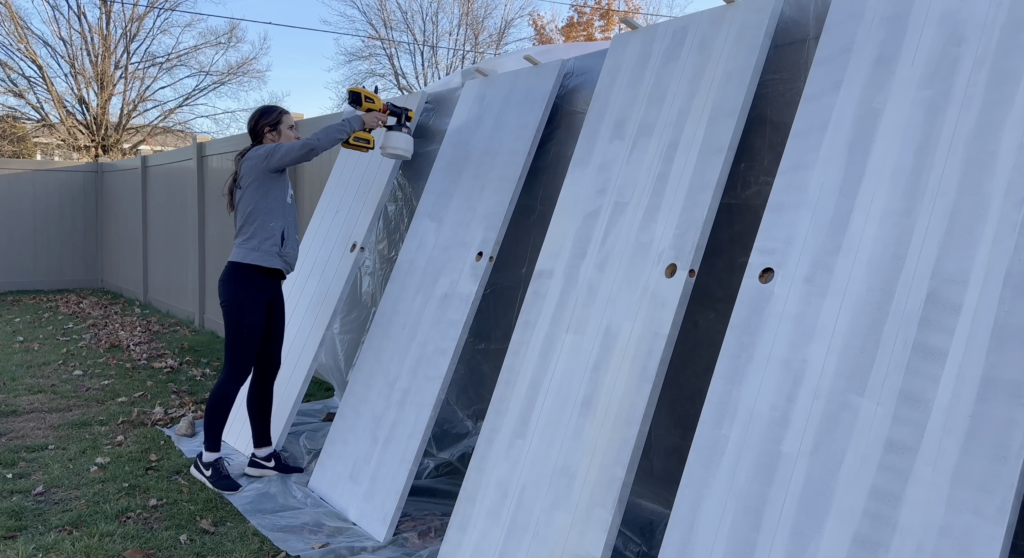
After sanding the doors smooth, I prime all six of the hollow core doors using a paint brush and a roller. I am painting the doors against my fence, so I have to set up a sheet of plastic to protect the fence from overspray. I am also nailing small scrap pieces of wood into the top of each door so when I lean them against the fence the painted surface will not touch the plastic.
Painting the Doors
It took me a long time to decide what paint color to use, but I decided to use the same color that is on the wall, French beige. (Check out the space I am matching the doors to here.) I am watering the color down so it can go through my paint sprayer. I also am adding semi-gloss white paint which is durable for doors. The addition of this really lightens the wall color which is going to compliment the space nicely. Before I actually paint I am going to do one last quick sand. To do this I like to use a sheet of sandpaper wrapped around a peanut sponge so there are no sharp edges. I am doing this as a light knockdown do of any texture that may have come up with priming.
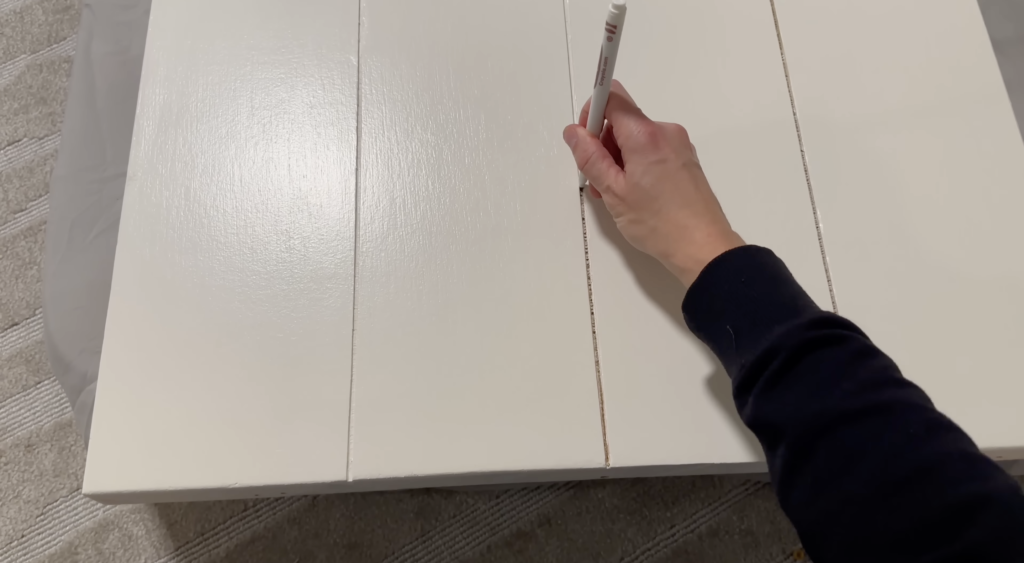
I am using a cordless spray gun to apply the paint to the doors for a perfectly smooth finish. Because of the scrap pieces of wood I can paint one side of the door and then carefully flip the door and continue painting. When the doors are done with their paint application I am highlighting the grooves that I cut using a brown paint pen. The reason I am doing this is because I am not planning on painting any of the trim of the jamb around the hollow doors and I wanted to use some brown on this design to pull it together and make it match.
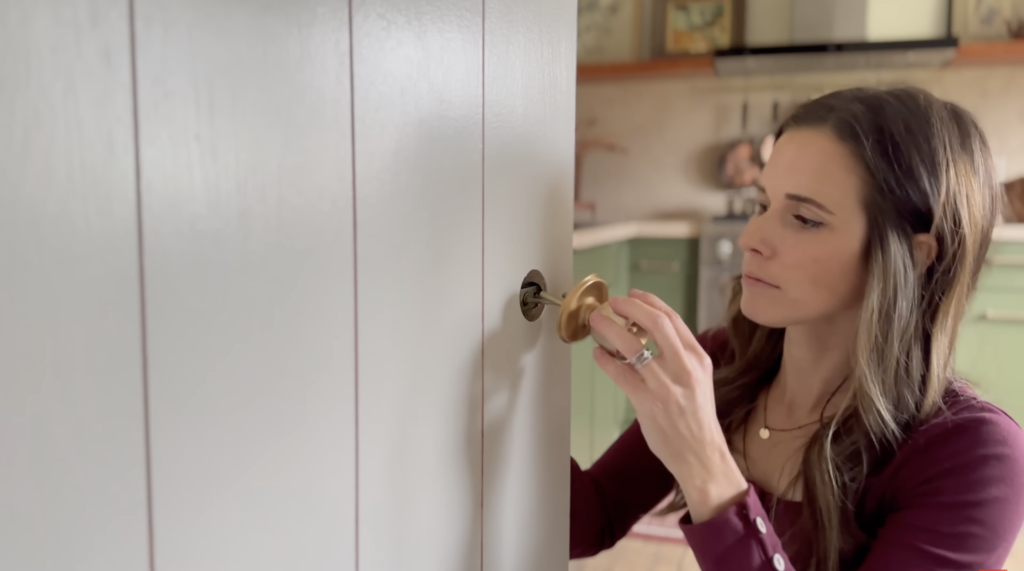
Hollow Doors Update Hardware
I am not going to replace the old hardware, rather I am going to shine up current hardware with Rub and Buff on the areas where the gold plating has worn away. Finally, I am putting the handles back on these hollow core doors and replacing them in their jambs.
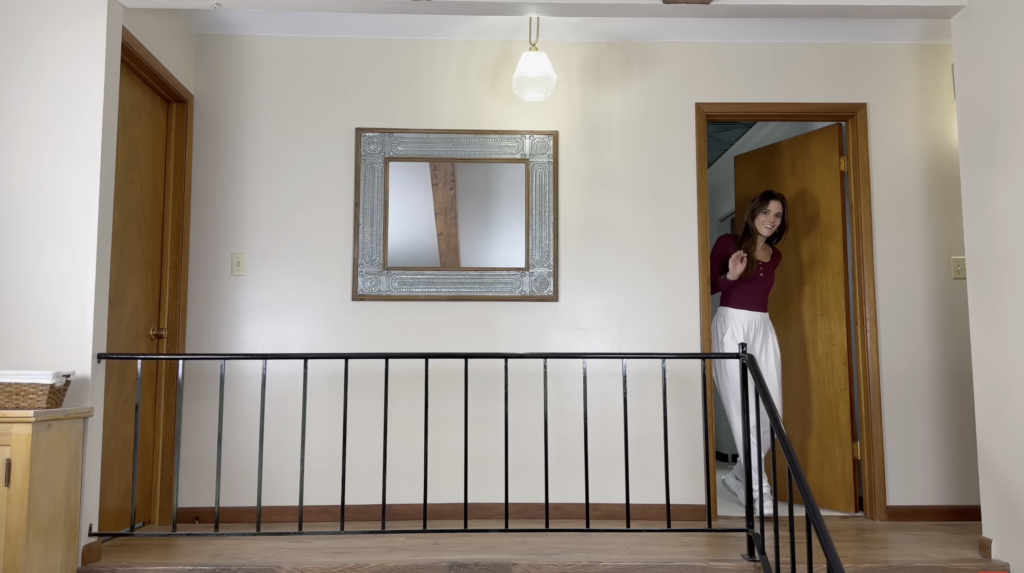
Hollow Core Doors Upgrade
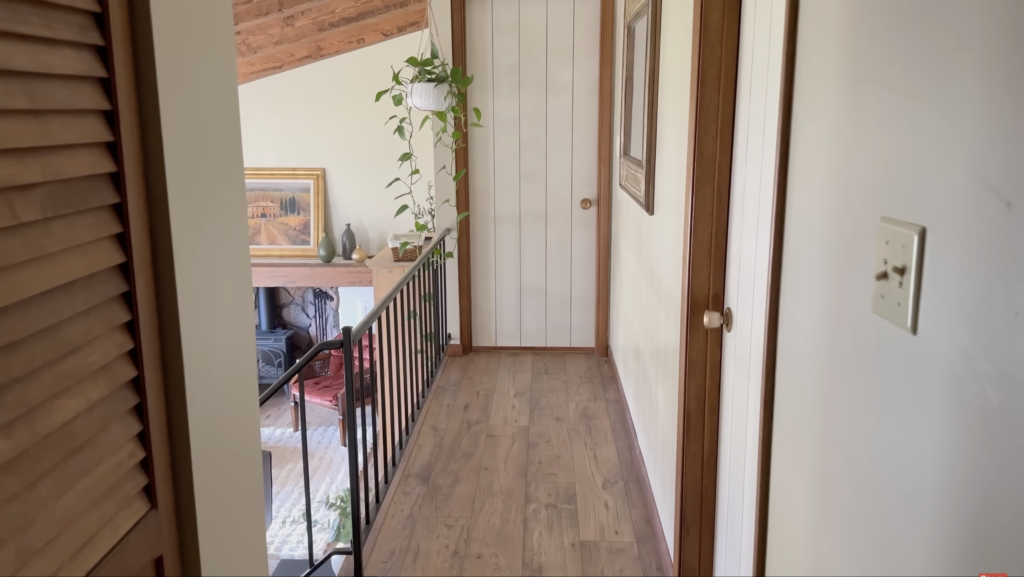
At this point you may be wondering what style I am going for with these doors. The goal is to mimic a plank style door, this is a primitive way of putting together a door that’s been around for a long time. It has a kind of modern look because the vertical lines look like tongue and groove shiplap. Plank style doors are also perfect for cottage style homes because it is such an old-fashioned way of putting together a door. This is a pretty minor change, but I think it adds more style and dimension to these hollow core doors.

Thank you for reading about my hollow core doors upgrade! This DIY was pretty simple in nature but did take some time to do. I’m happy I had the tools and materials on hand and didn’t have to buy anything new to get doors I really like! What do you think of the change? If you liked this interior upgrade DIY and want to see more, my post on how to lay self leveling concrete is a great place to start!