How to Lay Self-Leveling Concrete DIY
In the lake house I am renovating I have been working on an outdated bathroom. I am remodeling it entirely down to the studs. This is going to focus on what I did to the floor and how to lay self-leveling concrete.
This post may contain affiliate links or sponsored content. For full disclosures and practices, please visit my policy page.
Table of Contents
- Removing the Current Flooring
- Prepping the Floor
- Priming
- Prepping the Concrete
- How to Lay Self-Leveling Concrete
- The After!
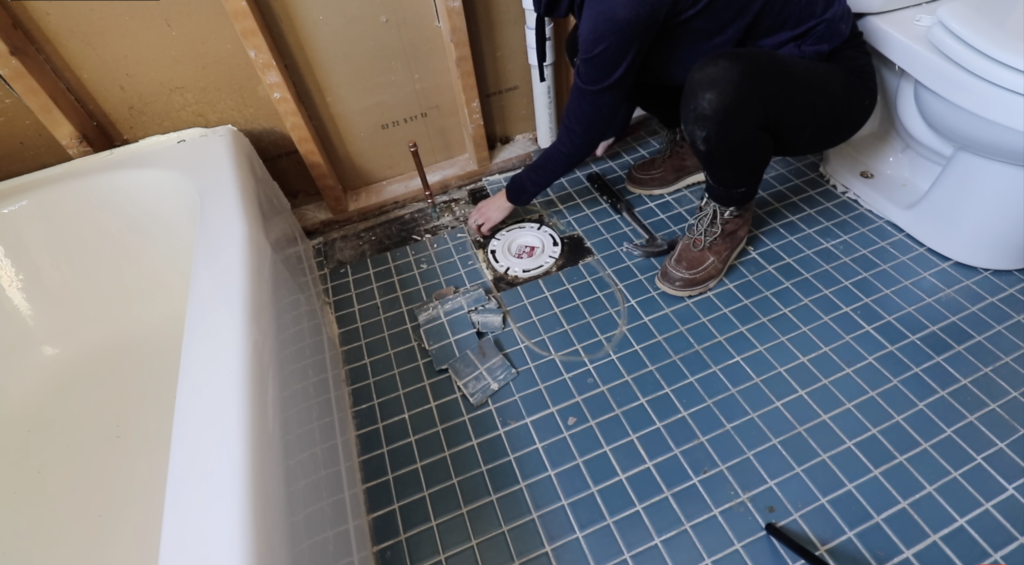
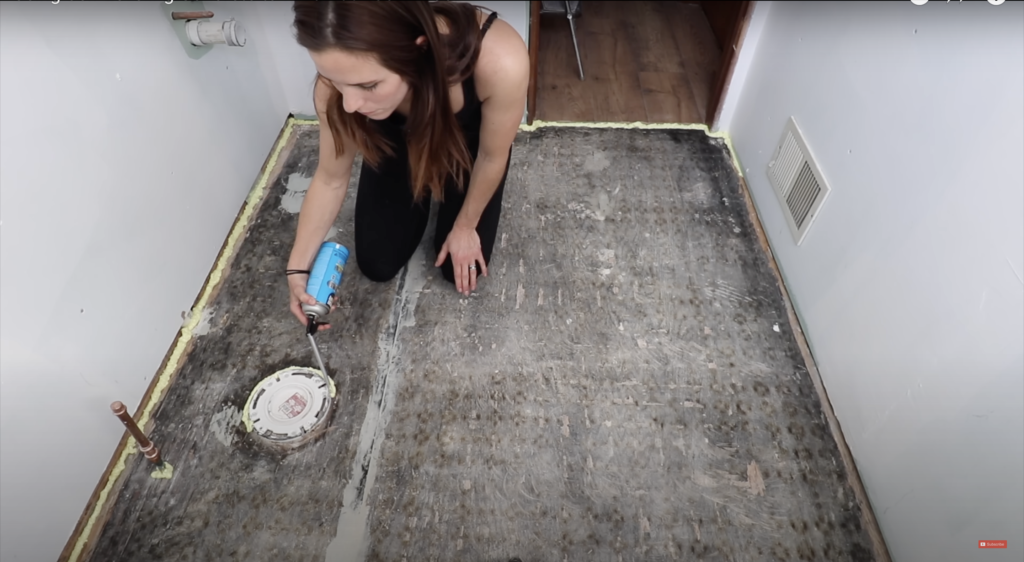
Getting Rid of the Current Flooring
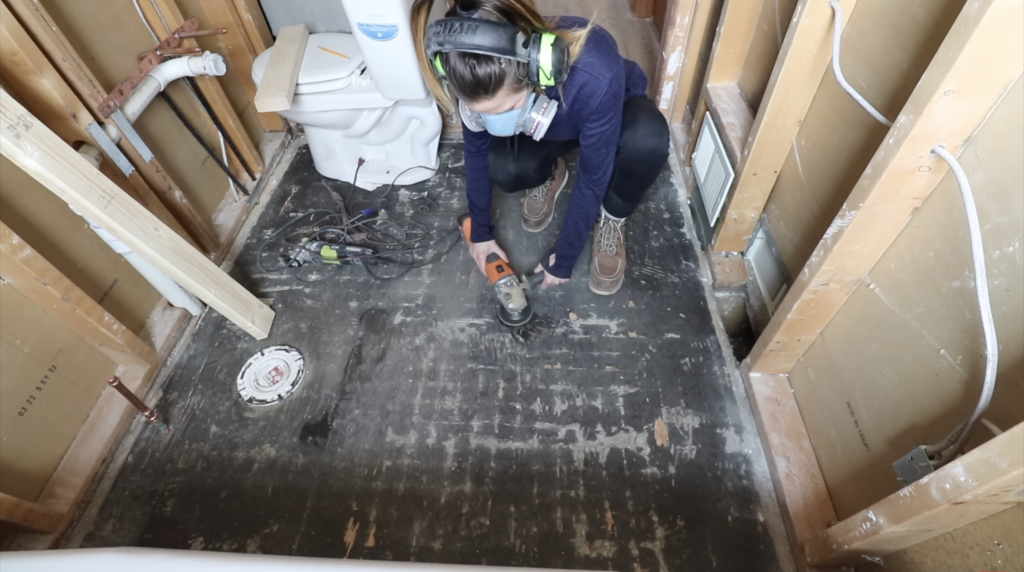
My initial plan was to lay overtop of the current tile, but a lot of it is damaged. The plumber came to do some work for me and he damaged more of it. So, I am starting by removing the floor tile and starting to build back. After all of the tile is removed I use my Oscillating Multi-Tool and Grinder to scrape the dried mortar off of the subfloor. The mortar bed needs to come off the subfloor because I need the floor flat. No matter what new floor option I do a flat subfloor is super important.
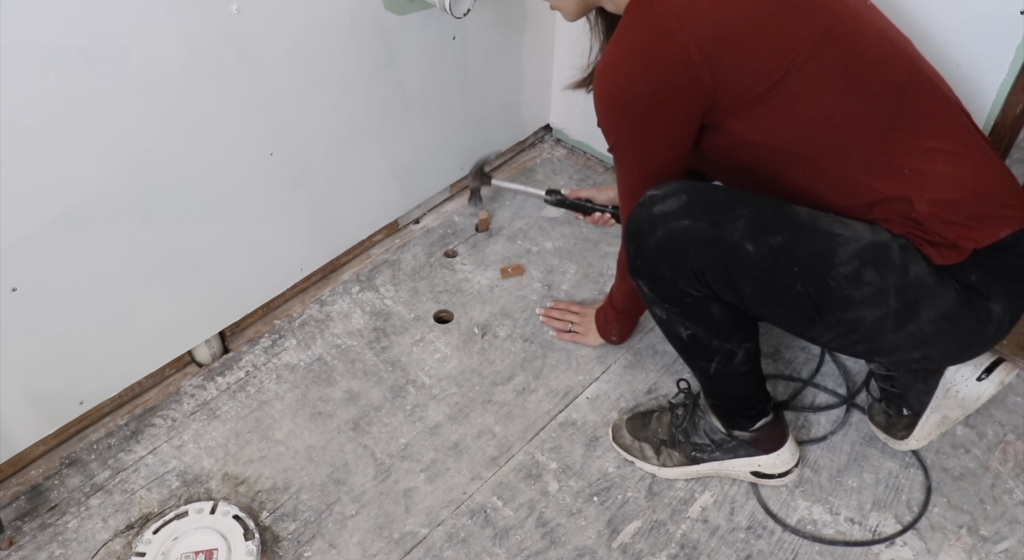
Prep Process Before Laying Self-Leveling Concrete
When the mortar was ground off, I saw that the subfloor was in super bad shape with gauges and holes from the plumbing I had moved. To fill the holes, I am taking blocks of wood and hammering them in. Then I put Bondo over the top. I am also filling the seam between the sheets of subfloor with the Bondo. I also need to build up a curb around other areas like the toilet flange, around a pipe that comes in, and around the edge of the wall. To do this I am using window & door Great Stuff because it does not expand a lot, so it is going to give me the right amount of curb. I am also adding some screws to get rid of the squeaking of the floor.
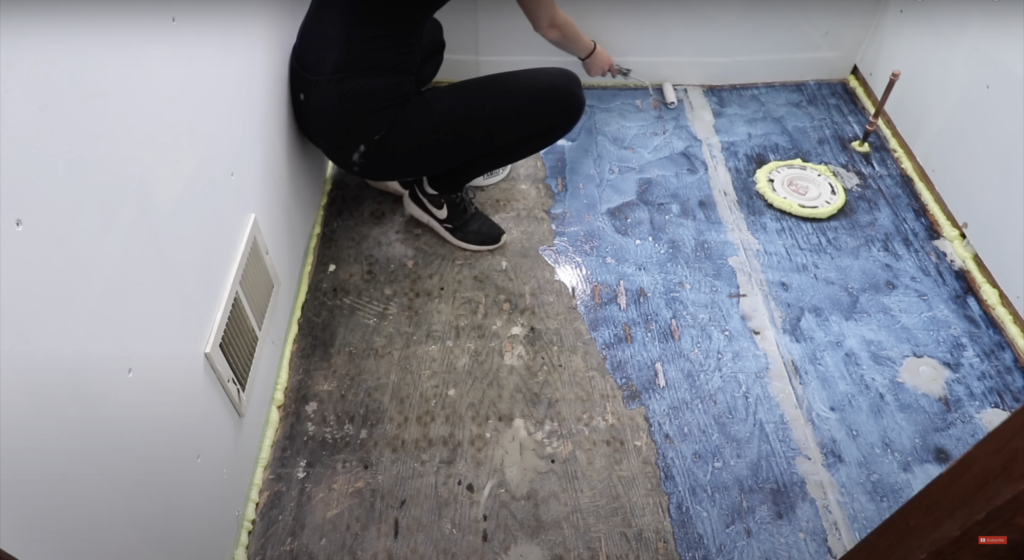
Priming the Floor
Now the floor needs a good vacuum and wipe down before I go in with primer. I am using LevelQuick primer. This primer is going to help my self-leveling concrete stick to the plywood subfloor. I think of my exit strategy while I prime so I do not have to step on the primer after it has been laid down. After an hour I am going to put on a second coat just to make sure, especially because my floor has these gauges in it. I really want to make sure that the primer adheres. Once the primer has dried, I am adding some silicone caulking along the Great Stuff foam. I do this as insurance to make sure none of the self-leveling concrete gets under those areas.
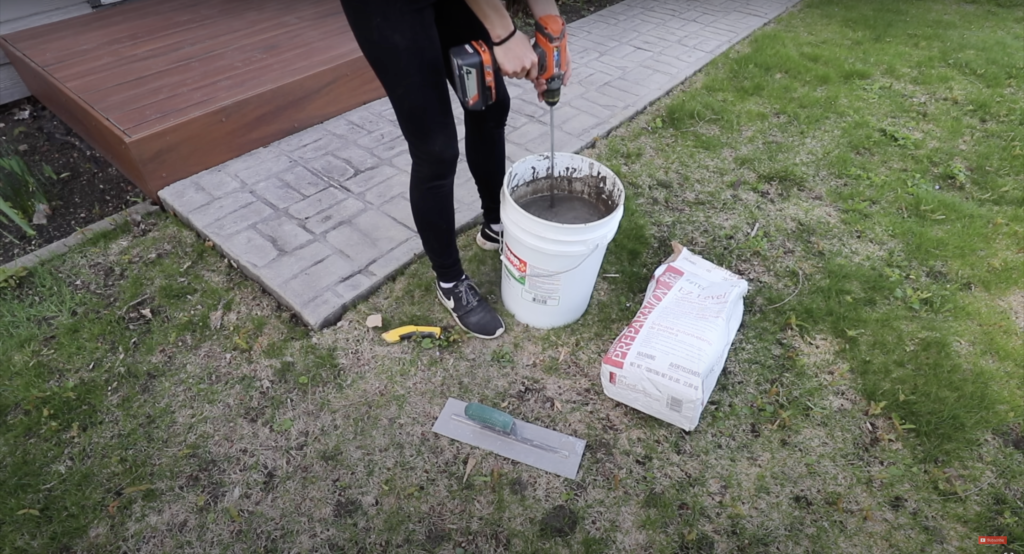
Preparing the Self-Leveling Concrete
When using self-leveling concrete you have to follow the instructions on the bag very closely. I am using Rapid Set self-leveling concrete. If you do not follow the specific measurements the concrete will not flow or self-level properly. I mixed mine in a large clean bucket with my drill and a mixing paddle attachment.
How to Lay Self-Leveling Concrete
When I begin to lay self-leveling concrete I start by just pouring out small portions. I am not too worried about testing the level because the subfloor I am working with is already pretty level. I just need to agitate the product so it can move into all the spots that it needs to go. Once it gets to the places it needs to be it can flow and move, but if it is not agitated into a spot, it may not make it there. Because of this, it is super important to move the self-leveling concrete to all areas of the floor. I only have 20 minutes to work with this self-leveling concrete before it begins to harden, so working quickly is important. Once it is all laid, I am leaving it overnight to dry.


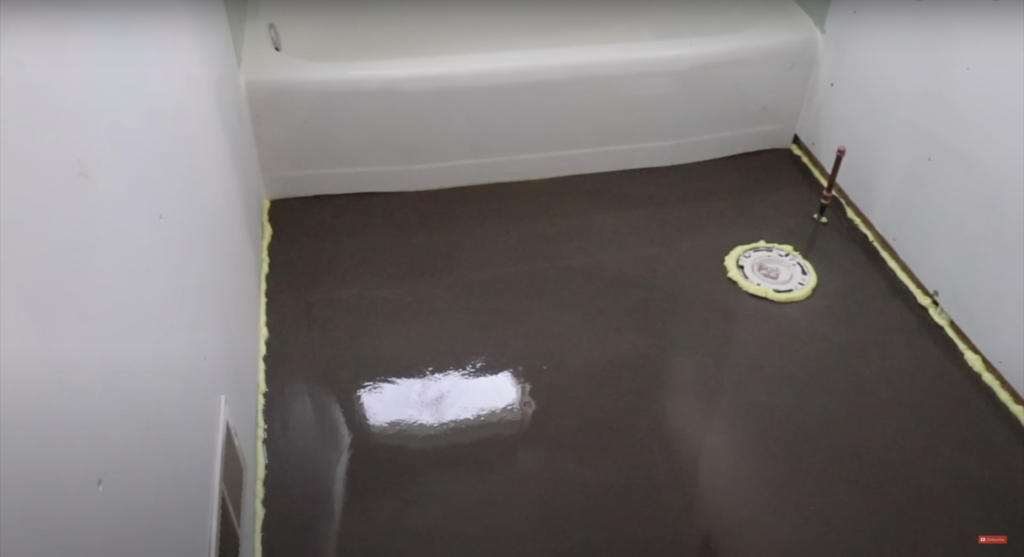
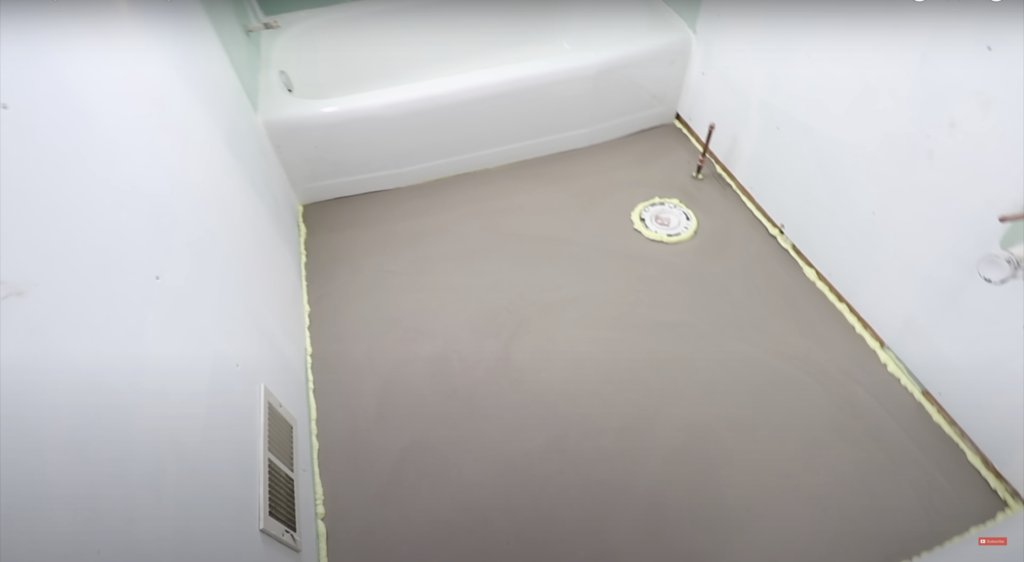
After Laying Self Leveling Concrete
I came back in the morning to see how the floor looks after I laid self-leveling concrete and it looks so good! Now I am using a utility knife to cut away the foam that I put around many parts of the bathroom. I lay down my flooring once the foam is cleaned up. This flooring is LVT, it is made to look like tile but it is made of vinyl and is waterproof. If you want to know more about how to lay flooring, I have a video on how to do it here!

If you want to see how the end result of this bathroom check out the DIY Small Bathroom Remodel!