How to Tile a Shower the Easy Way
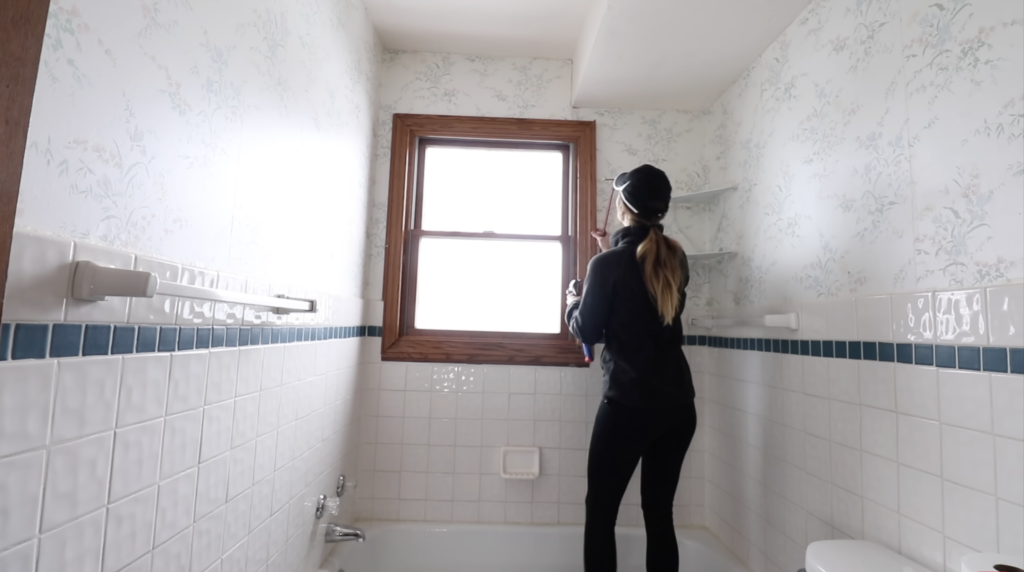
The small bathroom I have been renovating has a bathtub, but no shower. To transform this space into a full shower and tub I had to learn how to tile a shower, the easy way!

This post may contain affiliate links or sponsored content. For full disclosures and practices, please visit my policy page.
Table of Contents
- Demo and Plumbing
- New Base for the Shower Walls
- Waterproofing the Walls
- Using Musselbound
- How to Tile a Shower
Demolition and Plumbing
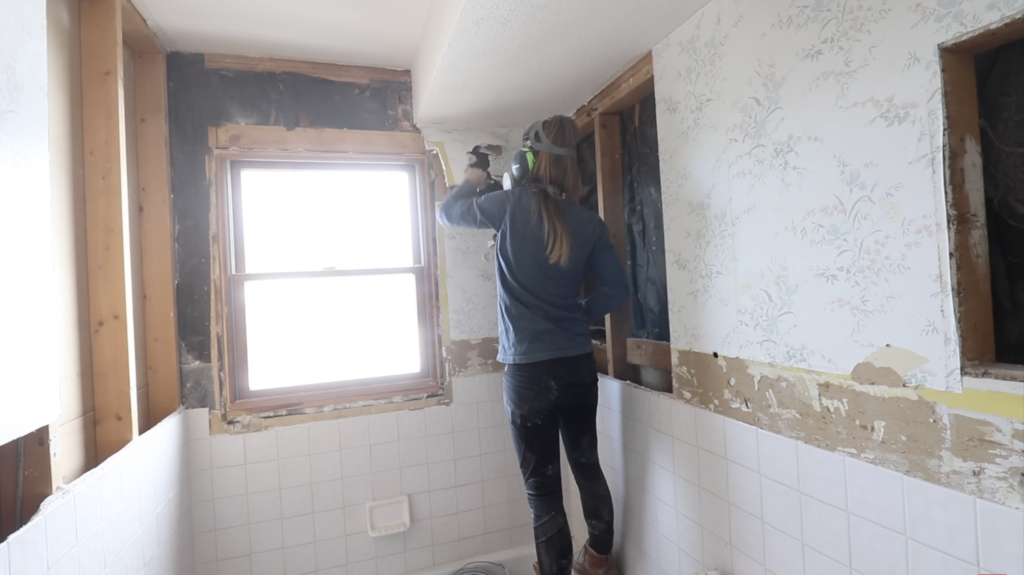
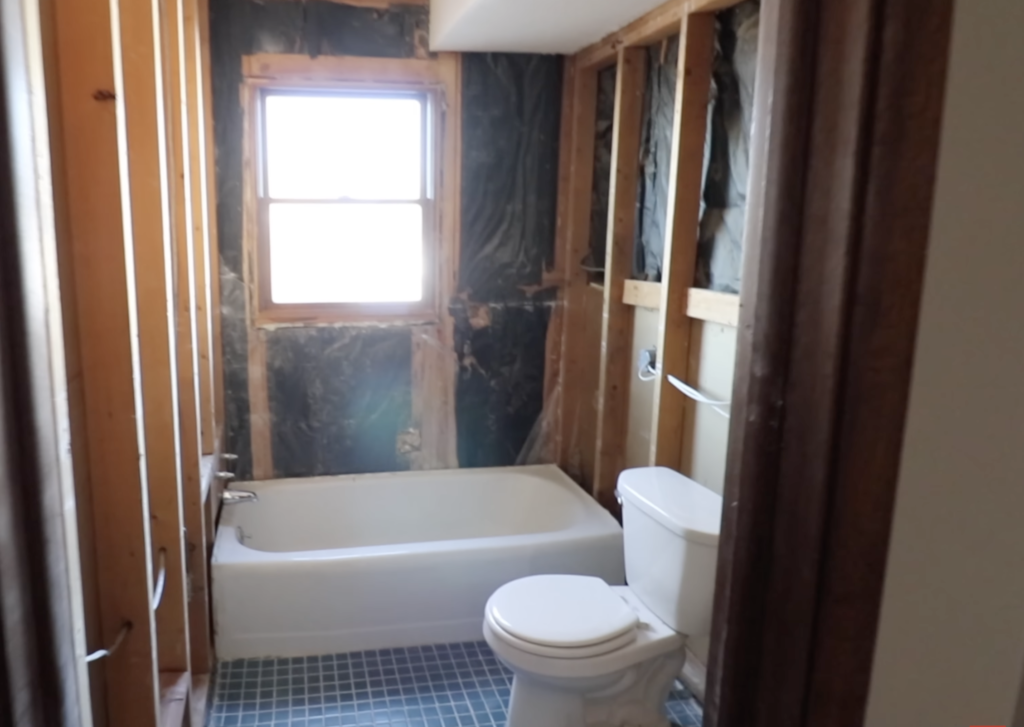
To begin this project I demolish the walls down to the studs. Once the walls are completely demolished I call my plumber. He came and extended my plumbing that went to my tub. He brought the plumbing up the wall to create a shower system as well. The next step in my demolition was to remove and replace the old insulation and the old window.
New Base for the Shower Walls
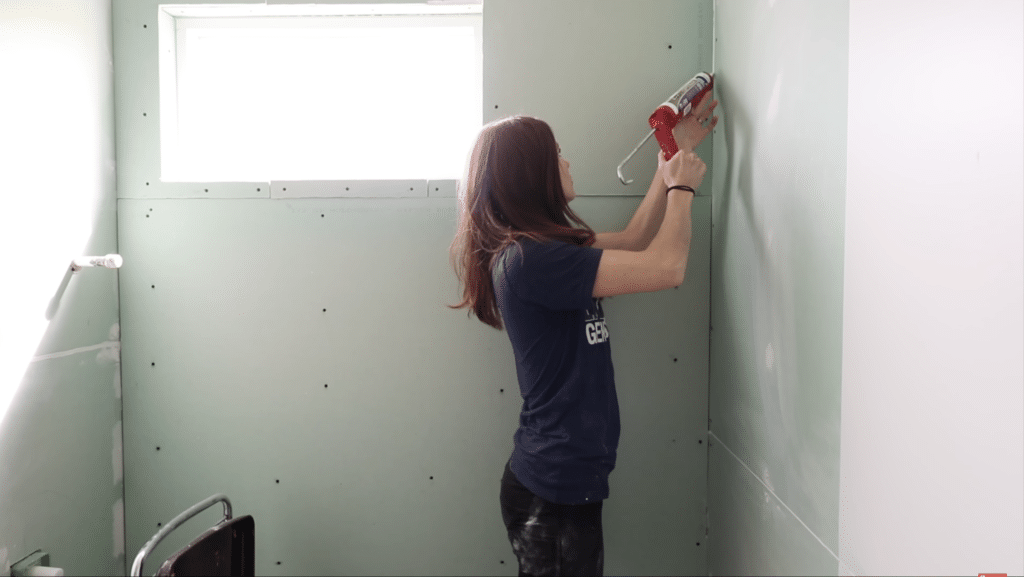
After the insulation and window have been replaced I am putting up new drywall. When my drywall is all in place it is time to caulk the seams. I am choosing to do this instead of drywall mud because I need it to be not water permeable. Using caulk does require some precision. My drywall seams have to be within an eighth of an inch apart for the caulking method to work.
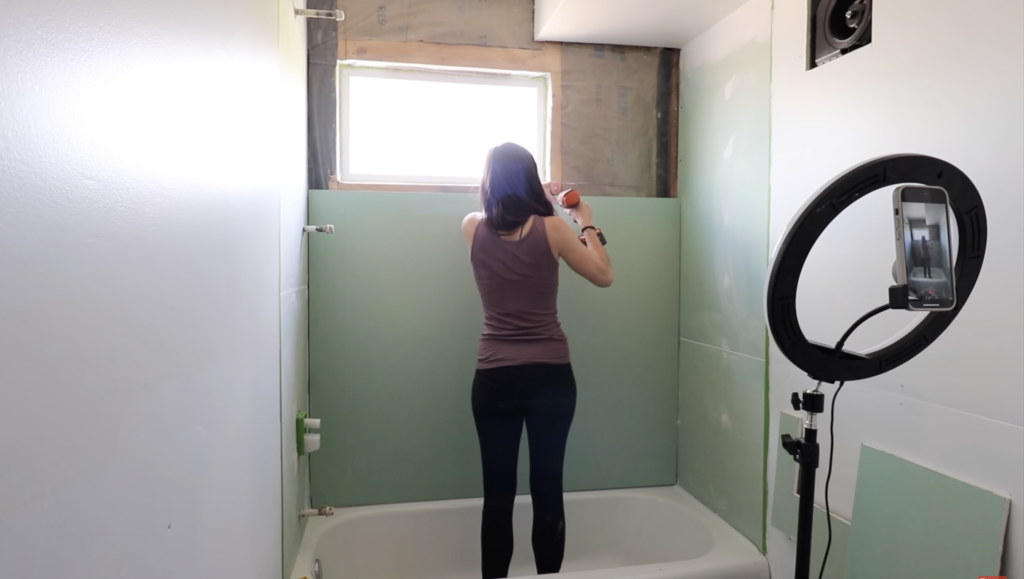
Waterproofing the Walls
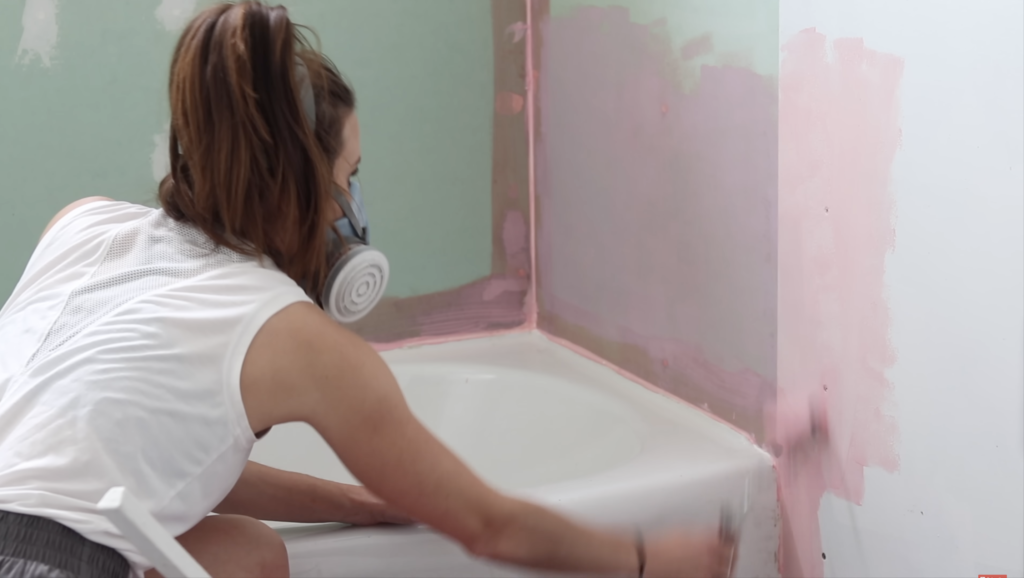
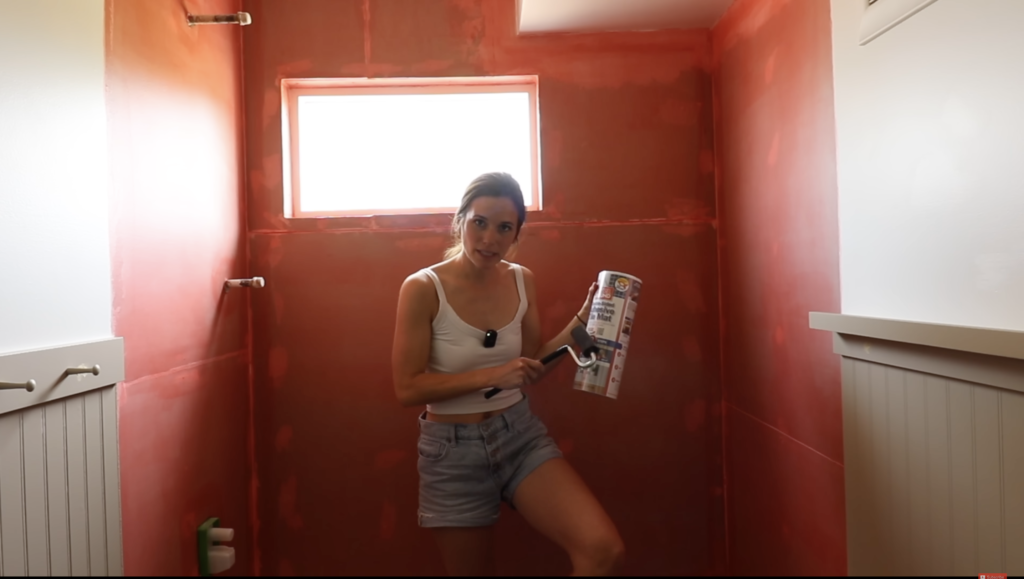
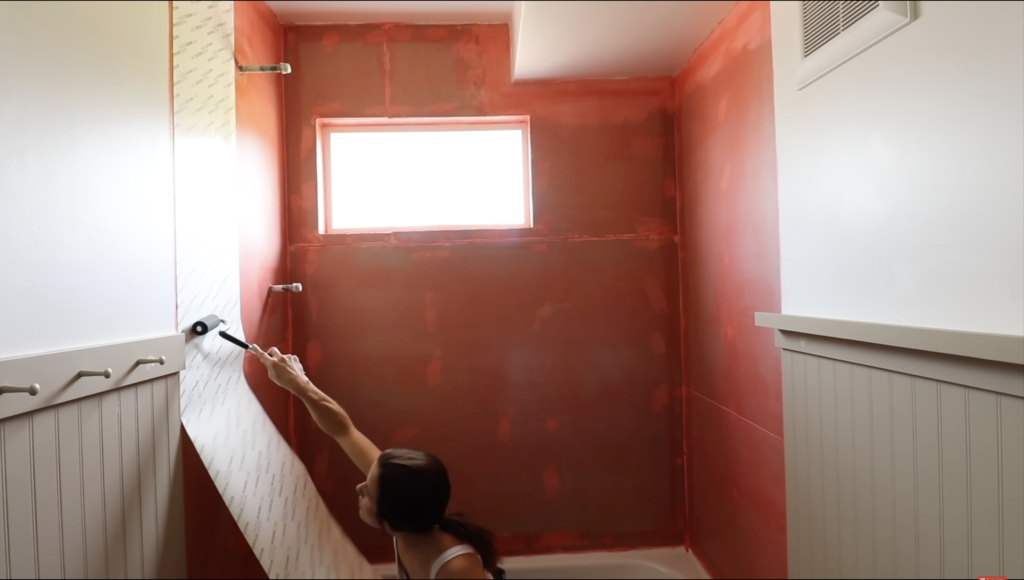
The caulk was the first step in waterproofing the base of the shower walls. The next step in waterproofing is RedGard. This is a waterproofing membrane that you roll onto the drywall. To apply this you must use thin layers. I am doing three layers to make sure I have a built-up and continuous membrane across all of the drywall. I start by using a brush to apply the RedGard to the corners and any edges like the ceiling. Then, I used a roller to do the rest of the wall. I am also going to roll this onto the wall beyond where the tile will be because this will protect an area where water can also be sprayed on.
How to Tile a Shower Using Musselbound
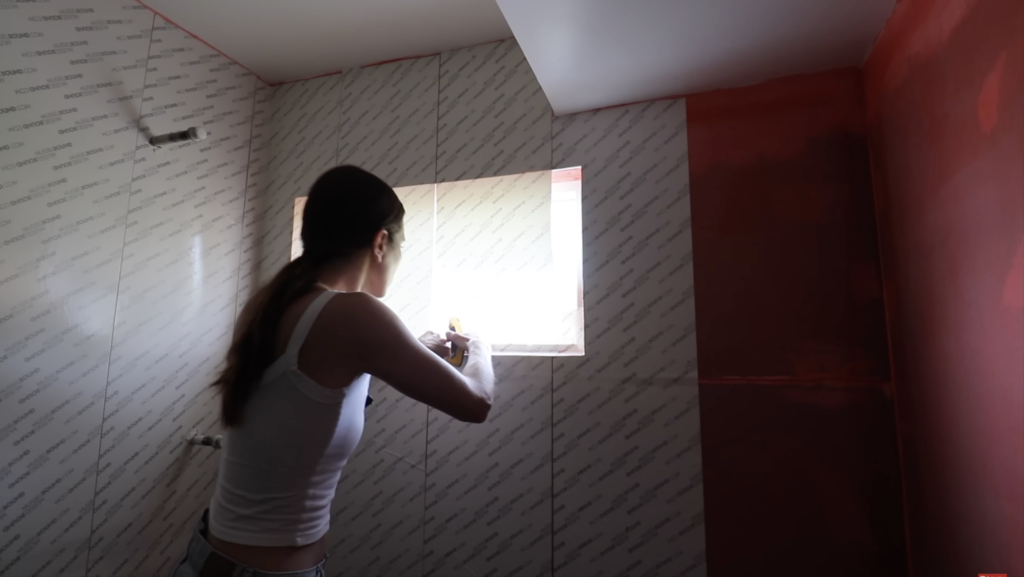
For this project, I am not using cement board to tile the shower, instead, I am using an innovative new product called Musslebound. This is essentially a waterproof sticker that is highly adhesive and you stick your tiles directly to it. Before applying Musslebound to the wall it has to be completely dry and completely flat.
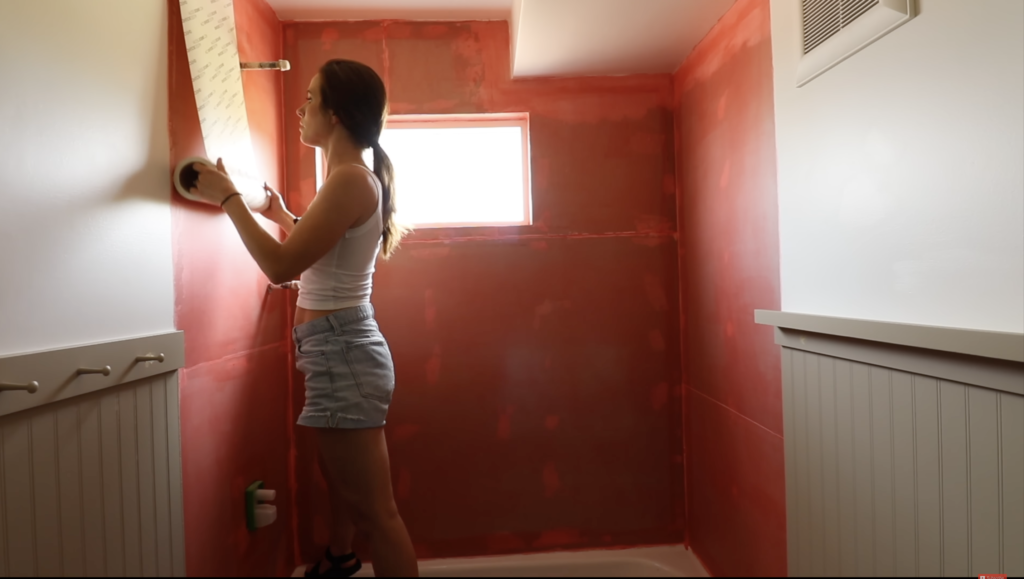
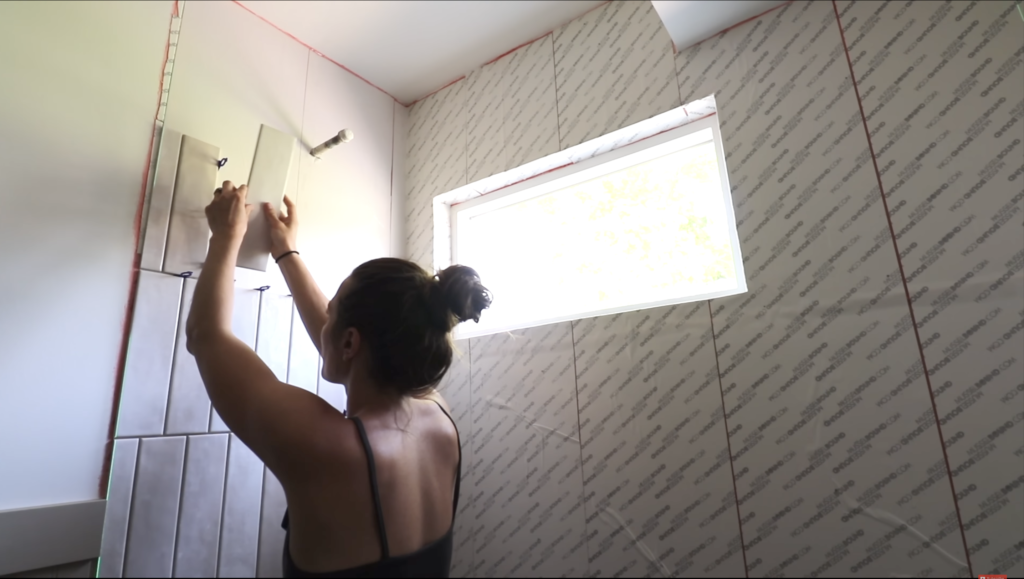
To apply this to the wall, stick the adhesive to the top of the shower wall, then begin rolling downwards. You have to push the adhesive to the wall as you are unrolling it, I am using a weighted roller, you have to push hard to make sure it sticks well. You can pull it up before completely sticking it down to adjust the mat and make sure it is flat. To cut the Musslebound around the shower lines, I cut an X and then popped it over. When I get to my window opening I am cutting and wrapping the Musslebound around that as well.
How to Tile a Shower
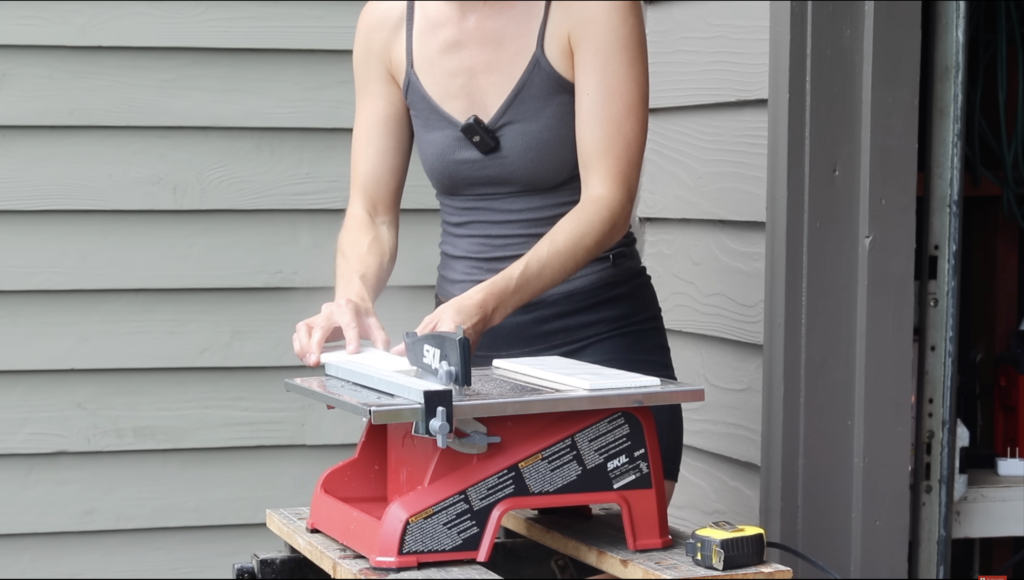
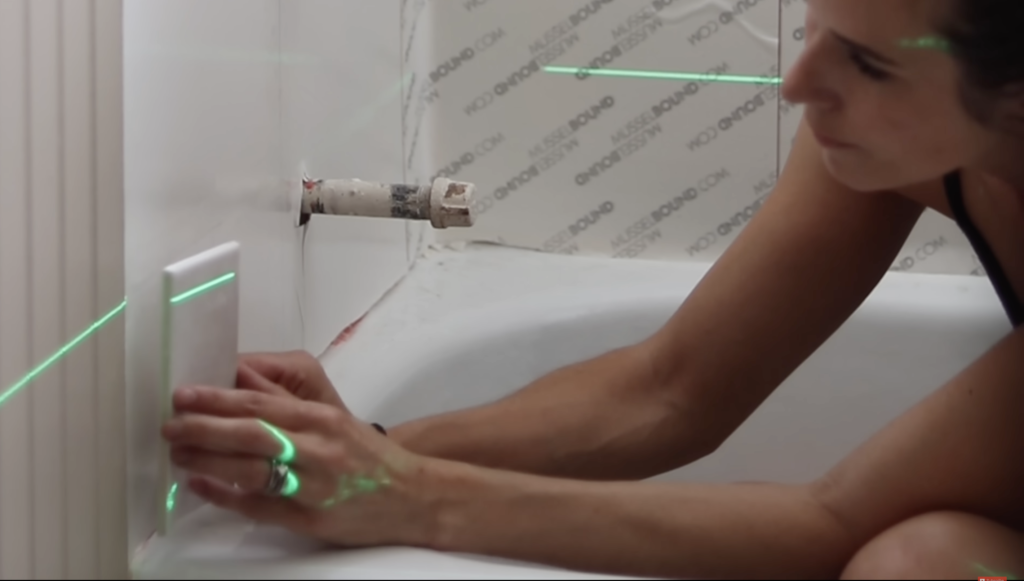
I have never tiled before, so that means I had to buy myself a wet saw to cut the tile! Before I do anything I do a lot of pre-planning as to how I am going to lay my tiles. This is important because the margin for error is very small when using Musslebound. I am cutting all of my tiles very carefully and lining them up with my laser level to make sure that they will all be straight. I do all of this without removing the liner from the Musslebound so I can mark and measure without permanently placing the tiles.

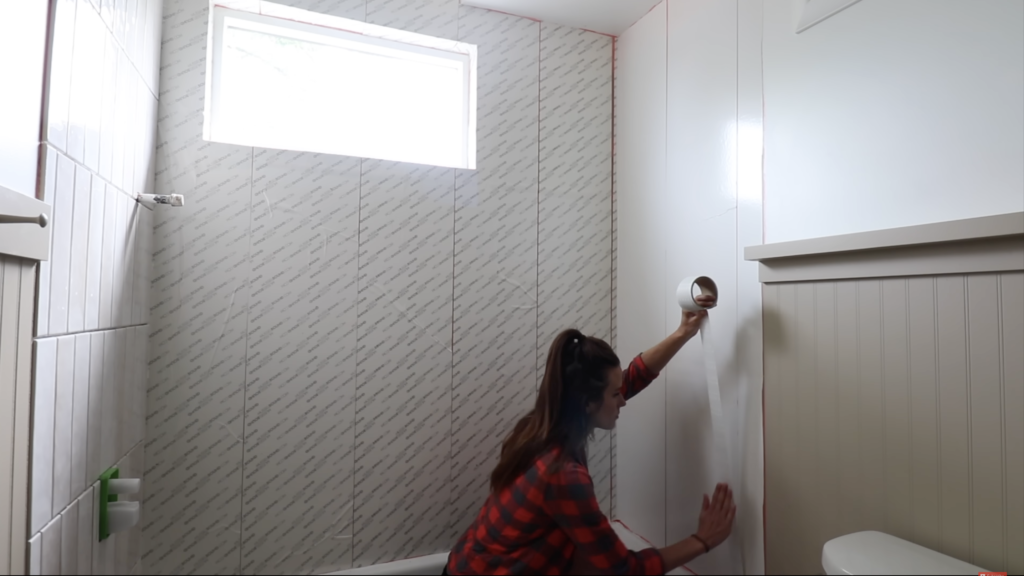
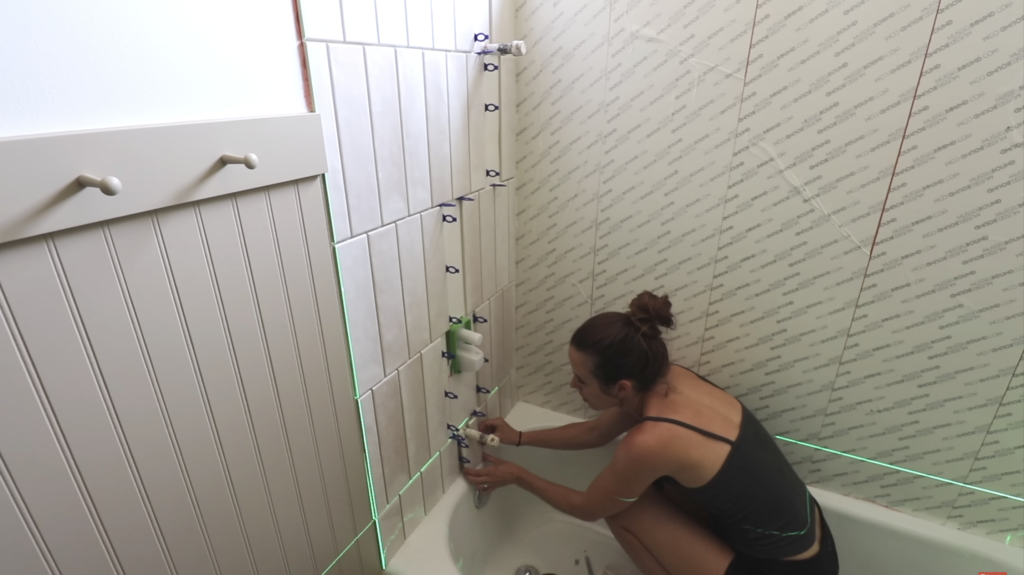
To make sure that the tiles adhere to the Musslebound I dried them off with a towel and put them out in the sun. When I remove the liner from the Musslebound, I apply seam tape up all of the seams so everything is continuously sticky. My tiles are being laid in a vertical staggered short-side pattern. I begin to lay my tiles by simply sticking them to the Musslebound with tile spacers in between every edge of the tile, the spacer I am using is 332. When I am placing the tiles I hold them for a few seconds to press them against the Musslebound to make sure they adhere. When all my tiles are laid, I go in and grout normally!
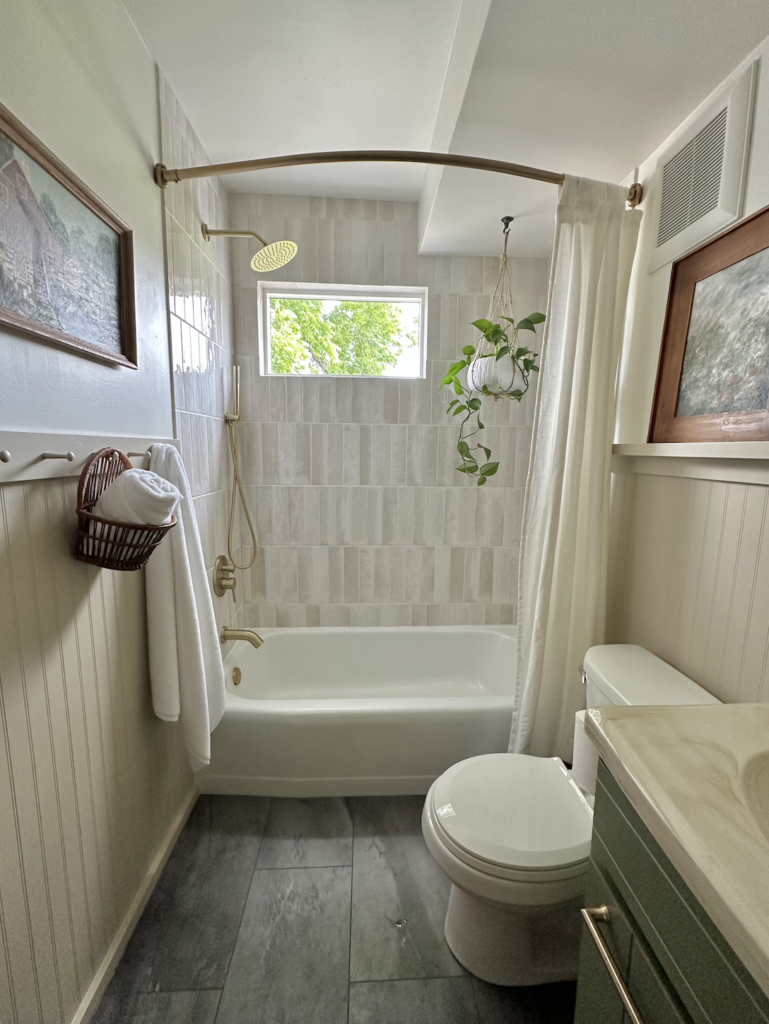
Now that my shower is tiled, I can continue the rest of my bathroom renovations. If you would like to see how the entire bathroom turned out click here!