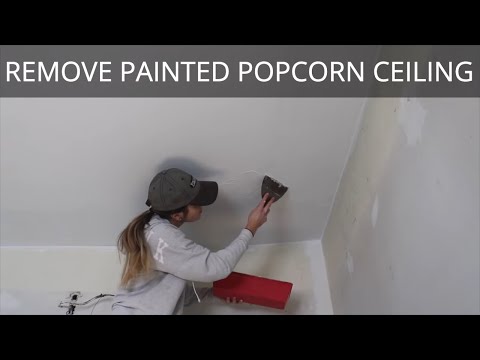
Scraping Popcorn Ceilings That Were Painted
As part of the kitchen renovation of the lake house I recently purchased, I removed the textured acoustic ceiling. It was quite the process to learn the do’s and don’ts for this DIY task. In the end I learned so much about scraping popcorn ceilings and making my new ones look beautiful with retexturing.
This post may contain affiliate links or sponsored content. For full disclosures and practices, please visit my policy page.
Table of Contents
Preparation for Scraping Popcorn Ceilings
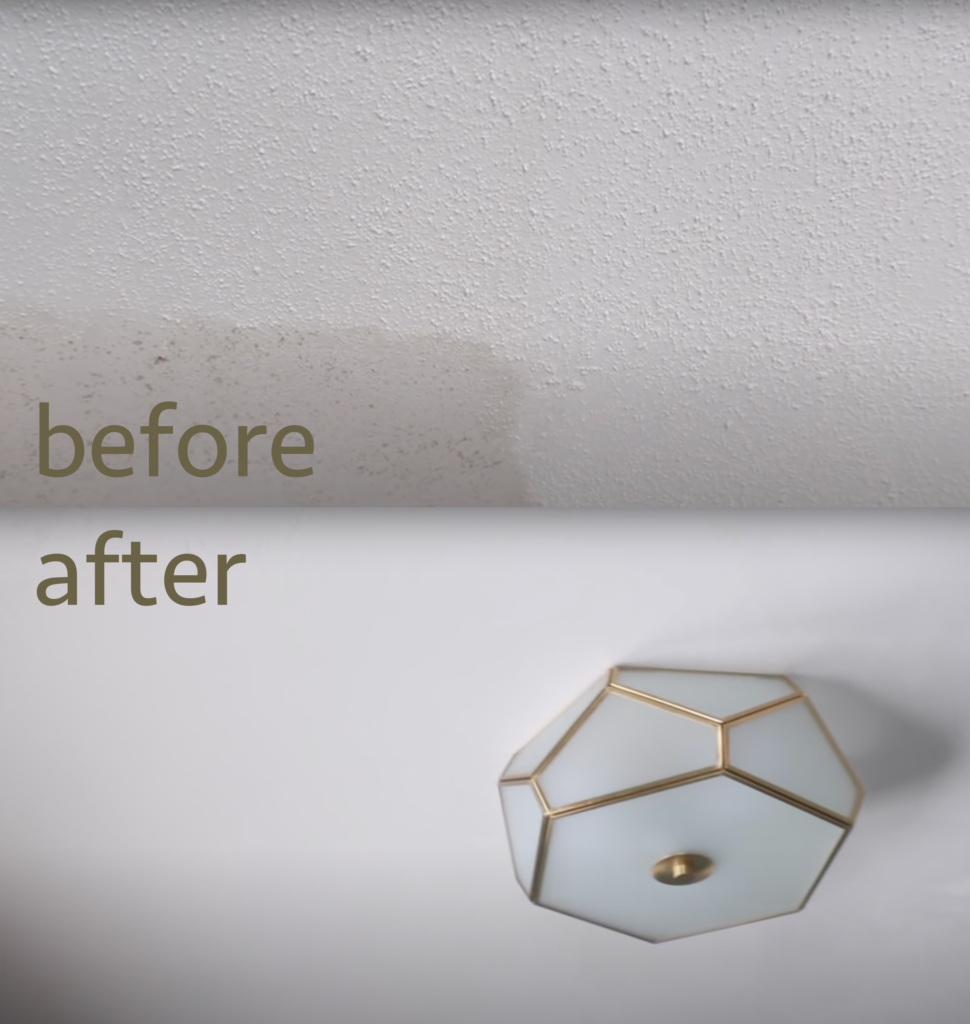
The first thing to do is take a sample of your ceiling and mail it to a lab to get tested for asbestos. A lot of times popcorn ceilings have asbestos and it’s unsafe to remove them. Mine fortunately came back negative for asbestos but it also came back showing that my popcorn ceilings had been painted. Now this posed kind of a problem: it is much more difficult to remove popcorn ceilings with paint.
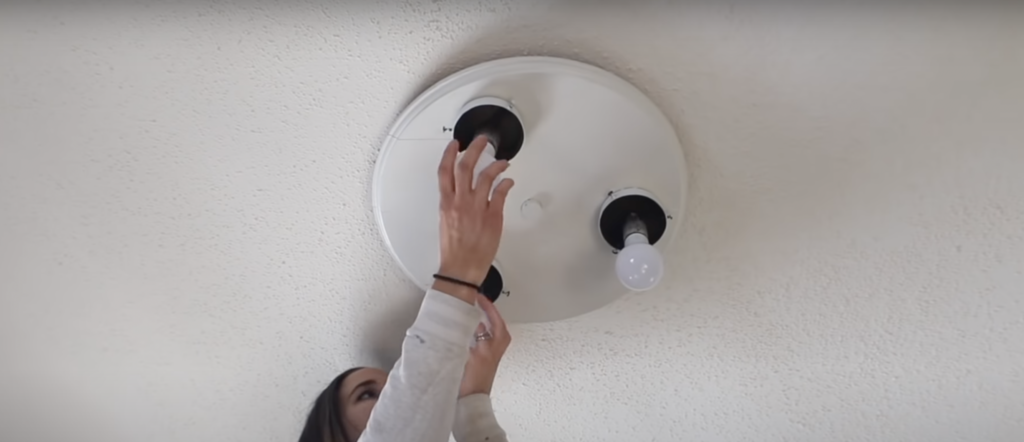
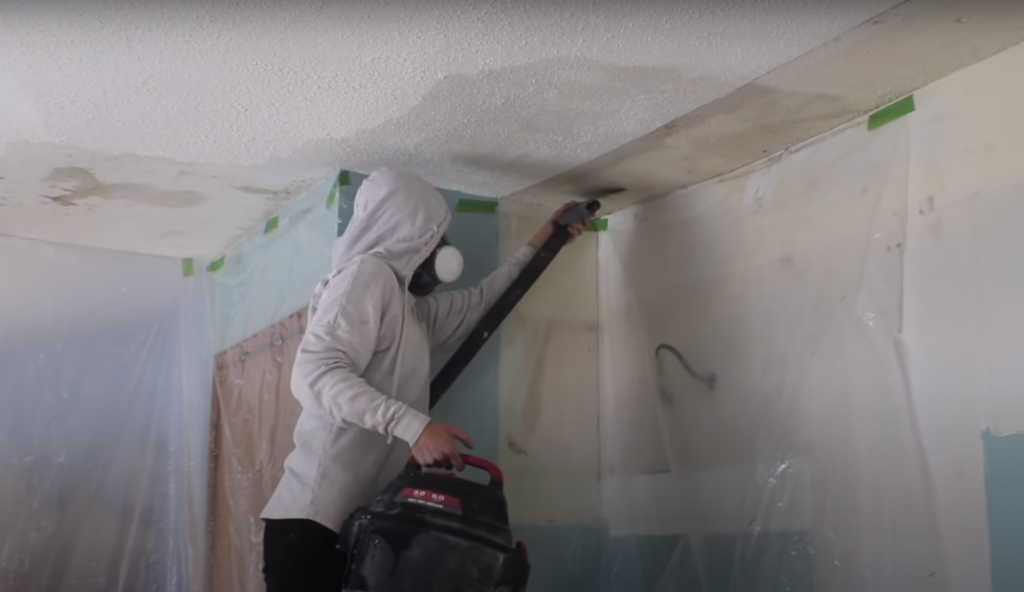
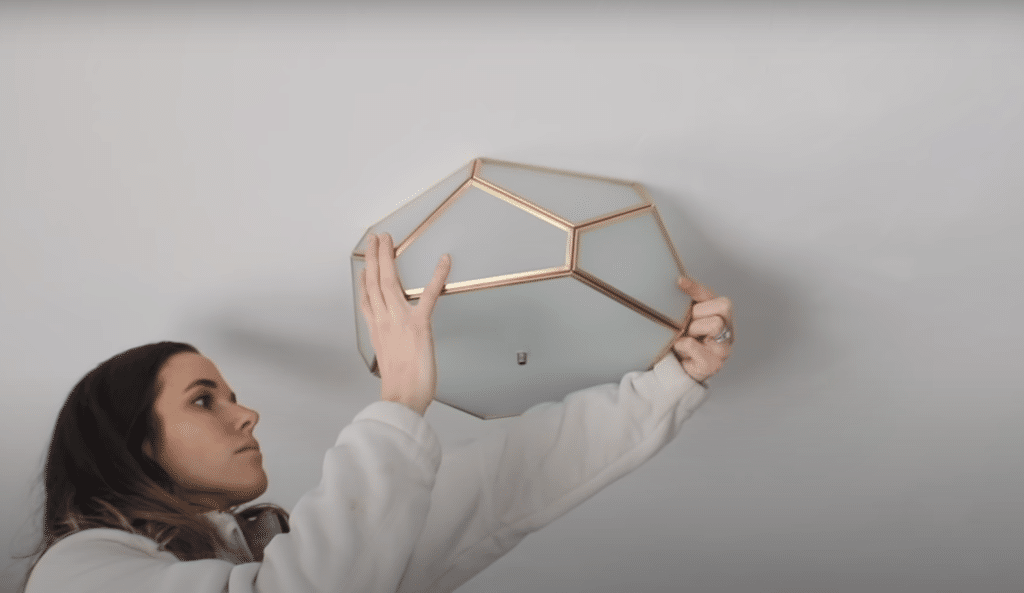
I started by removing any obstructions on the ceiling like the light fixture and any hooks that remained. I also removed upper cabinets because they were coming down later in the remodel anyways. There is substantial prepping involved before scraping popcorn ceilings. I used a large plastic sheet that I taped up and put on the wall. Ideally, you should cover all surfaces since it is such a messy job and will make it easier for clean up.
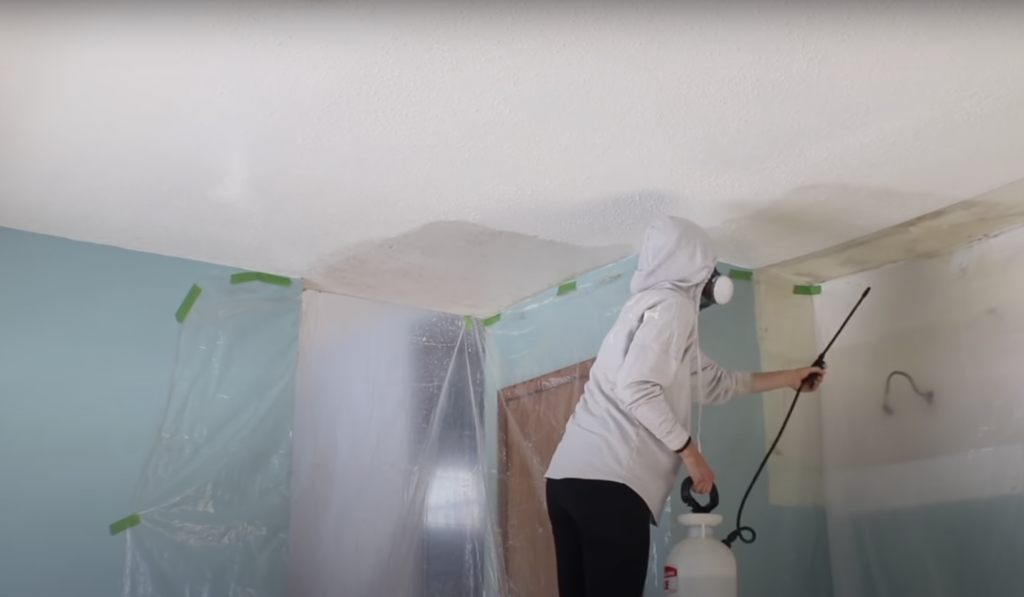
Popcorn ceilings are much easier to remove when wet. I used my garden sprayer filled with hot water and a bit of dish soap. This prevents the textured ceiling from turning into a crumbly dust. I first pressurized the garden sprayer, then proceeded to spray a small area, and let it sit for five minutes to allow the water to soak into the texture. When letting it soak, I prepared myself for the job. I recommend putting your hair back and wearing a face respirator to protect yourself from any particles. I also recommend putting a hood up and wearing safety glasses so nothing gets in your eyes or hair.
Scraping the Popcorn Ceilings
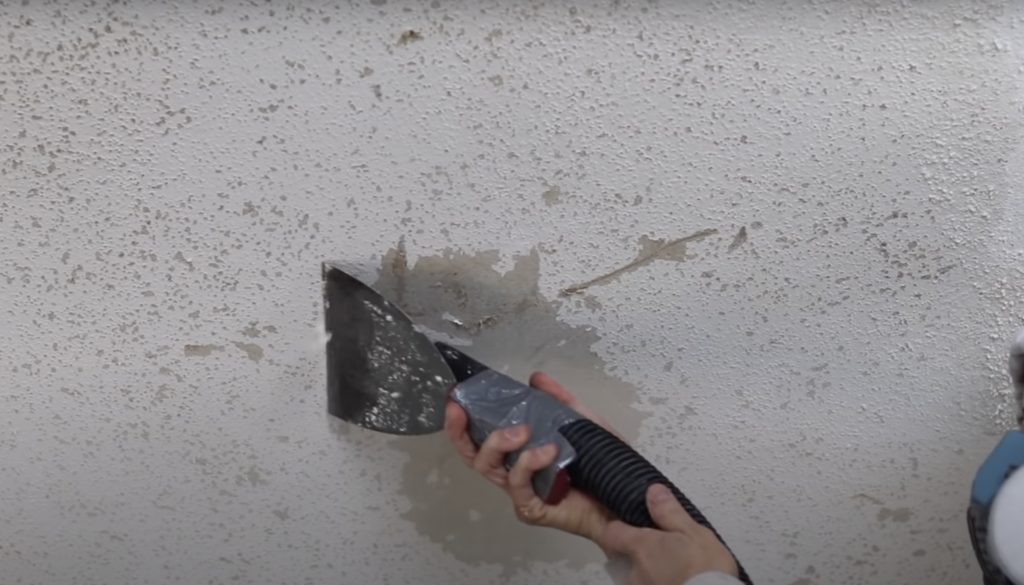
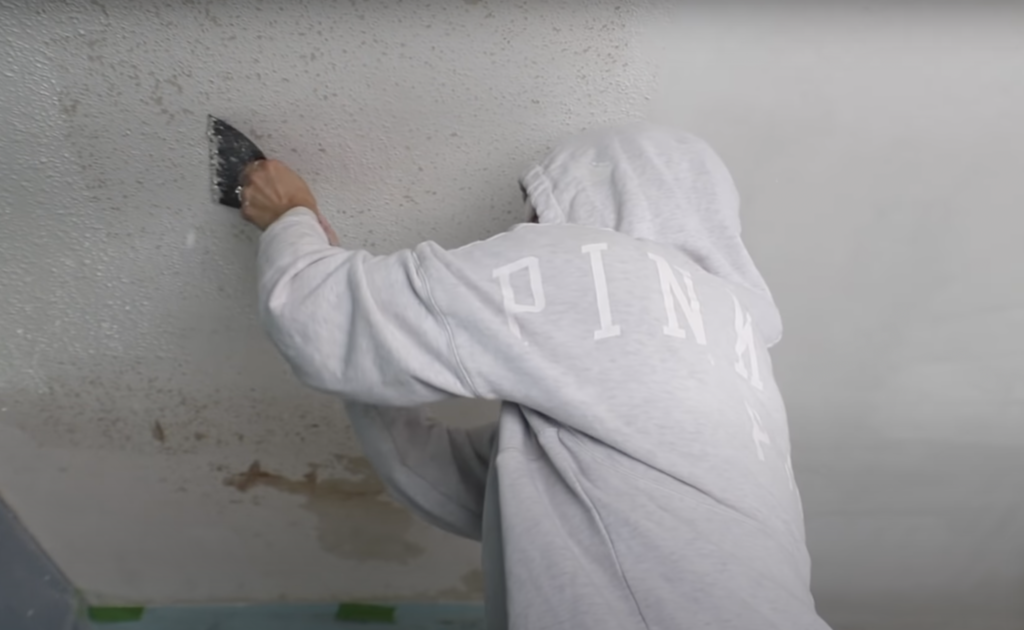
Once I was ready to go, I rewet the surface area and came in with a six-inch drywall knife. First, I started scraping the ceiling but only was getting the top part of the bumps off. I dowsed the popcorn ceilings with water multiple times, however it was very difficult to get down to the popcorn texture without damaging the drywall. I do not recommend trying it this way because through trial, error, and a massive arm workout, I did not get the result I was looking for.
After this idea failed, I decided to try a different method I found online. I grabbed my shop-vac and removed the fine particles filter so it would be able to suck up the larger clumps. Then, I taped the hose to my dry wall knife so it would suck up anything that would fall. Quickly, I saw the flaw to this method. I was scraping with one arm already tired with one hand. With the other, I was holding a thirty pound shop-vac since the clumps falling were so heavy.
Because of this, I went back to my first method and moved to the center of the room. Suddenly the popcorn started coming off with ease since this part of the ceiling was not painted. This area left a perfectly smooth patch with no texture unlike the other area. A new method that worked best in the areas with painted drywall I found, was pushing with two hands so I could have more control while scraping.
Texturing the Ceilings
I got the ceiling as flat as I could and decided the residual bumps from the painted popcorn next to the completely smooth area where the popcorn texture scraped off easily looked bad and I would have to retexture. Texture Effects by Modern Masters allowed me to get the whole ceiling one uniform texture with a skim coat. This product is superior to joint compound for this task because it resists shrinking and cracking. It adheres well without the need to prime, although I did prime my ceilings first just to be safe. Modern Masters Texture Effects also self-sealing and water resistant, so after it was up I did not have to prime or paint over it!
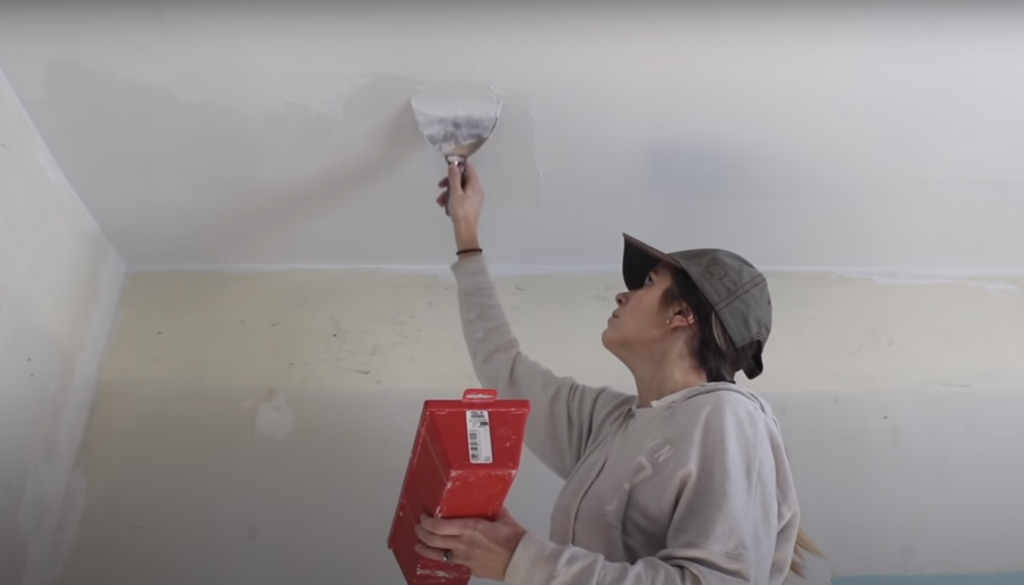
Initially, I tried to smear it straight out of the can but it ended up being too dry and thick. I added a bit of water to my trough and mixed it up well. This created a thinner consistency for adding a smooth skim coat.
The way I applied it left a troweled on look which resembled the look of plaster and I liked it a lot. However, if you are looking for more of a consistent smoothed look, you could use a damp sponge to flatten it after about 15-20 minutes of drying. Because Modern Masters Texture Effects is self-sealing, smearing it across the ceiling was all I had to do. If you wanted yours a color, you can also purchase it tinted so you can still skip the painting step. If you’d like to paint afterwards, the product does accept paint very well. After everything was done, I put up my light fixture and was ready for my next project in this kitchen!
Shop for all of Modern Masters specialty products here!
A Whole New Ceiling!
Scraping popcorn ceilings in my kitchen didn’t go as I planned because the paint made the texture difficult to come off. With the Modern Masters Texture Effects and a bit more work I was able to get a smooth ceiling I love! Now the room has an updated look to go with my updated color palette and I can’t wait to keep renovating!
If you liked this interior upgrade DIY and want to see more, my post on how to lay self leveling concrete is a great place to start!