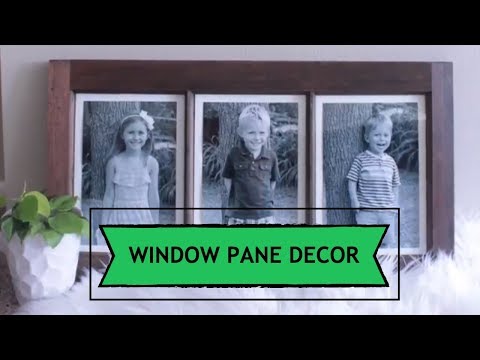
Old Window Pane Wall Decor
[the_ad id=”2184″]
One of my readers and old classmates, Danielle, contacted me a few months ago about helping her create a wedding present for her soon to be husband, Josh. Danielle had found a picture of a decor item she wanted to make on Pinterest, but it was only the picture, there was no tutorial. She asked me if my crafty know-how could assist her in making something similar. They just got married in June, so as soon as Danielle got the wedding photos back, we got to work. Now I’m happy to share with all of you the tutorial on how to make this window pane wall decor to display your photographs and write on glass.
 This is the photo Danielle wanted me to emulate.
Paint Window Color

Before picture
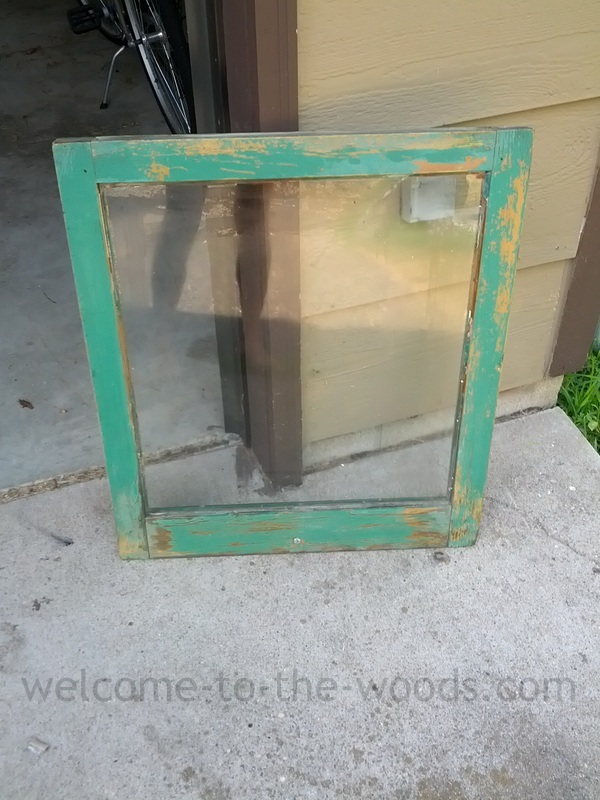
After sanding off the loose paint and scraping out the old caulking
**CAUTION** If you are sanding old windows, test for lead paint first. Sanding lead paint is toxic and can cause health problems!
We used green frog tape![]() to cover the glass pane with newspaper to protect it from the painting process. This also ensured we got a straight paint line on the wooden frame.
to cover the glass pane with newspaper to protect it from the painting process. This also ensured we got a straight paint line on the wooden frame.

Attach Hanging Hardware

New Caulking & Hardware

Trace & Paint Words for Quote


When doing this project again later, I found a great shortcut to make more professional looking writing! Buy this inexpensive window marker to trace your words on the back of the window.
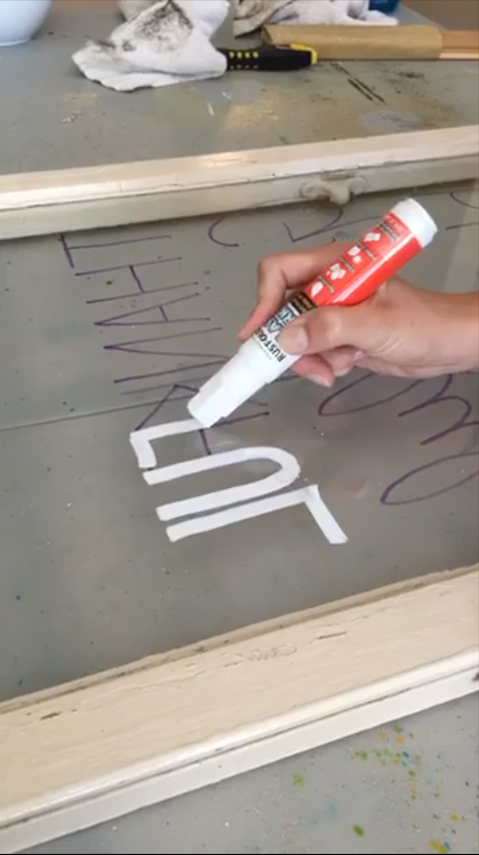
When you are done tracing your design, simply flip it over and wipe off the dry erase marker.


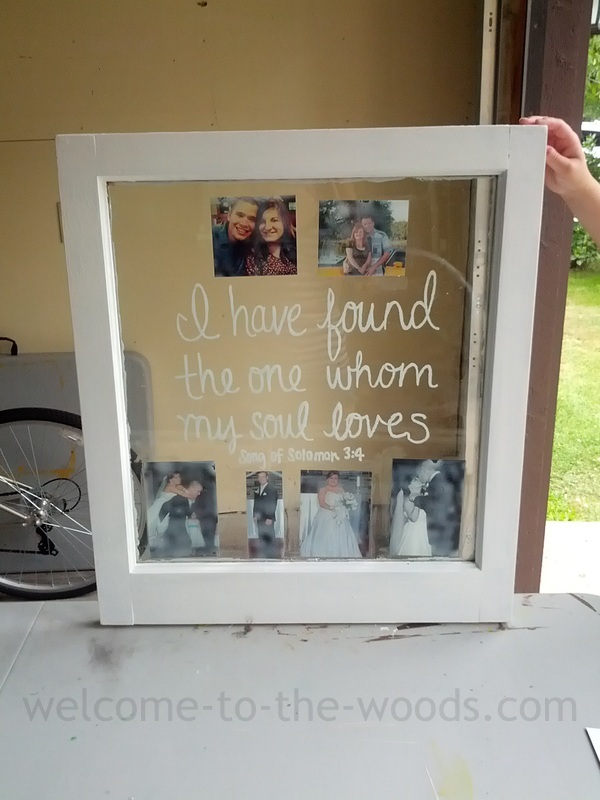
Attach Photographs

Here is the finished Window Pane Wall Decor…
…turned into this!?
This was a great opportunity Danielle gave me to help her with something so special to her heart. Congratulations to Danielle and Josh on their marriage! I know I’m wishing them all the happiness of a long life together and hoping this wedding present on their wall will be a constant reminder of the love they share.

Your a young woman like my old heart. Keep up the good work both family and hobbies.
Aw thank you Kathy!
When you attached the burlap with mod podge, did it dry clear? Or was it hazy/white?
Tonya,
I’m assuming you meant photograph, not burlap. Yes the mod podge dried a little hazy white, as you can see in the picture. My classmate who I was making this with didn’t seem to mind, but I think if I were doing this project for myself, I would use an adhesive made for photographs. Thanks for leaving your question!
I guess I’m just going to comment on every post! I love this project! It’s one of my favorite scriptures paired with reclaimed goodnesss. Fave x 2!! Have to say, though, I was loving that window after it was scraped before it was painted white. Not every one goes for grunge, though! Love it!
Thank you! I kind of liked the chippy green paint, too.
I seen in a previous post that you used chalk paint pens. Are these permanent or does it come off easily? I’d like something a little more permanent.
If you’re looking for something permanent to write on glass, Sharpie paint pens are the perfect thing. The only thing is, allow dry time and be careful not to smudge! The oil based ones are going to be the most permanent – here’s an affiliate link to my favorite pack of metallic Sharpie paint pens: http://amzn.to/2gKltMi. Otherwise, if you decide you do want something you can redo seasonally, the white window marker I used in my video you saw is this one: http://amzn.to/2zfyicA. While this window marker is temporary, it won’t wipe off easily because you will be displaying the side with the writing behind the glass, against the wall.
Best of luck to you with this craft!
Melissa
I was saddened to read that you sanded the old green paint. If that window was painted before 1978, it likely had lead in it. Open sanding is the most dangerous method for paint stripping with lead paint. It spreads invisible lead dust everywhere. This toxic dust is easily inhaled by all or ingested by crawling kids putting their hands in their mouths. It can cause irreversible nervous system and brain damage. For such a small stripping project, use non-toxic, “green” chemical strippers. Read http://www.epa.gov/lead for details. PLEASE, PLEASE add a correction to your DIY article on this project.
I will add a caution about lead paint Catherine, thank you for your concern!
Melissa
On the Thankful Grateful Blessed window pane, what size was the window pane? Love this .
Approximately 3.5 feet by 2 feet. 🙂 thanks for commenting!