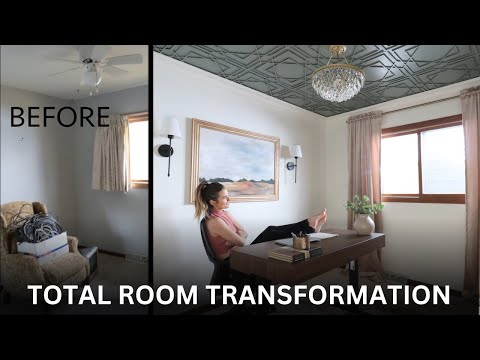
Office Transformation
The lakehouse I have been renovating has three bedrooms in it, this room is the smallest. Because this room is so small, I am going to transform it into the office of my dreams! Follow this office transformation to see this room go from boring to beautiful.
This post may contain affiliate links or sponsored content. For full disclosures and practices, please visit my policy page.
Table of Contents
- Demolition
- Scraping Popcorn Ceilings
- Cleanup Post Demo
- Painting
- Baseboard and Trim Work
- Prepping the Ceiling
- Fretwork Ceiling Design Installation
- Installing Crown Molding
- Putting in New Carpet
- Replacing the Baseboards
- Decor and a Look at the Finished Room
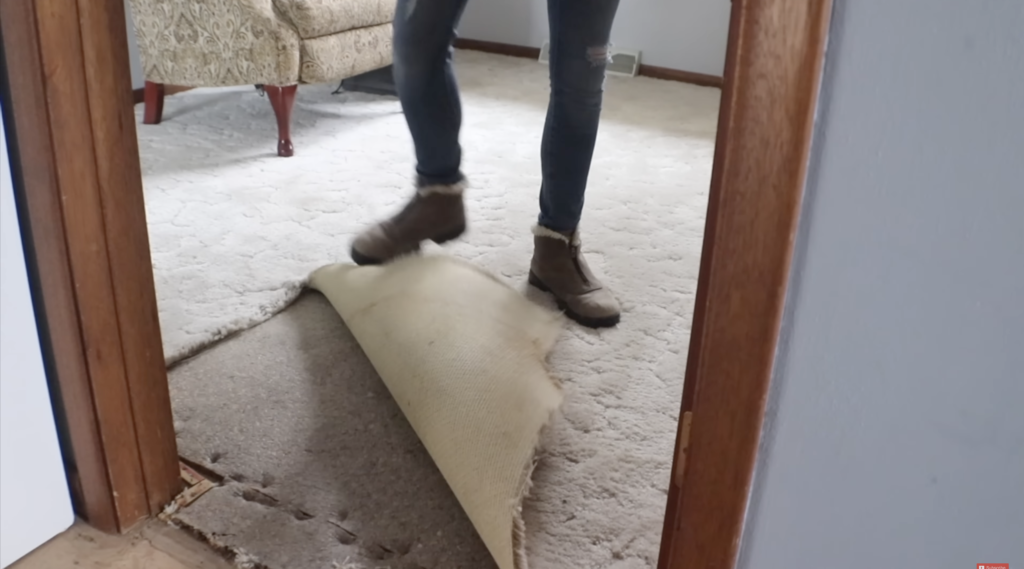
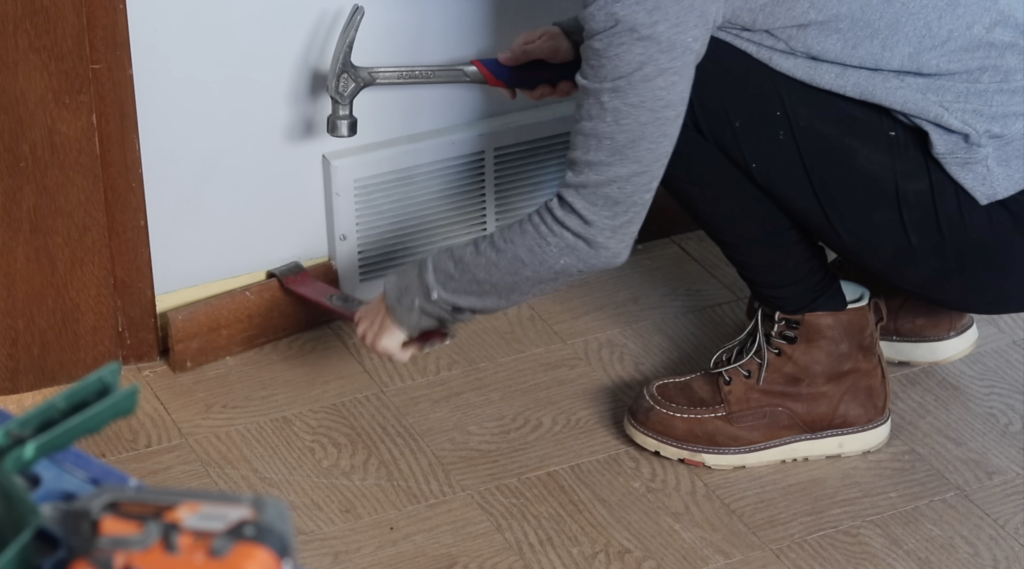
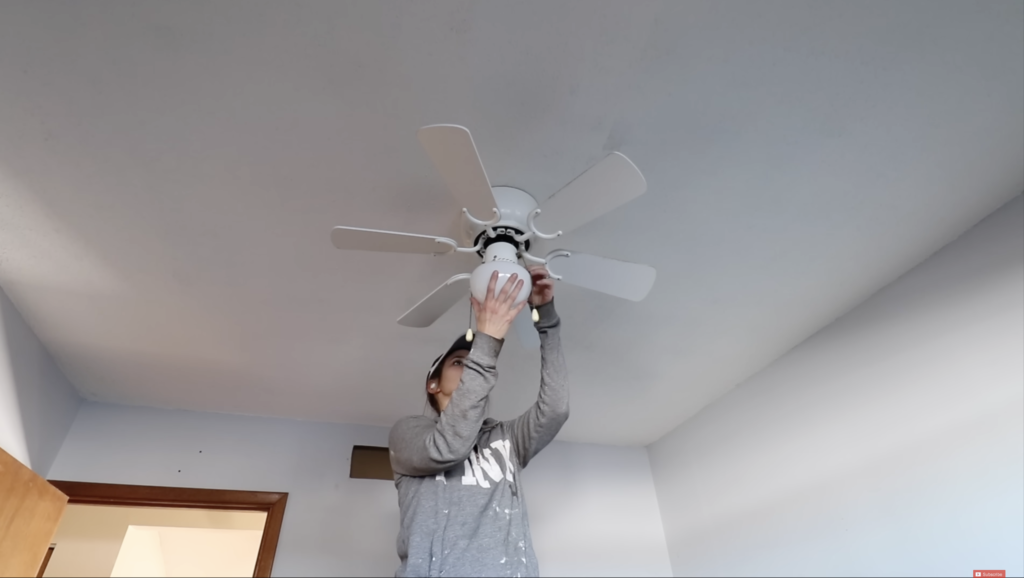
Demolition to Begin the Office Transformation
To start demolition for the office transformation I am removing the old finishes. This includes ripping up the stained and smelly carpeting. I also am taking out the underlayment and all the staples. Then, I hammered underneath all of the tack strips and pulled them up. These tack strips were not easy to get up, they used some big nails to nail them down. I removed the baseboards as well because it will be easier to paint this room without them. Next, I am removing the old drapery and the bar along the top of the windowsill. Unfortunately, the bar is drilled into the window casing. I am going to have to patch and restain the wood window casing later. The ceiling fan in this room also needs to be removed, it is outdated and I have bigger plans for the light fixture!
Scraping Popcorn Ceilings
Once the demolition is complete, I begin working on the popcorn ceiling. I am scraping the ceiling texture to make the ceiling flat. To start, I am laying plastic over the entire floor to make cleanup easier. To make this ceiling flat I spray the texture with a water and dish soap mixture. Let that soak in for a few minutes. I then get into my gear to keep myself safe and spray it again. After the second spray I begin to scrape, I have done this in a lot of the rooms in this lake house. This is not as scary of a task as you may think, if you want a more in-depth tutorial on how to scrape popcorn ceilings click here.
Cleaning Up After Demolition
Scraping the popcorn texture off of the ceilings is an extremely messy job. When I finish this task I have to wipe everything down to get rid of the dust. When the walls are clean I can patch the holes that have been created from the many nails that were all over the place. After the holes are patched I am finally ready to start painting and begin the office transformation.
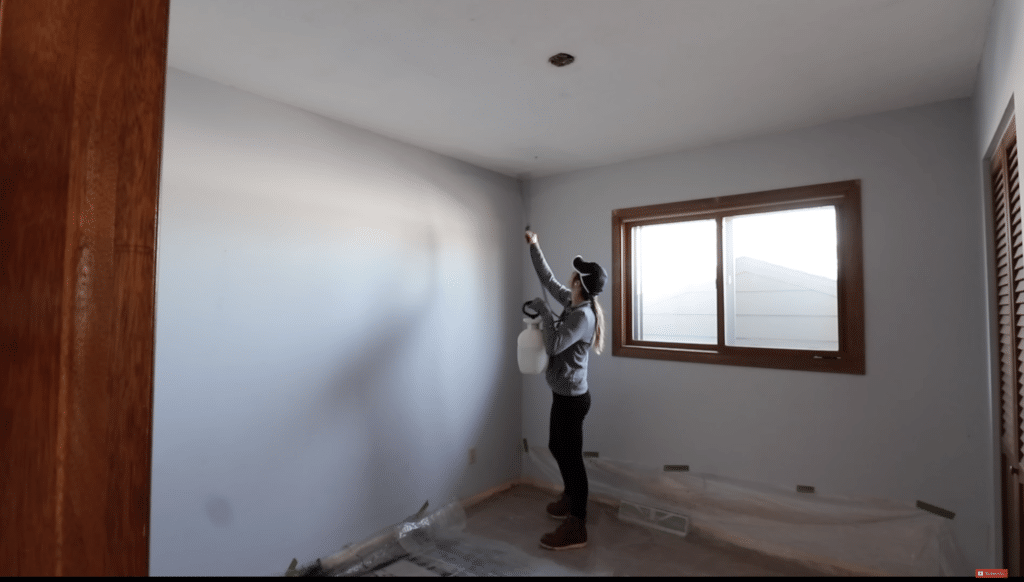
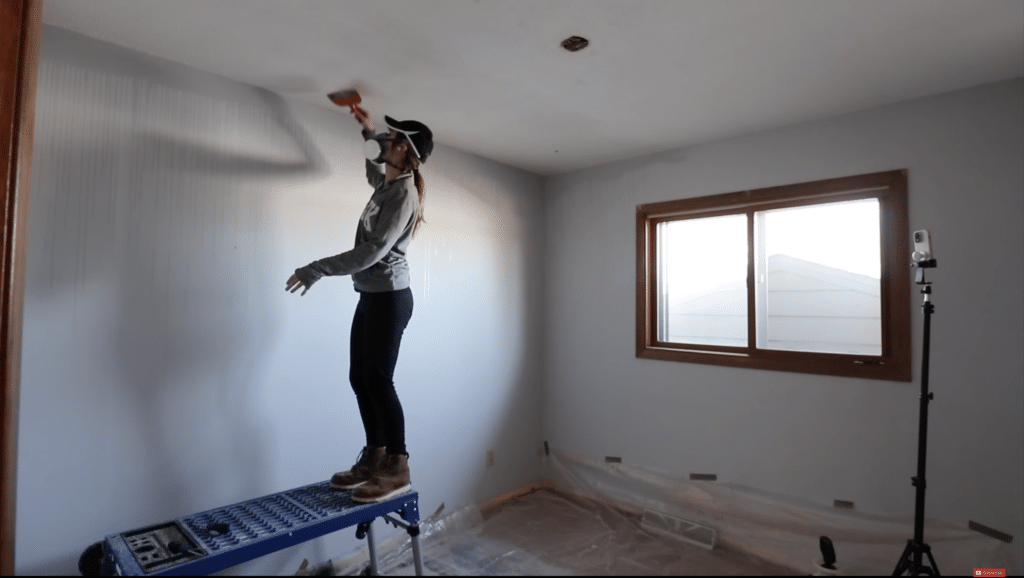
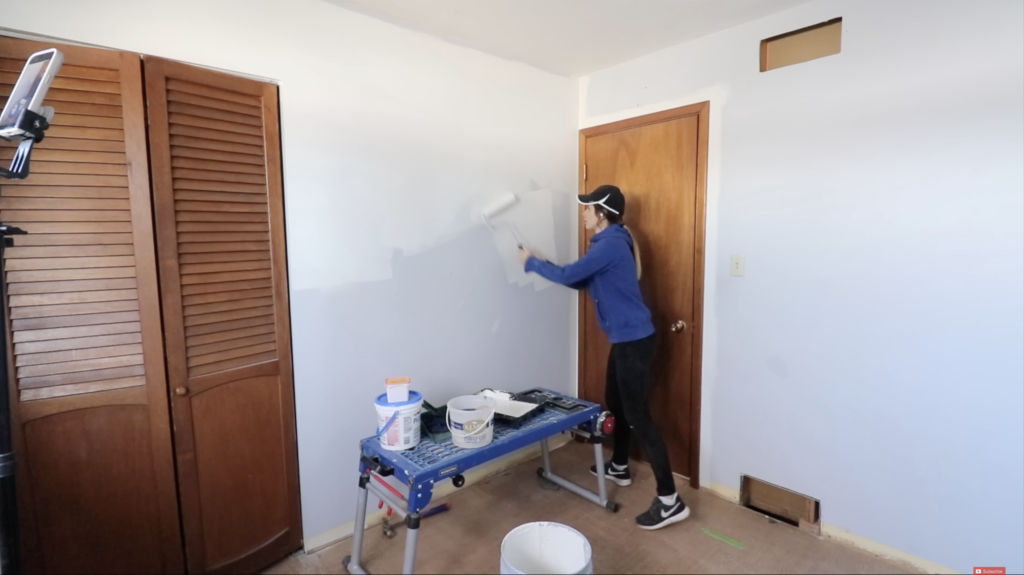
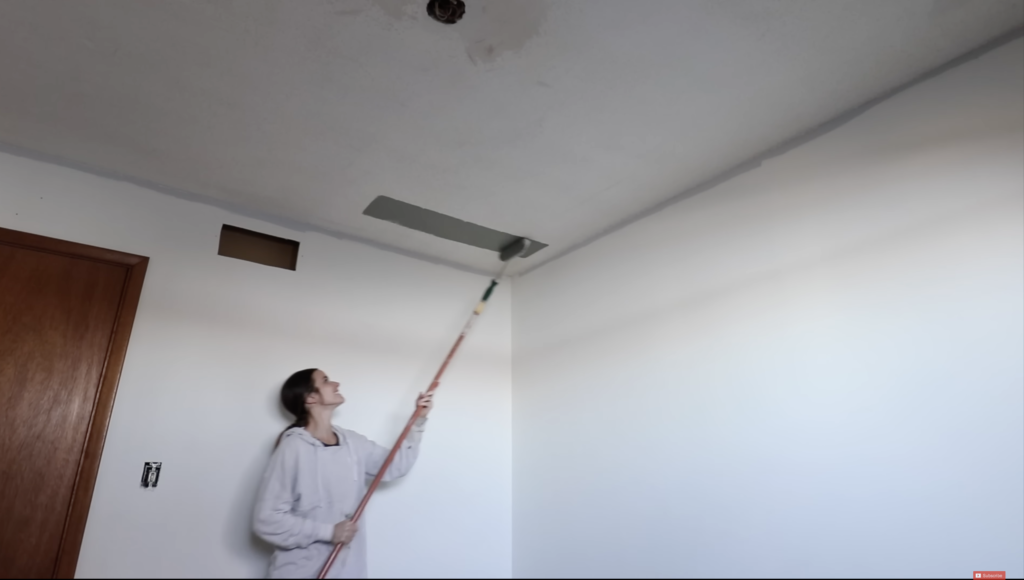
Office Transformation Painting
I am starting my painting with crisp white paint. I am rolling this by hand on all of the walls. Hand rolling the paint is easier than spraying because this is such a small room. I also decided that I am going to paint the ceiling to vamp up this office transformation. The color for the ceiling is anything but boring, I chose Village Green by Behr. This color is kind of a sage green. Everything got two coats of paint, when the colors were opaque I was ready to start working on the baseboards.
Baseboard and Trim Work
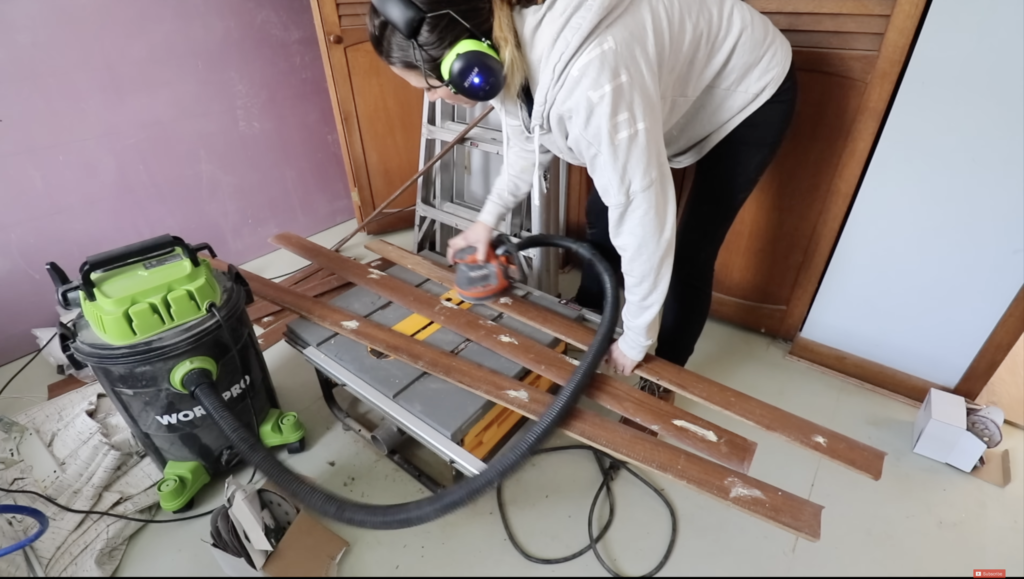
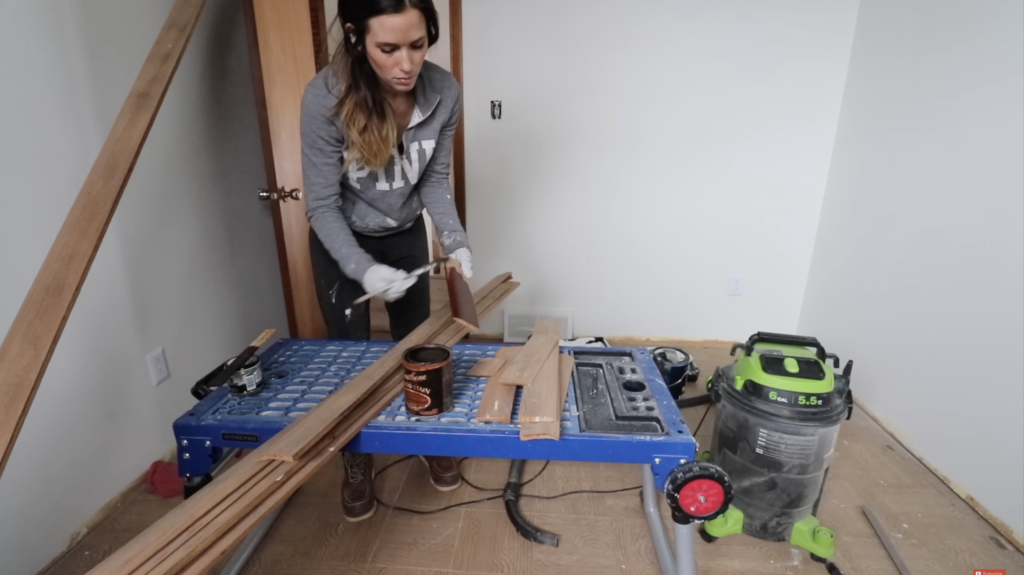
I have already removed the baseboards, so they are ready to be sanded down all the way. In addition, I am going to fill in all of the nail holes as well. I want to refinish them to hopefully make them look brand new. While I sand the baseboards I am also sanding the whole front face of the window trim to blend in where I filled the blemishes. I am going to stain the window trim at the same time. This is all going to match the existing trim work. Because all of the trim in this house is a couple of decades old and is faded, I could not find an exact stain match in the stores. I decided to mix two colors of stain, American Walnut and Chestnut by Varathane, to get my desired color. I only put one coat of the stain on and then wiped it off. To finish the trim off I reseal it.
Ceiling Transformation Prep Work
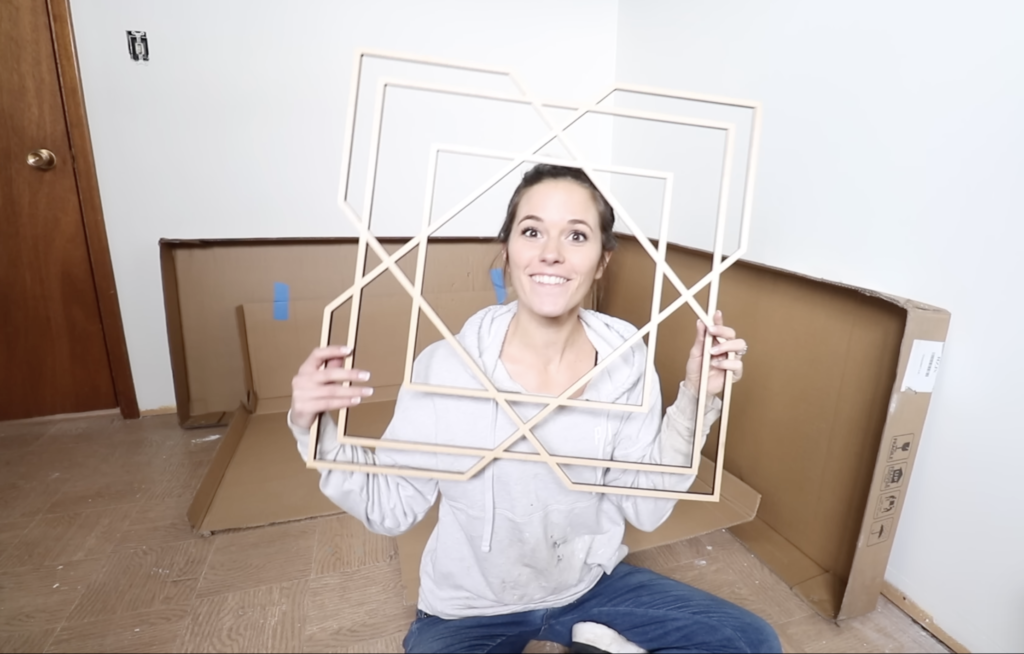
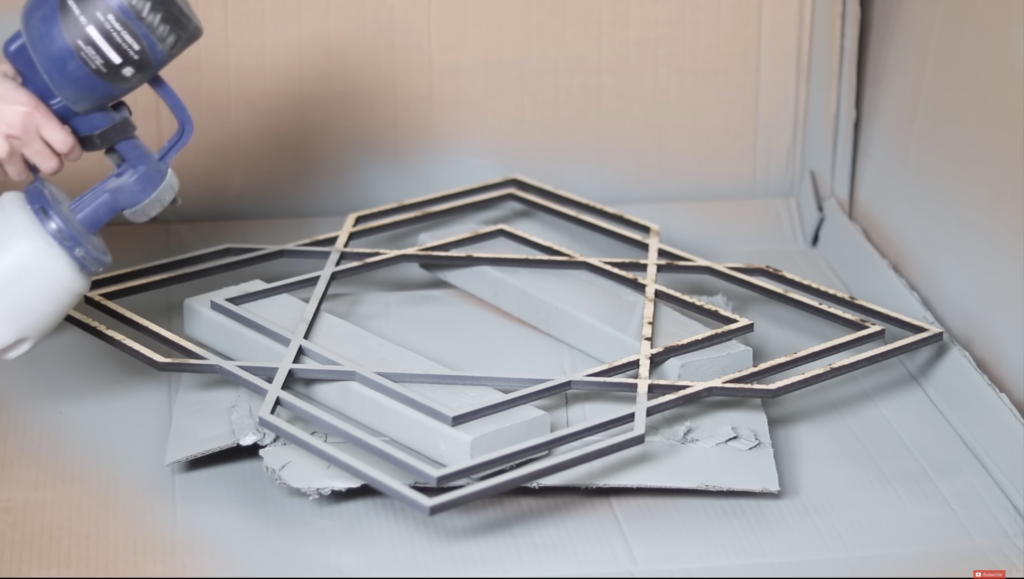
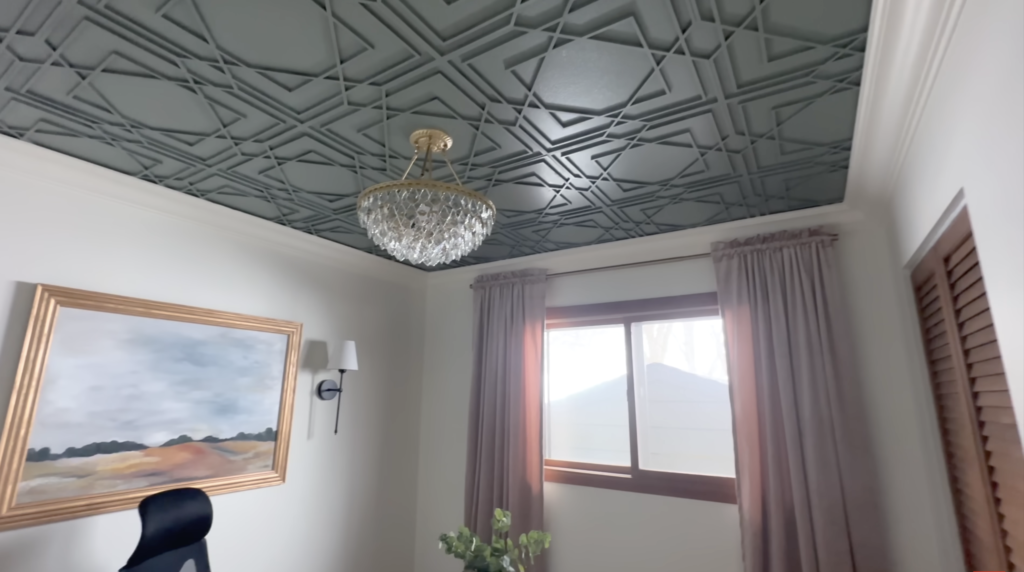
The most stand-out portion of this office transformation is the accent ceiling. I am creating an amazing three-dimensional design on the ceiling. To do this I have to figure out how to paint my fretwork panels, I got mine from architecturaldepot.com. The idea I came up with to paint these is using a lazy Susan and my paint sprayer. I taped cardboard onto the lazy Susan to protect it from getting spray all over. Next, I put two 2×4 scraps on top to elevate the fretwork panel. Now I have a homemade spraying station. I can now paint my fretwork panels without getting dips from trying to roll or brush these.
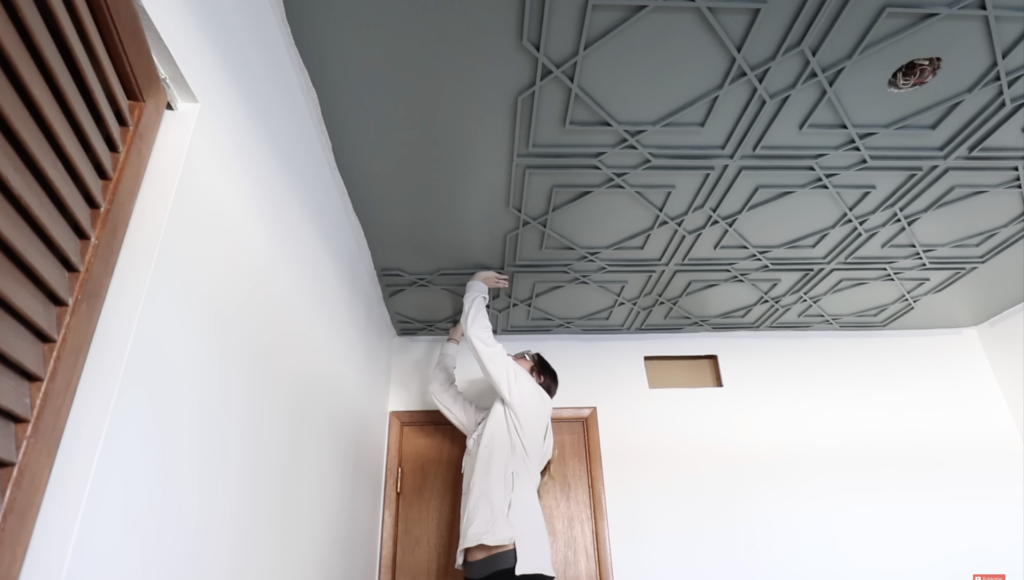
Office Transformation Fretwork Ceiling Installation
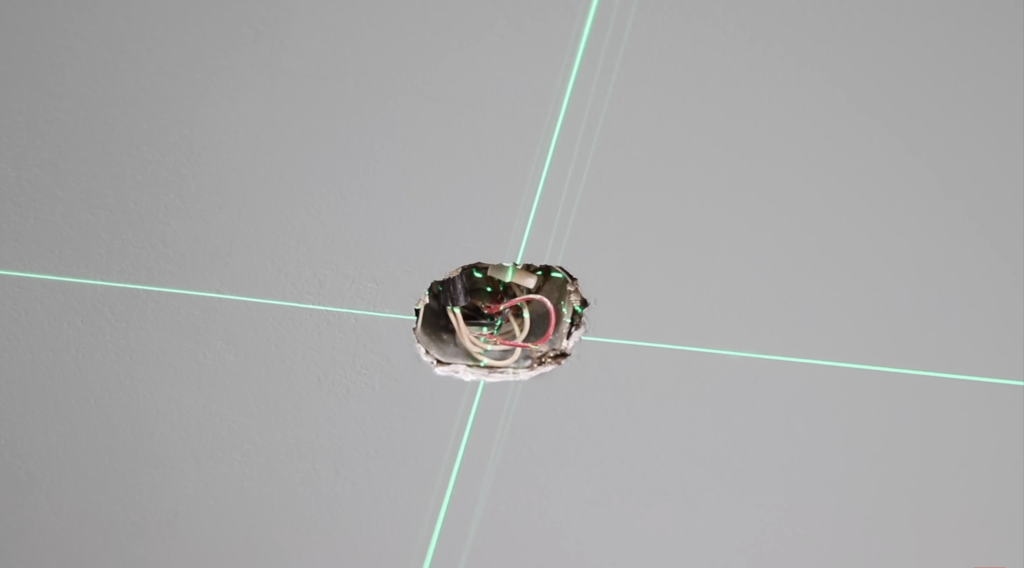
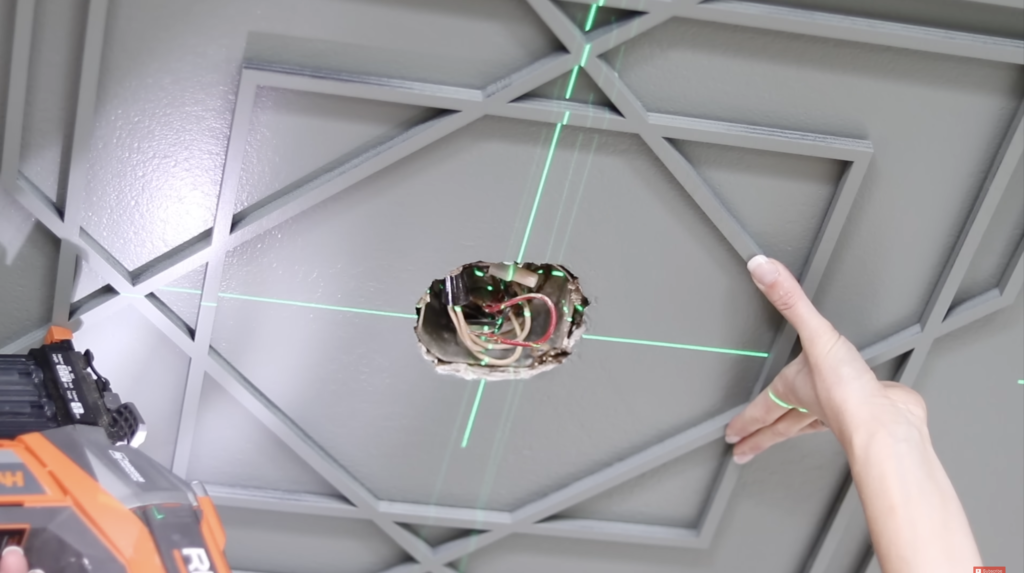
To install my fretwork panels for the office transformation I lined up my laser level centered with the light fixture. Then, I placed my first panel centered on that. I am going to build everything on the design off of this. After I had my first one nailed into place it was very easy to keep building off. These fretwork panels are perfectly square, so it all worked out without having to continue using the laser level.
To nail the fretwork panels in I am using my cordless brad nailer and a one and three eighth inch nail. I did not want a nail that is too long because it might hit wires in the ceiling or duct work. I picked something just long enough to go through the half inch fretwork panel, the drywall, and not much more.

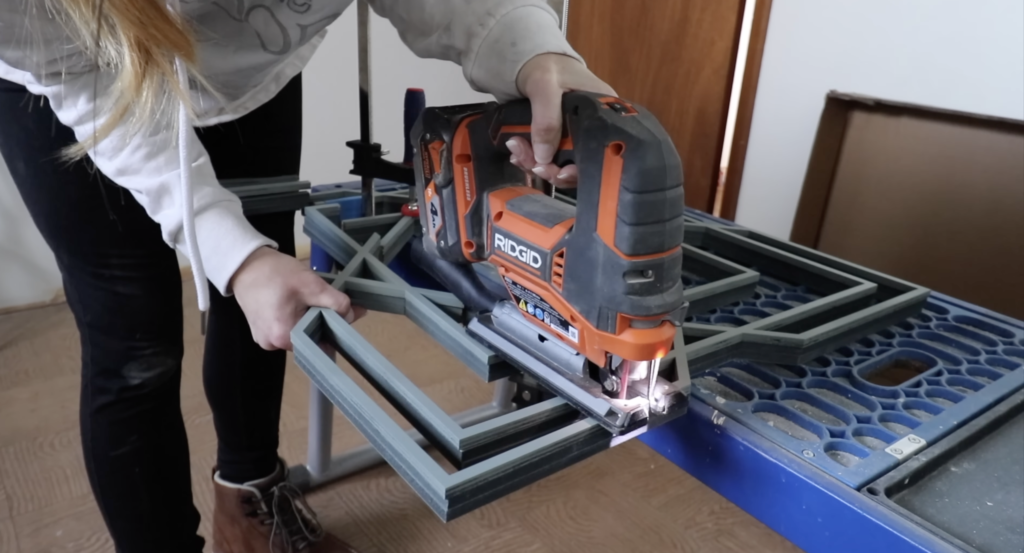
Around the edges of the wall where I had to cut the fretwork panels I taped three together, then used a jigsaw to cit it to width. This does not give me the smoothest cut possible, but the edges of this accent ceiling are going to have crown molding anyway. My cut did not have to be perfectly straight or clean. The cut panels finish out the ceiling perfectly. To finish off the ceiling I am adding a new chandelier.
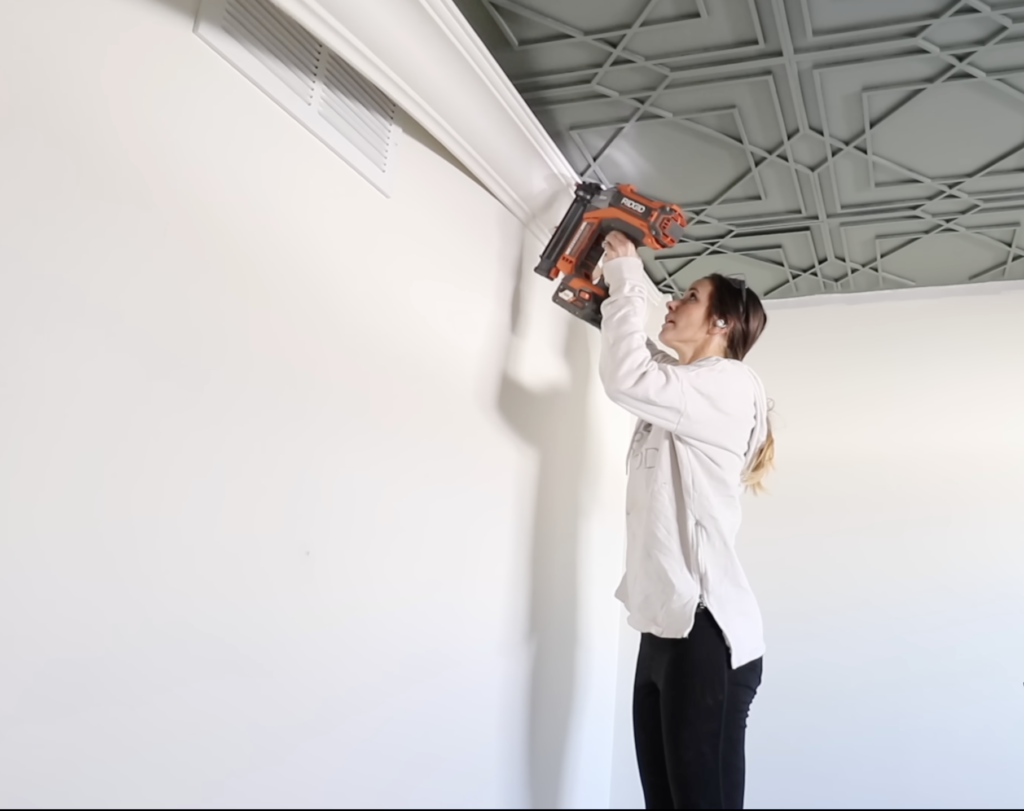
Crown Molding Installation
Now it is time to move on to crown molding, for this office transformation I wanted crown molding to extend the height of the walls up. To do this I painted the molding the same color as white on the walls. Painting the molding white did exactly what I hoped it would, it made the room look taller and bigger. I install the crown using corner pieces which made it so easy, I stuck the 90 degree corner in, nailed it in place, and built from there. This eliminates the need for compound miter cuts that make crown so difficult and confusing. When the installation is complete I fill in all of my nail holes on the white pieces of molding with wood filler and caulked all of the seams. Then, I give the molding another coat of paint to make it blend seamlessly.

Carpet Installation to Soften the Office Makeover
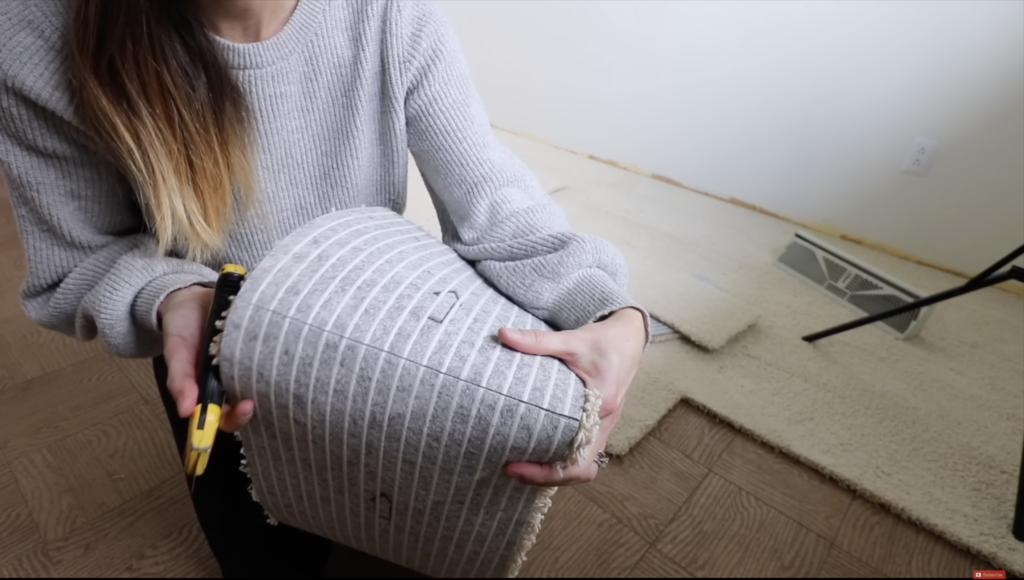
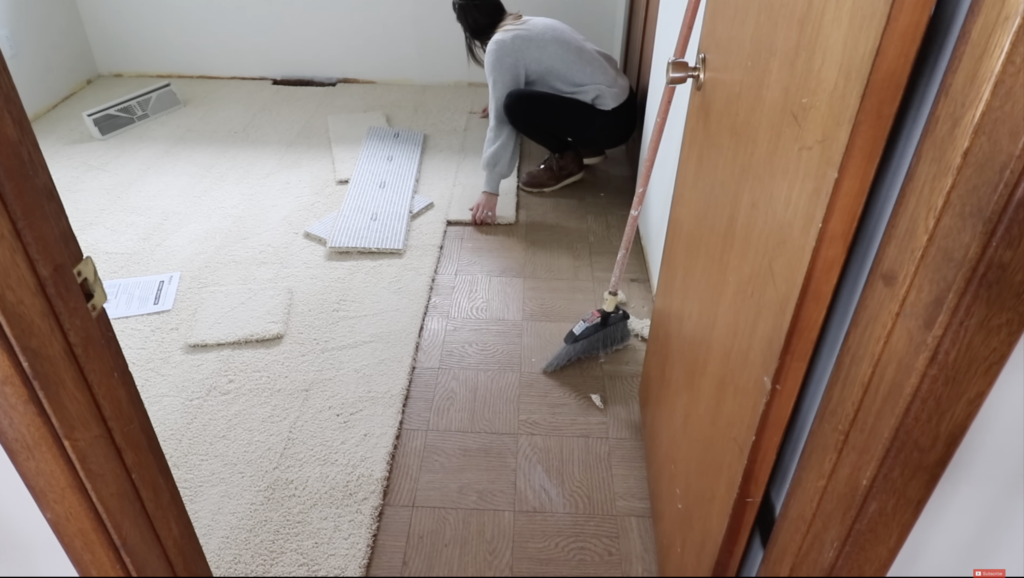
Now that the ceiling is complete I can turn my attention to the floors. Although I removed the carpet I still want a warm, cozy, feeling in this office transformation. I also wanted to dampen a lot of sound in the room. Because of this, I have decided to reinstall carpet. The carpet I am using is carpet tiles. These hold in place with special technology on the back that utilizes the physics behind molecular gravity to suction to any hard floor. The tiles do not move around unless you pick them up and break the suction. Placing them next to each other and staggering the seams, these carpet tiles allow the whole room to be carpeted beautifully. The seams are slightly visible when I am done, so I am adding a rug to cover some of them up. Carpet tiles are especially DIY friendly because you can cut them with a utility knife, you just score it and then cut all the way through. This makes it so easy, even to cut and lay carpet around complicated things.
Replacing the Baseboards
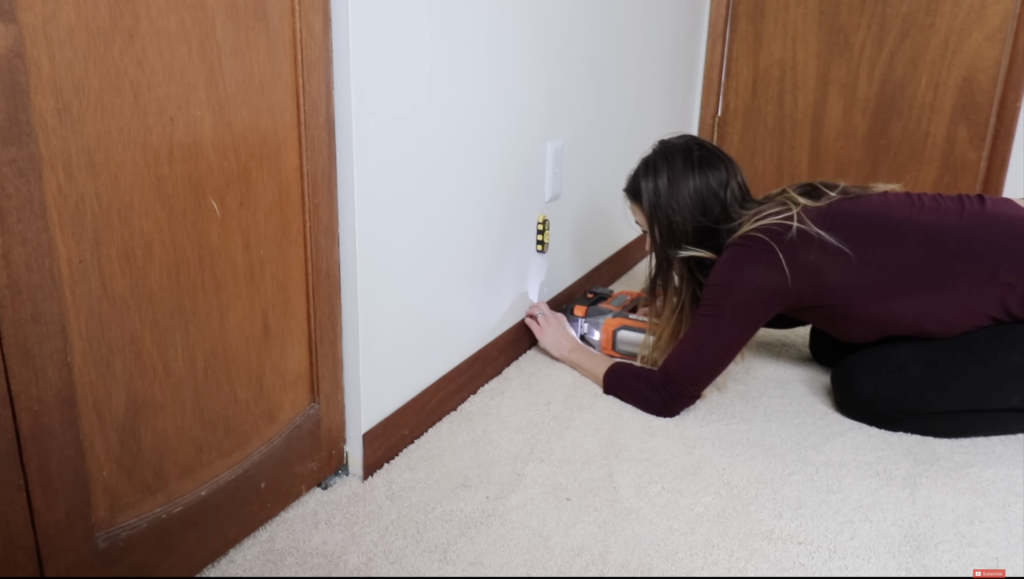
Once the carpet is fully installed I am replacing the baseboards. I am using my brad nailer again, this time with slightly longer nails. My nails are lined up with where the studs are going to be. I am using a magnetic stud finder to find exactly where to put my nails. This makes the molding sick really tightly to the wall. The refreshed baseboards really bring the office transformation together.
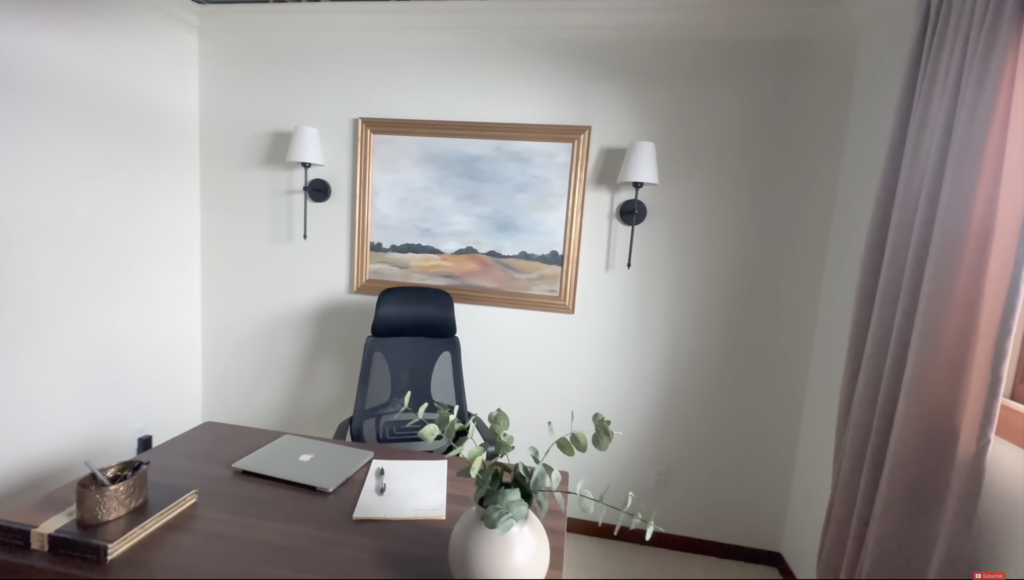
Office Transformation Decor
For decoration in this office transformation I am going to repurpose a large frame I got at a thrift store. I am going to turn it into a beautiful canvas painting. To do this I evenly spread out mod podge and wrap the glass with a bed sheet. When the sheet has set on the glass I can begin to paint. I am painting a field with golds and greens. I am using some colors from the house renovation so everything blends and matches. The wood frame I am spray painting gold, if you want to see a more in depth tutorial on how to spray paint in the winter click here. When the frame is dry, I reassemble the painting back together and hang it on the wall. To accentuate my new painting I a hanging some accessory lighting on either side. These sconces are not hardwired, I simply am using magic LED lightbulbs. These recharge in a regular lamp socket and turn on and off with a remote. Last to add to this room is more tapestry, I am adding thick blackout velvet curtains in the color champagne. I of course also assembled and added the office furniture.
This office transformation was very extreme, from bland, outdated, blue bedroom to a comfortable, interesting working space. It has created a space that I can complete a lot of work in, I hope you enjoy this office transformation! If you loved this room transformation and want to see more, start on my bedroom makeover!