Painted Pinecones Hollar Holiday Display
Today’s post I am going to walk you through how to safely use pinecones from outside in your holiday decor. Then I will use my painted pinecones in an adorable holiday display made from amazing finds at Hollar.com.
I was recently told about Hollar.com by some of my viewers who know me very well. It is an online dollar store and I was totally BLOWN AWAY by the amazing selection of practical and stylish options on their site. It was almost unreal how cheap everything was. After ordering boxes for organizing Stephen’s new office space and a shower curtain for only $3, I got totally caught up in the Christmas decor. Hollar generously provided me with the Christmas decor items for free so that I could put together this post and a Hometalk Live for you all!
So let’s get started with the pinecones! After gathering pinecones outside, you are going to want to bake them at 300 degrees for 15 minutes in the oven.
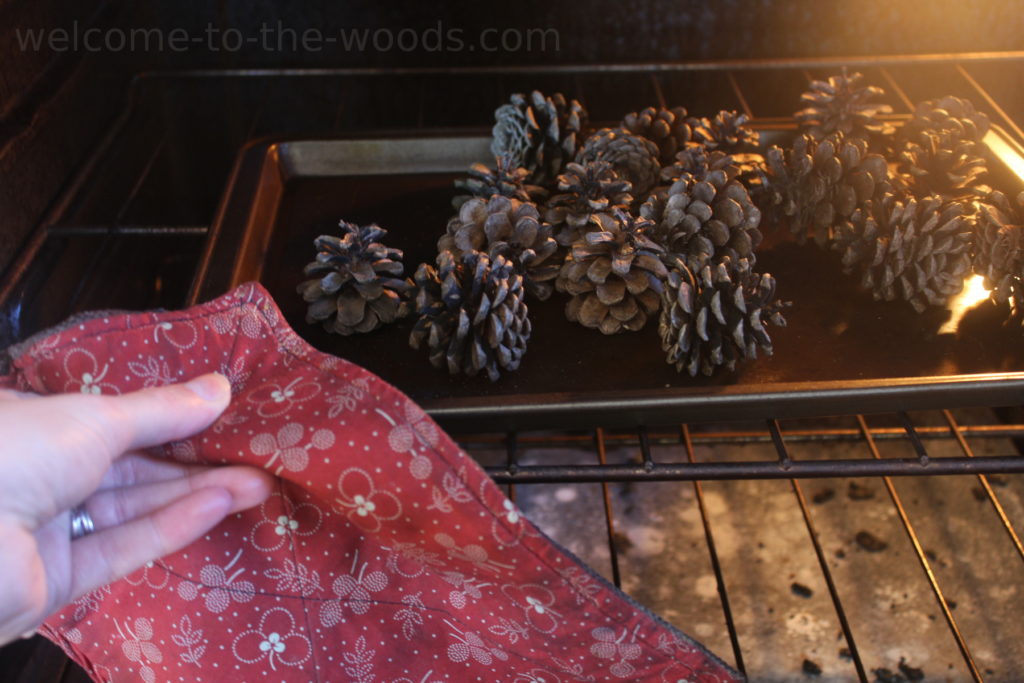
Baking them does 3 things:
- Kills any bugs that might be in them
- Dries out the dirt and debris for easy removal
- Opens the cone up all the way
Then throw them in a large opening strainer and shake out the dirt.
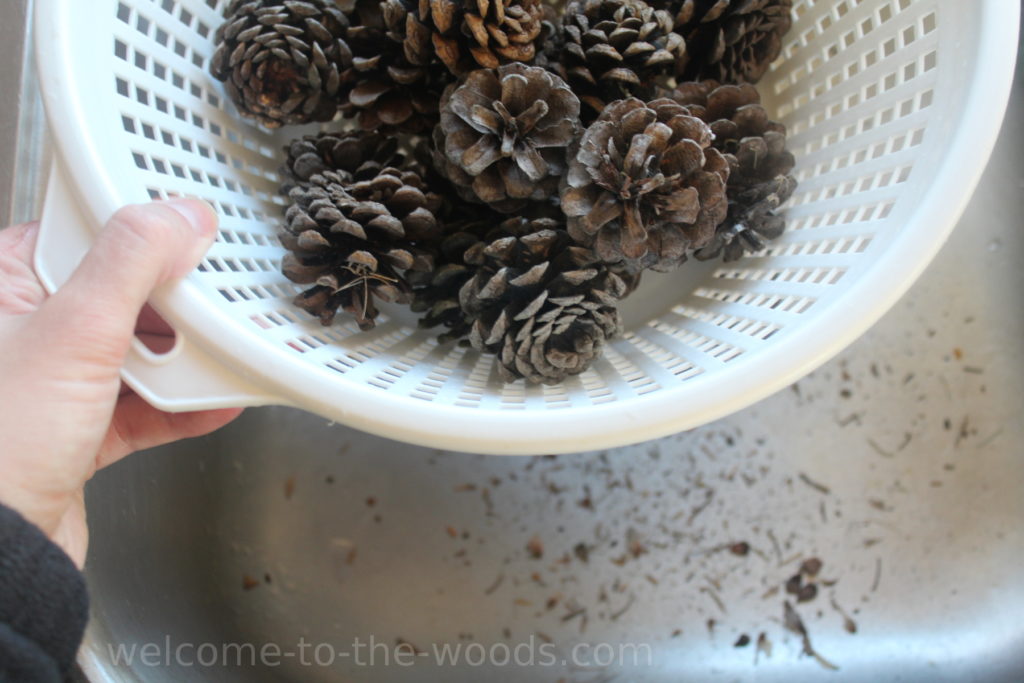
Look at all the stuff coming off these pine cones into the sink! Yuck!
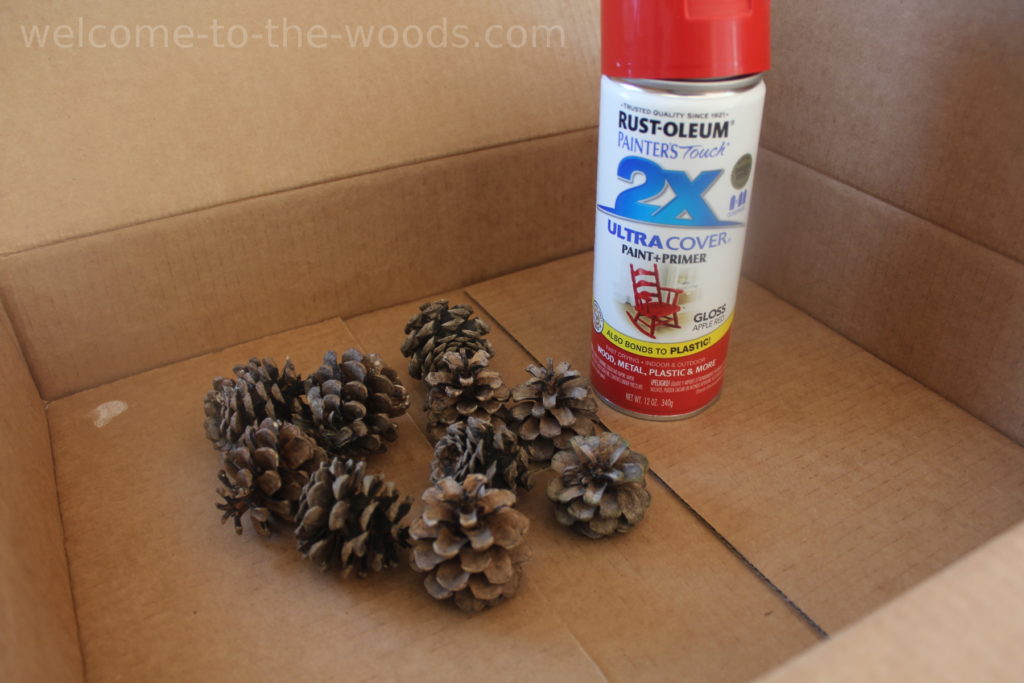
Next, I painted half with spray paint.
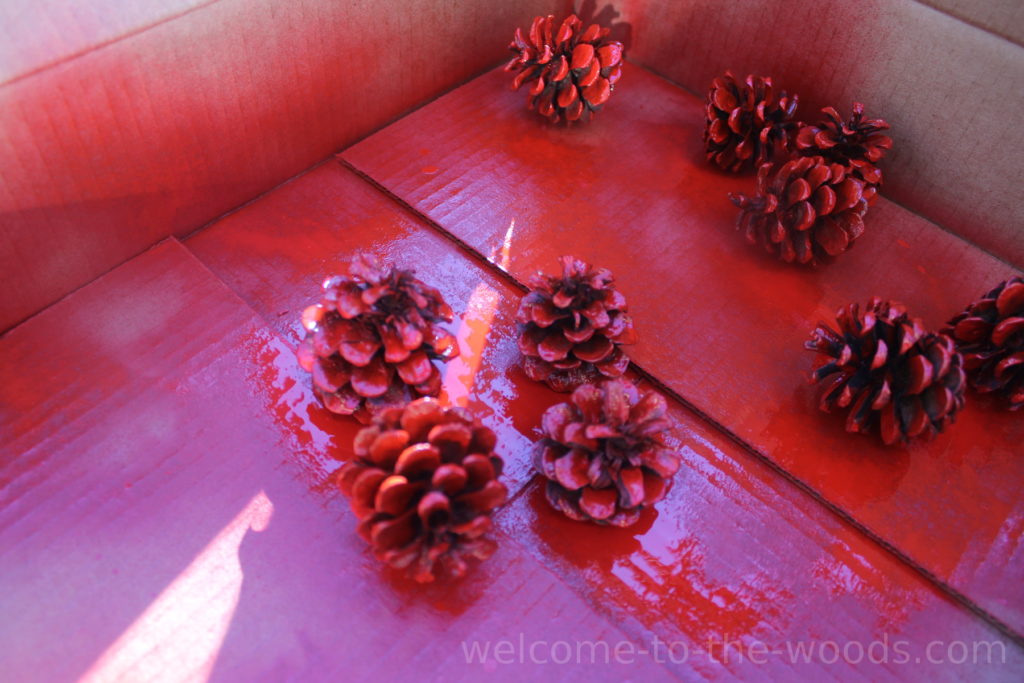
Using a box is best for spray painted pinecones because you can pick up the box to shake the cones around while you coat each side. It also prevents overspray!

For the other half of the pinecones, I simply painted the tips white with an artist brush and white acrylic craft paint.

Then while the paint was still wet, I sprinkled them with glitter! I love glitter.

Here is my Hollar swag. Seriously, NOTHING at this table costs more than $5! That mirror is 16″ wide you guys. $5! The site is amazing.

For my holiday display, I wanted to show you an aerial version first so that you could see better how I balanced things. I lined up the tea light lanterns in a diagonal line, then I lined up the two metallic trees and faux evergreen trees in a diagonal line the opposite way. Add in the rhinestone deer (my fav) and then mix in natural decor.
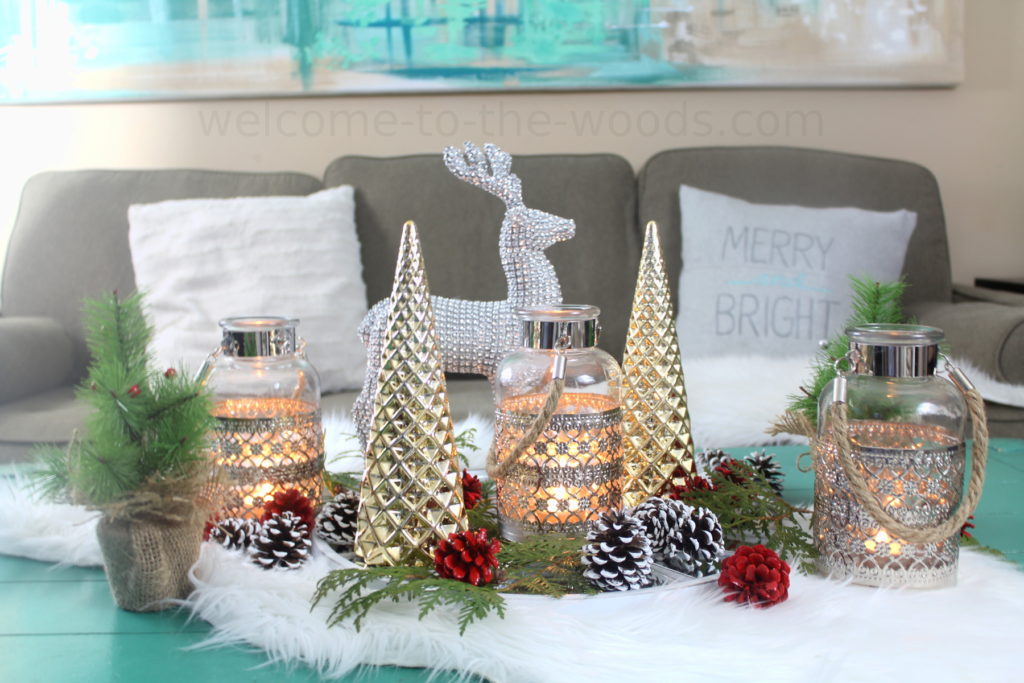
Here it is! Gorgeous isn’t it!? I placed cedar branches around the spaces between large decor items and then sprinkled my painted pinecones throughout.
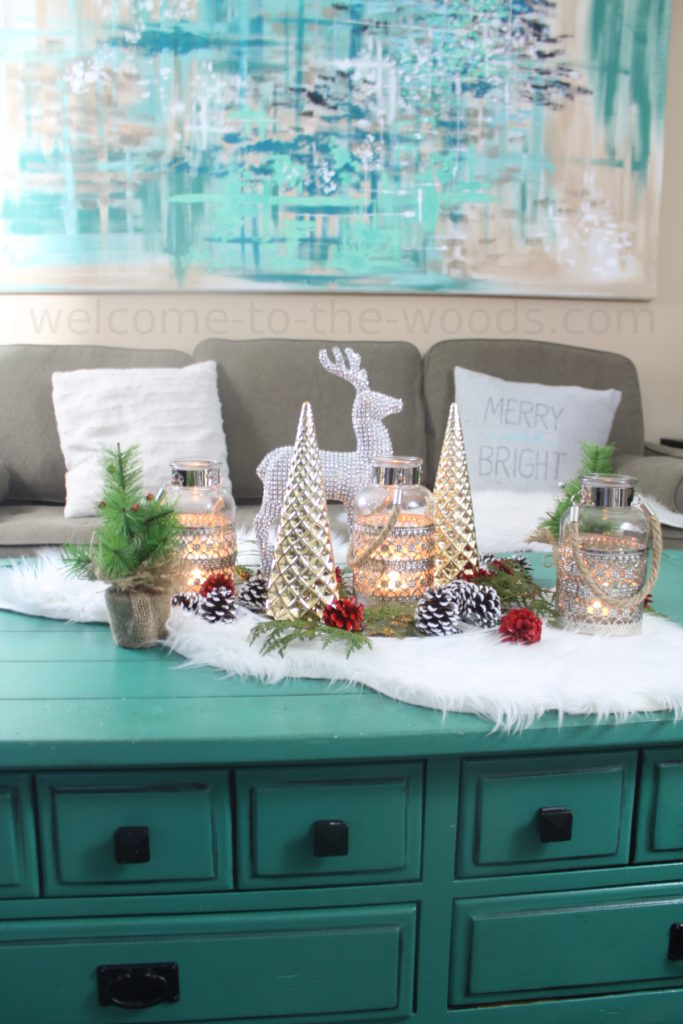
I think just a touch of red makes it look more festive and it still goes with the turquoise that dominates my house. Now, this last picture is perfectly pinnable, so go ahead and share it on your Pinterest!

Thanks for joining me today for this adorable holiday display and easy tutorial for painted pinecones! See you again soon!
Read my full income policies and disclosures here.

I love love love the white glitter pinecones! I love the sparkle of the glitter! Great job! laura
Thanks, Laura! 🙂